


System Description BlueFon comfort
e0f23b3cdff9ea8309199dc94bdcd195, Rev. 1.0
BlueCom Ltd., 09.07.2010
8
7
Installation
7.1 Telephone Installation
1.
Connect one end of handset coil cord to the handset base and the other end to the
base unit at (27). Connect one end of the telephone line cord to the base unit at (26),
and the other end to the wall outlet. In case your telephone outlet is not compatible
with RJ11 connector of the telephone line cord then you may need an adaptor, or you
should consult your distributor/retailer for assistance.
2. Insert all cables in the guides on the base of the telephone set.
3. Telephone line installation
To set up the phone for the first time, please connect the telephone to a subscriber
circuit on the PABX system. The LCD display will change from low contrast to normal
contrast. You can then operate the unit with the following steps.
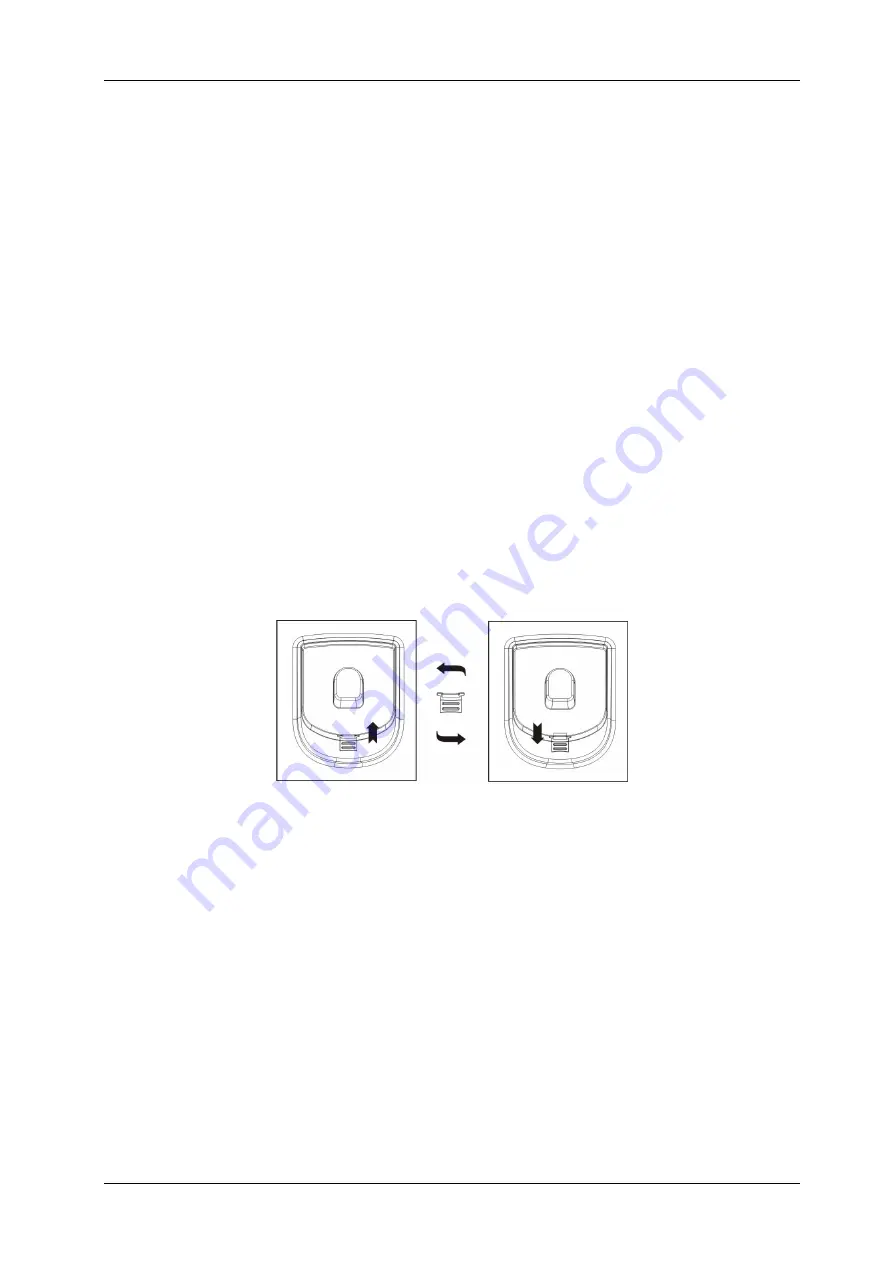
4. Wall Mount
This telephone set can be mounted on a wall. To prevent the handset from falling, take
out the handset guide, rotate it for 180 degree, and then re-insert it into the original
place.
To mount the phone on the wall do the following:
-
Drill 2 holes with a diameter of 5 mm each with distances shown in Figure below,
-
Insert the 5 mm plastic anchor into the holes
-
Fasten the screw but do not insert the screw completely. Leave 5mm distance
between screw head and the wall.
-
Position the telephone against the wall over the screws so that the screws heads
insert in the larger part of the keyholes cut outs and fix the telephone by sliding it
down the screws.


