Specifications are subject to change. See bluesea.com/P12 for current information.
Specifications are subject to change. See bluesea.com/P12 for current information.
18
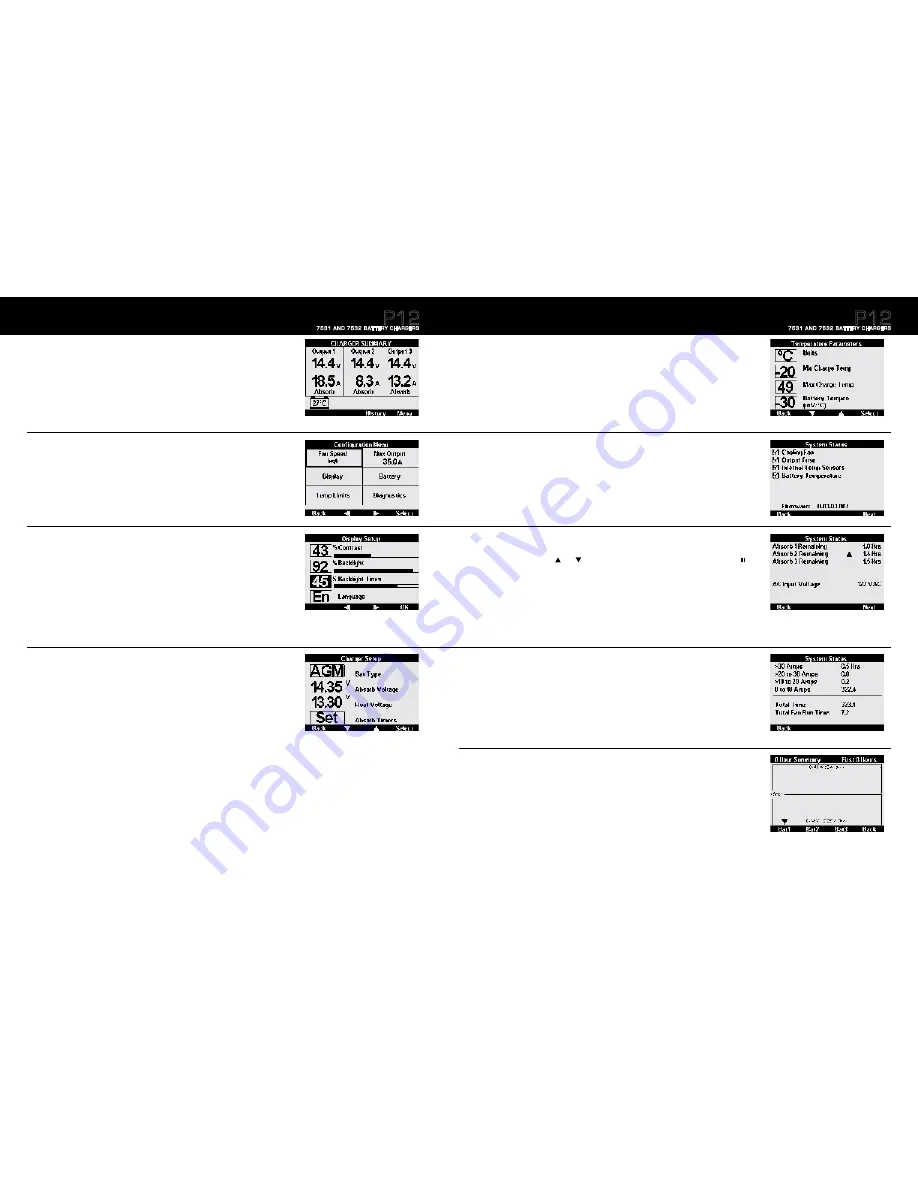
Charger Summary
The
Charger Summary
screen provides data of the battery’s status while the battery charger is operational.
Options:
- Press the
History
button to view previous charger performance
- Press the
Menu
button to view the Configuration Menu
How to Get Here:
From other screens in the charger, select the
Back
button.
Configuration Menu
The
Configuration Menu
has six user selections that allow modifications to Fan Speed, Charger Output,
Display, Battery Parameters, Temperature Limits, and Diagnostics.
Options:
- Scroll through the menu and select the desired option.
How to Get Here:
From the
Charger Summary Screen
, select the
Menu
button. From other screens, select the
Back
button.
Display Setup
The
Display Setup
allows the user to customize the display settings.
Options:
-
Adjust Contrast
-
Adjust Backlighting
-
Set a Backlight Timer (length of time backlight will remain on)
-
Select a language
How to Get Here:
From the
Configuration Menu
, select the
Display
button.
Charger Setup
The
Charger Setup Menu
is where the Battery Type and Absorb Timers are selected. Caution read
Absorption Parameters and Timers on page 14 before adjusting absorb timers.
Options:
- Select
Battery Type
or set
Absorb Timers.
- If “
User”
is the selected battery type you may also adjust Absorb and Float voltage.
See page 14 for more information
How to Get Here:
From the
Configuration Menu
, select the
Battery
button.
Screen Summary
P12
7531 AND 7532 BATTERY CHARGERS
19
Temperature Parameters
The
Temperature Parameters
screen indicates the minimum and maximum operating temperature based on the
temperature sensor. Read the Temperature Parameters section on page 15 before making any adjustments.
Options:
- Select
Units
and temperature parameters to adjust.
How to Get Here:
From the
Configuration Menu
, select
Temp Limits.
System Status
The
System Status
screen indicates which systems are functioning and the current firmware installed on the device.
Options:
- Select the
Back
button
to go to the Configuration Menu.
- Select the
Next
button to view the status of the Absorb timers.
How to Get Here:
From the
Configuration Menu
, select
Diagnostics
System Status Absorb Timers
The
System Status Absorb Timers
screen indicates the current Absorb time of each battery bank, as well as the
AC input voltage. The
up
down
arrows indicate if time is being added or subtracted from the timer. If
paused
the charger is in
Float
or
Standby
and the Absorb Timer will remain at its current time.
Read about Absorb Timers on page 14.
Options:
- Select the
Back
button to go to the System Status Screen.
- Select the
Next
button to view the charger Hour Meter Screen.
How to Get Here:
From the
System Status Screen
, select the
Next
button.
System Status Hour Meter
The
System Status Hour Meter
screen displays the overall time the charger has spent running at different
amperage levels.
Options:
- Select the
Back
button to go to the System Status Absorb Timers Screen.
How to Get Here:
From the S
ystem Status Absorb Timers Screen
, select the
Next
button.
History
The
History
screen graphically displays the charging voltage and amperages per battery.
Options:
- Select the
Back
button to go to the Charger Summary Screen.
- Select individual batteries to view charging summary.
- Press and hold any
Bat
button for 3 seconds to switch from First 8 Hour view to Continuous.
How to Get Here:
From the
Charger Summary Screen
, select the
History
button.
Screen Summary
(continued)
P12
7531 AND 7532 BATTERY CHARGERS


