7
6
SECTION 4: INSTAllATION
•
Ensure the blender vents are unobstructed, which will allow proper
cooling during use� Place the motor base on a flat, clean and dry surface�
•
Ensure an electrical outlet is within reach of the blender�
•
Ensure the power switch is turned to the OFF position, and then plug
the blender into an outlet�
•
Turn the unit on�
•
Place the blender jar, with the lid secured, on the blender base�
Note: We recommend plugging your blender into a GFI protected outlet�
We also recommend washing and sanitizing your jar before first use�
Section 5: operational overview
5.1
qUICK RECIPE TIPS
Complete the following steps to start blending!
•
Choose a recipe from
Fresh Blends
or
WildSide Jar Recipes
�
•
Gather all of the ingredients�
•
Load the blender jar as indicated in the recipe�
•
Attach the lid to the jar; ensure the lid sits on the jar completely�
•
Place the jar on the motor base, ensuring the jar is secure and fully
seated on the base�
•
Turn on the power switch located on the back of the motor base�
•
Press the button indicated in the recipe� You can stop the cycle at any
time by pressing “Stop”
�
•
When the cycle has finished, or you have manually stopped the
blending, remove the jar from the motor base�
•
Remove the jar lid, and serve as indicated by the recipe�
5.2
UNDERSTANDING THE CONTROL SURFACE BUTTONS
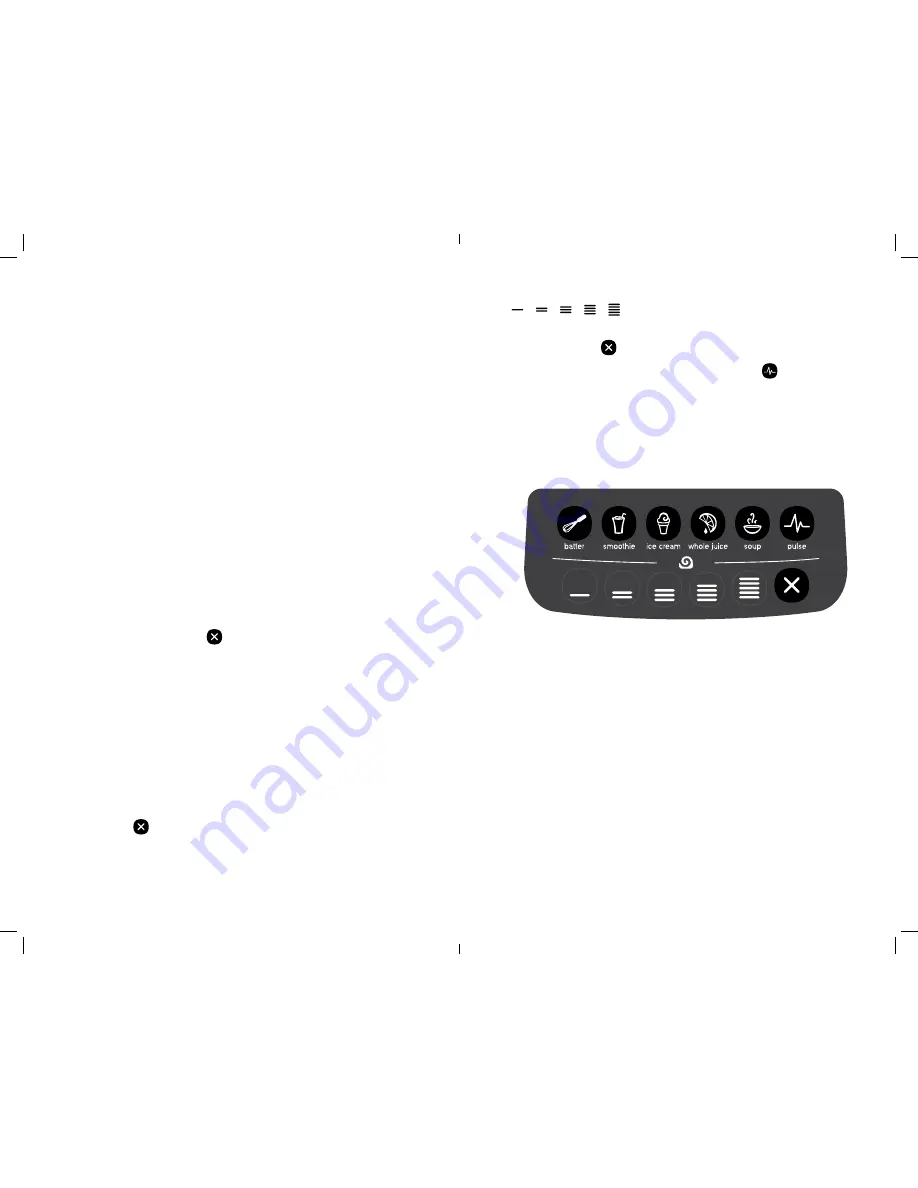
The touch pad includes the following buttons (see Figure 3):
Automatic cycles:
The Blendtec Signature Series has labeled buttons
that activate preprogrammed blending cycles for various needs� These
cycles run the blender at speeds that change during the course of the
cycle, allowing the blender to draw the contents into the blending vortex
and create the desired texture� When the blend cycle is complete, the
blender automatically shuts off� If you want to stop the blender during the
cycle, press
�
Manual operation—speed buttons:
The five speed buttons
allow you to manually control the blender speed�
When you press a speed button, the blender will run at the selected speed
and then shut off automatically after 50 seconds� To end the cycle before
50 seconds, press
�
Manual operation—“Pulse” button:
Use “Pulse”
to chop, mince,
whip or do other quick tasks that do not require a long blend cycle�
The motor will only run while the button is held down; release the button to
shut off the motor�
Note: While a blend cycle is underway, you may instantly switch to another
blend cycle or blending speed by pushing the desired button�
Figure 3
5.3
BLEND CYCLES
why blend cycles?
In the world of professional blending, there are
many factors that go into making a delicious and consistent blended
recipe� Different ingredients have different blending characteristics, and
each ingredient must be considered� For example, ingredients that are
thick and fibrous need to blend longer and at higher speeds than other
ingredients� The Signature Series’ blend cycles were developed based on
these principles� With these blend cycles, you can make a virtually limitless
number of recipes and achieve consistently impressive results�
How will blend cycles help my recipes?
Blend cycles allow the Signature
Series to produce consistent results across a wider range of recipes than
any other home blender� During a cycle, the blender will speed up and slow
down in a specific pattern based on the desired end results (see Figure 4)�
However, factors like the temperature of ingredients and the amount of
liquid used will create different blending characteristics�
Fresh Blends
and
WildSide Jar Recipes
are designed for the typical amounts of liquid
and temperatures of ingredients� If your ingredients differ from the typical
characteristics, you may need to include more or less ice or larger or
smaller portions of ingredients� For example, if a drink is too thick to blend


