18
6.2
Changing the filters
Read chapter 3.6 Maintenance safety before changing the filters.
Operators should observe any safety regulations appropriate to the materials being handled.
Warning! Always wear Personal Protective Equipment, the dust can be hazardous to the health!
Make sure you have enough sturdy plastic bags or use big bags for the disposal of the old filters.
Observe the national regulations in force both during exchange and disposal of the old filters.
•
Remove the filter house door.
•
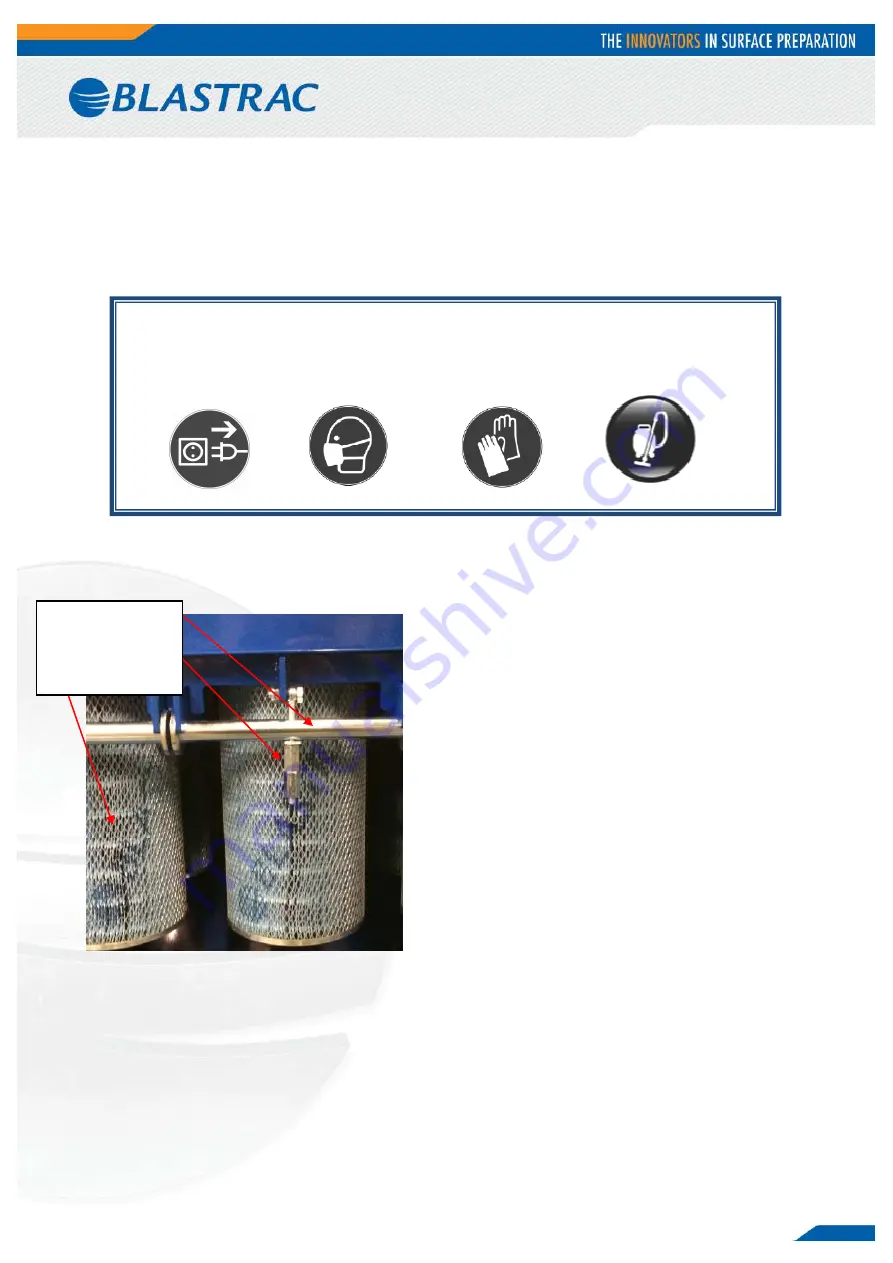
Loosen the nut+washer (2).
•
Remove the locking bar (1).
•
The filter bracket will now be tilted downwards so
the filters can be taken out easily.
•
Slide out the filter (3) and put it in a sturdy plastic
bag.
•
Close the bags properly.
•
When mounting new filter cartridges pay attention
that their gaskets at the upper side lies firm at the
sheet steel of the filter chamber. A tilt of the filter
cartridge results in leakage and contaminants will
be sucked in the clean part and consequently will
blow them backwards in the outer air.
When a filter was damaged, has leaked or was mounted incorrect, it has to be replaced. The compartment
above the filters, the connecting air hoses and the silencer also have to be cleaned thoroughly.
If the silencer blows out dust, stop the machine immediately!
This means probably that a filter is damaged or not fitted properly inside the filter chamber.
Check the filters and replace if necessary.
Continuing work with a broken/leaking filter can cause serious damage to the machine and is a
health hazard!
•
Pull out the mains plug before you start
•
Always wear gloves and a
dust mask
of at least
class FFP3
•
Use an extra vacuum cleaner in order to work as dust free as possible
1: Locking bar
2: Nut + washer
3: Filter


