


THE RGB TO DVI(/VGA) CONVERTER
38
6.2 Setup Instructions for RGB Input
This procedure is designed to correct for discrepancies in the video signal due to
analogue/digital video conversion by the ACU315A Converter. You do not need to follow
this procedure if you have a digital signal, connected to the ACU315A Converter. In this
case, the video signal is already converted into a digital format and digitally processed
through the ACU315A Converter.
If you are using a TFT monitor at ACU315A Converter with a VGA cable, you should carry
out the Monitor Setup procedure first (see page 36). In this configuration, the TFT digitize the
video data stream and affect video quality. By setting up the TFT monitor, you ensure that
you are correcting discrepancies due solely to the ACU315A Converter in this procedure.
Alternatively, you could replace the TFT monitor with a CRT monitor while you carry out
this procedure or use a TFT with DVI-cable. You can then reconnect the TFT monitor and
optimize its video image afterwards.
1.
Display from your graphic source a picture with as much detail as possible. If possible,
display a ‘burst-pattern’ (see Figure 17) - a picture with alternating, 1-pixel wide, black
and white, vertical stripes.
If you are unable to view the test card, display some black text on a white background.
For example, you could open Notepad, maximize it to full screen, and fill the page with
letter ‘I’s in a 12pt
sans serif
font. Proceed with step 2.
2.
Display the OSD (see page 25).
3.
Select the Image menu option:
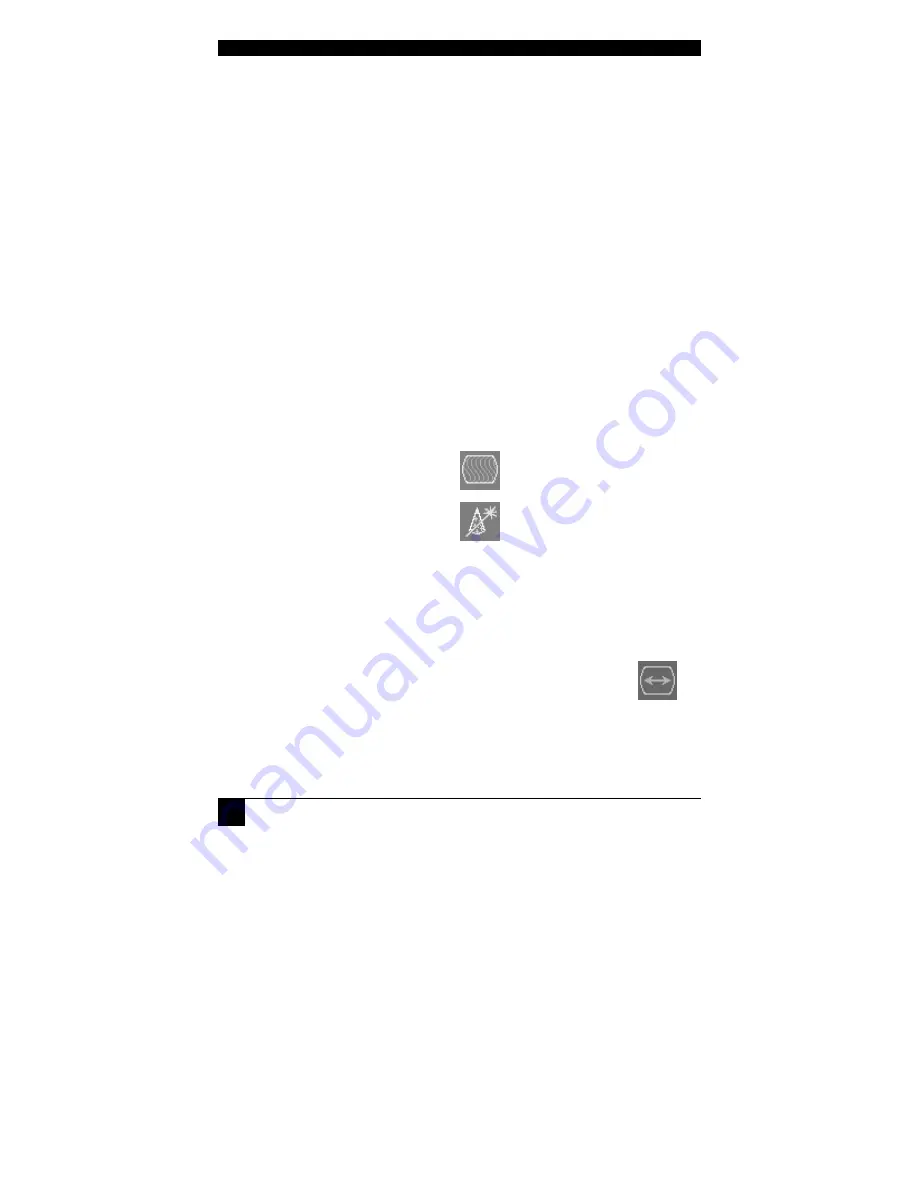
4.
Select the first command icon:
Automatic detection of number
of pixels per line and the best phase
.
5.
Assess the desktop test pattern. If the vertical stripes are sharp and without jitter or
smearing, the adjustment has been successful. Go to step 9.
6.
If the picture quality is not acceptable after the automatic adjustment, you will have to
manually adjust the pixel clock and pixel phase (in this order).
7.
With a poorly adjusted pixel clock you may see one or more vertical areas, where the
lines are smeared (see Figure 17a):
a.
Return to the OSD utility and select the menu command:
Manually adjust the number of pixels per line (Pixel clock)
from the Image menu.
b.
Adjust the pixel clock value until all stripes have disappeared.
c.
Confirm the setting.