For Professional Users Only
English BB1856-FMarch 2017
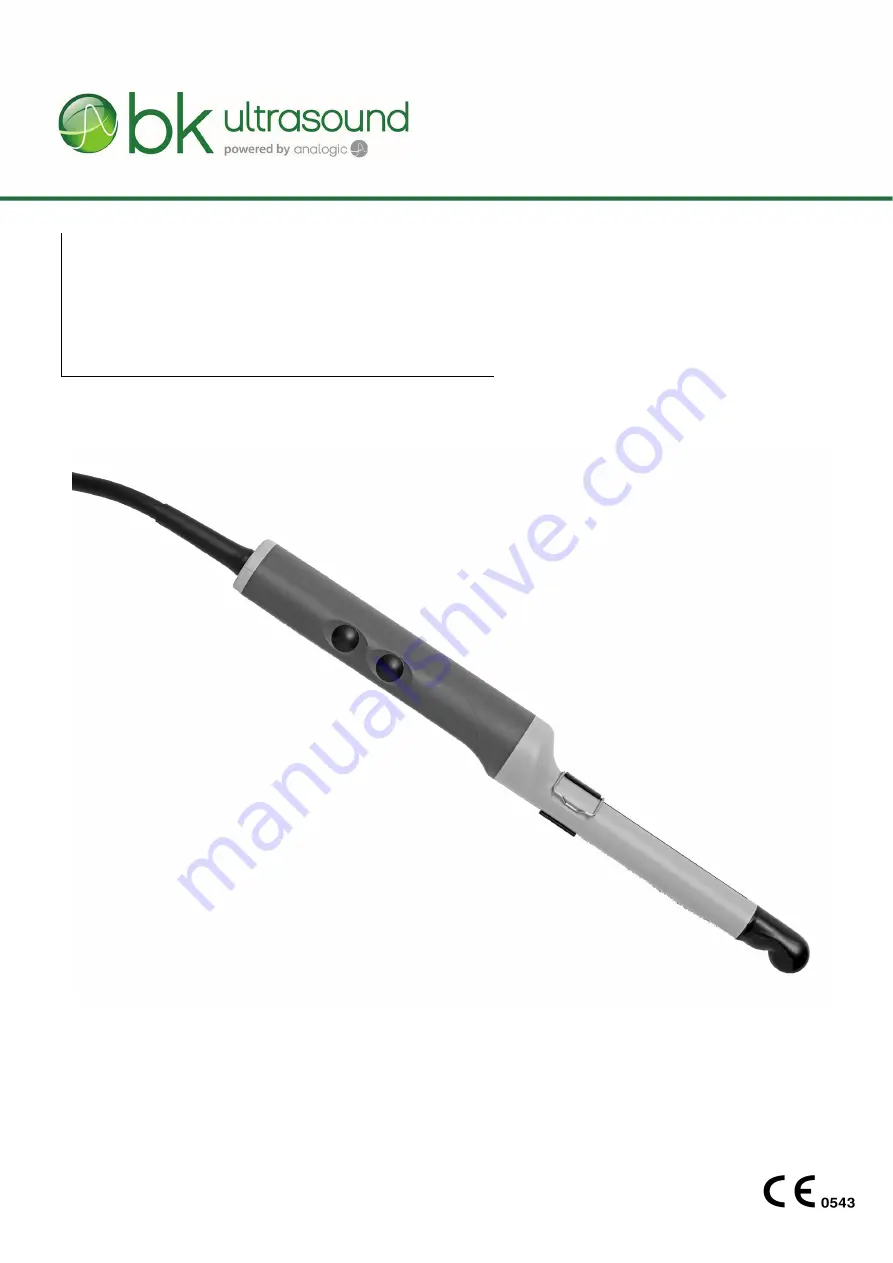
User Guide
Type 8808e
Prostate Biplane Transducer
Page 1: ...For Professional Users Only English BB1856 F March 2017 User Guide Type 8808e Prostate Biplane Transducer...
Page 2: ...our products and services As part of our customer satisfaction program we contact a sample of our customers a few months after they receive their orders If you receive an email message from us asking...
Page 3: ...ecting the Transducer 7 Changing Frequency 7 Using a Transducer Cover 7 Using the Transducer Control Button 8 Changing Orientation 8 Imaging with Type 8808e 8 Imaging Without Puncture or Biopsy 9 Punc...
Page 4: ...4...
Page 5: ...tage of being able to view two planes simultaneously with one transducer is that the true position of the needle can be seen during puncture and biopsy and a suspicious lesion can be viewed in both pl...
Page 6: ...contact with the patient Turn off the system Unplug the system from the wall and make sure it cannot be used until it has been checked Do not try to repair the system yourself Contact your BK Medical...
Page 7: ...be enclosed in a transducer cover or a standard condom See the Product Data sheet for a list of available transducer covers Apply sterile gel to the tip of the transducer or fill the cover with 1 to 2...
Page 8: ...transmit transverse T and sagittal S images simultaneously When you press the system s Split key simultaneous imaging is automatically activated Transverse or Sagittal Imaging Click Simultan to toggle...
Page 9: ...describe usage and operating instructions The transducer has an open channel into which the appropriate puncture accessories fit when the dummy channel bracket UA1325 has been removed see Figure 3 Fo...
Page 10: ...ture range from 5 C 41 F to 25 C 77 F and at a storage humidity of 0 to 80 Please refer to Care and Cleaning for an example of how to open a sterile packed product Simultaneous Biplane The sterile bio...
Page 11: ...ransducer cover or a standard condom containing a suitable amount of imaging gel over the transducer 3 Slide the needle guide into the biopsy channel bracket 4 Insert the assembled needle guide and bi...
Page 12: ...is parallel to the centerline of the transducer Note The needle guide can be adjusted 70 mm lengthwise with respect to the mounting ring using the adjustment screw Figure 7 Puncture attachment UA1324...
Page 13: ...it as it moves along the puncture line to the target The needle tip echo will be seen as a bright dot on the screen The puncture line will differ depending on the imaging plane orientation In the sagi...
Page 14: ...t the end of its life national rules for the relevant material in each individual land must be followed Within the EU when you discard the transducer you must send it to appropriate facilities for rec...
Page 15: ......
Page 16: ......