background image

S1 Server

 Manual

Last updated: 11/26/2013 

Page 7 of 

10


Page 7 / 

10


3.2


WIFI setting 

There  is  WIFI  built  in  the 

server

,  and  it  can  be  used  to  connect  to  the  Ethernet  via  another

WIFI  hot  point.  Note:  Bad  WIFI  performance  will  reduce  the 

server

’s  hash  rate.  You  have  to

prepare the WIFI antenna by yourself. 

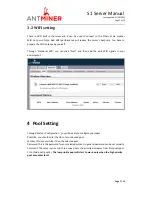
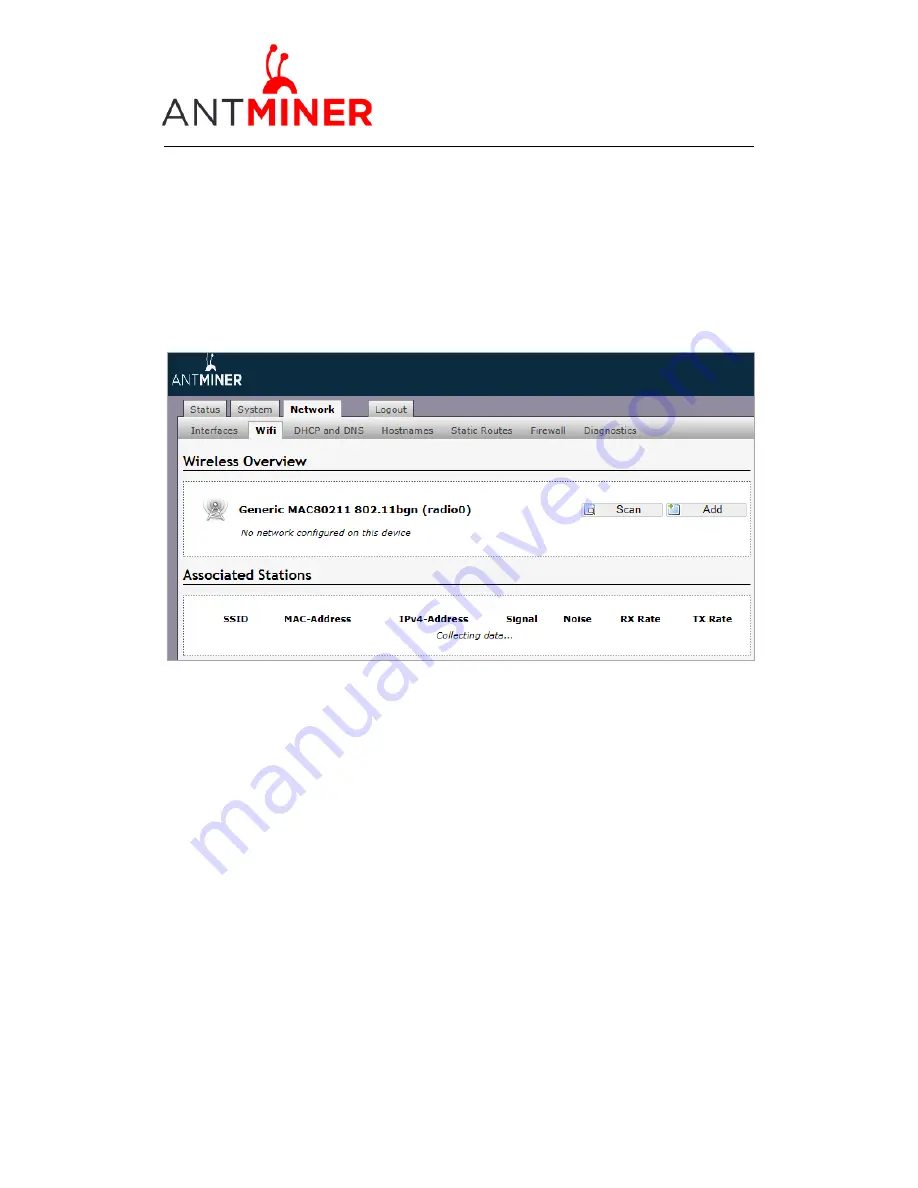
Through  “Network->Wifi“ you can  click  ”Scan“ and  then add the exist  WIFI signals  in  your 
enviornment. 

4


Pool Setting 

Through ‘Status->Configuration ‘, you will be able to configure your 

server

.

Pool URL- you should enter the URL of your desired pool. 
Worker- this is your worker ID on the selected pool. 
Password- this is the password for your selected worker. In general password can be set casually. 
Comment: 

The server

 can set up three mine pools, the priority decreases from first pool (pool

1) to third pool (pool 3). 

The low priority pool will start to work, only when the high priority

pool encounter fault.

Summary of Contents for AntMiner S1

Page 1: ...BITMAIN S1 Server Manual ...

Page 2: ...3 Page 2 of 10 Page 2 10 Contents 1 The first glance 3 2 Power Supply 4 3 Connect to Server 4 3 1 WAN setting 4 3 2 WIFI setting 7 4 Pool Setting 7 5 Server Status 8 6 System Configuration 9 6 1 Password Modification 9 6 2 System Upgrading 9 ...

Page 3: ... style server which contains two blades It has been assembled before Fab out Bellow screen shows all S1 s components One blade server can work separately it is showed in bellow Notice 1 You should prepare your own ATX Power Supply 2 To connect your server via WIFI you should prepare your own WIFI antenna ...

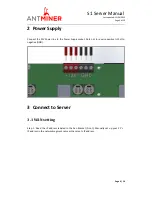
Page 4: ...ct the 12V Power line to the Power Supply socket Note not to reverse positive 12V to negative GND 3 Connect to Server 3 1 WAN setting Step 1 Read the IP address labeled in the Fan Bracket Front Manually set up your PC s IP address in the network segment same as the server s IP address ...

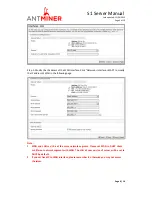
Page 5: ...ername and password is root by default Step 4 Set LAN as DHCP client Click Network Interface LAN select DHCP client as the following page and then click Switch Protocol and then click Save Apply The default LAN value of the first several batch is fixed to 192 168 1 1 and WAN address can t be set as 192 168 1 x otherwise the server can t be accessed If your server s LAN is set as DHCP by default pl...

Page 6: ...N to modify the IP address of WAN in the following page Note 1 WAN and LAN can t be at the same network segment Please set WAN to DHCP client or different network segment with WAN The LAN of new version of server will be set to DHCP by default 2 If you set fixed IP to WAN interface please remember it otherwise you may not access the server ...

Page 7: ... then add the exist WIFI signals in your enviornment 4 Pool Setting Through Status Configuration you will be able to configure your server Pool URL you should enter the URL of your desired pool Worker this is your worker ID on the selected pool Password this is the password for your selected worker In general password can be set casually Comment The server can set up three mine pools the priority ...

Page 8: ...ge 8 10 5 Server Status Click the status marked below you will be able to check your server running status ASIC ASIC number in the chain Fan Fan speed Temp Temperature centigrade Frequency ASIC setting frequency ASIC status o stands for OK x stands for error ...

Page 9: ...by default you should choose it if you hope to preserve the current settings You should cancel this option if you hope to restore to initial settings Click Browse button to choose upgrade file After choosing upgrade file then click Flash image button to start downloading this file to your system After downloading please click Proceed button then upgrade system During the upgrade process you need t...

Page 10: ...Page 10 10 Last updated 11 26 2013 Page 9 of 10 S1 Server Manual ...

Reviews: