Attach the battery
Place the battery between the headers inserted into the expansion connector and insert the
battery holder board onto the headers. Watch out for the pins that can be a bit sharp when
inserting it. The friction should hold the battery in place so tighten it until it does.
Now connect the battery and you are finished with the assembly. The battery wires can
preferably be bent and placed underneath the PCB to be out of the way.
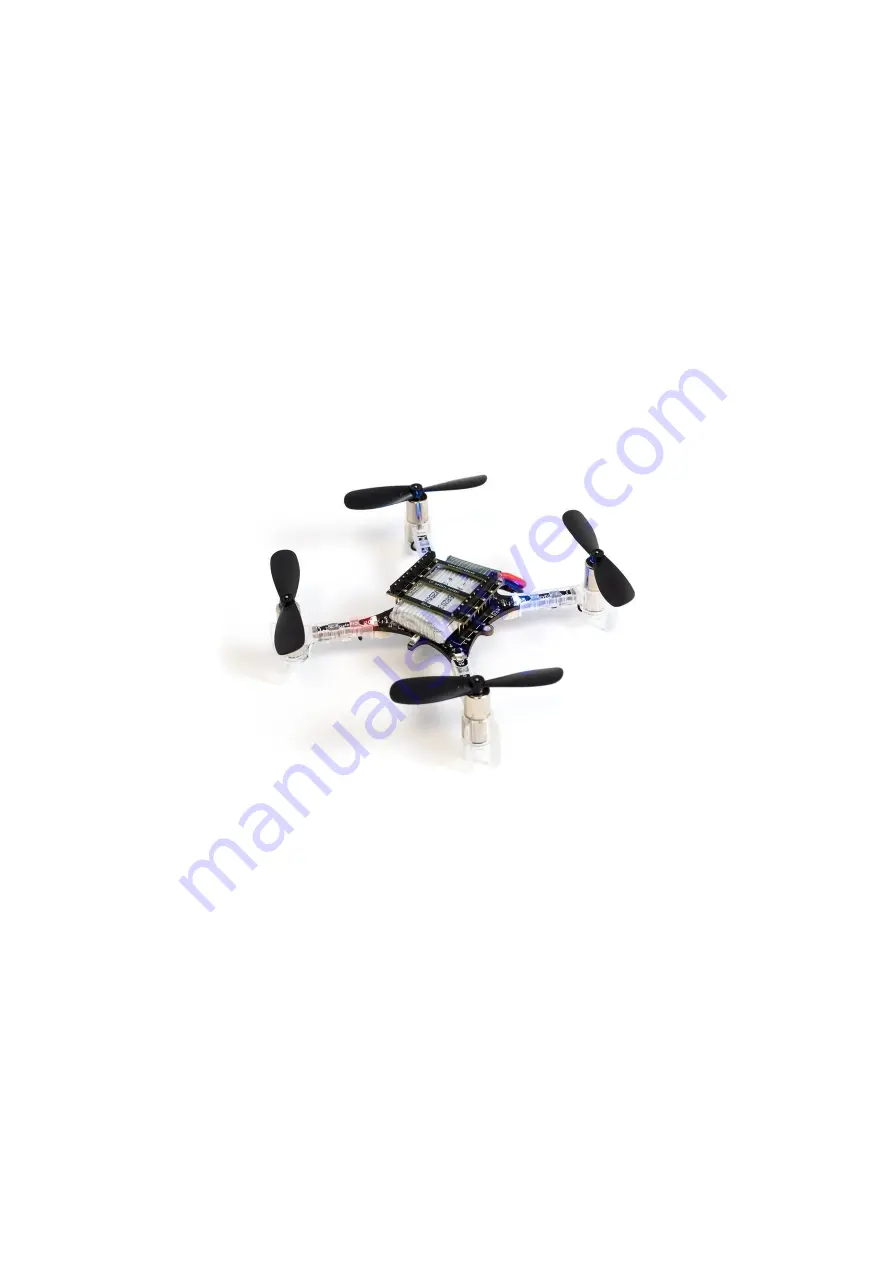
Assembled Crazyflie 2.1 should look like this
Power on!
The assembly is finished, now it’s time to power it on! Note that the power button is a push
button, not a sliding button. During the power-on self-test all the propellers will spin in
sequence. Make sure they all spin, if they don’t then check the motor connections.
7


