background image

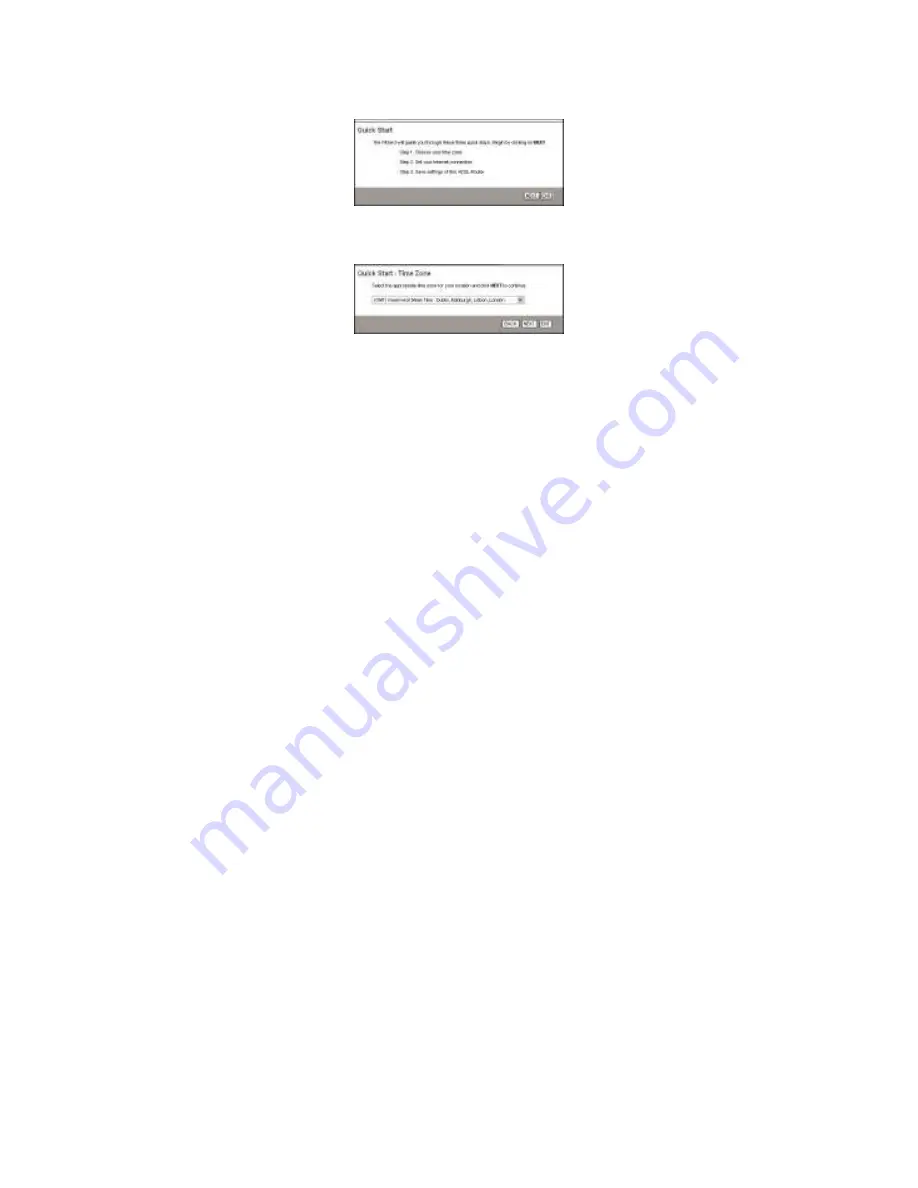
configure  the  router  using  the  web  browser.  Please 
select  the 

Quick  Start

  tab,  and  then  click 

RUN


WIZARD

, the next screen will appear. Click the

 NEXT 

button to continue.


Figure 3


b.  Configure  the  time  for  the  router,  and  then  click  the 

NEXT 

button.


Figure 4


c.  Select the connection type to connect to the ISP (We 

select 

PPPoE/PPPoA

  mode  for  example  here),  and 

then click the 

NEXT

 button.  


4


Summary of Contents for DT820N

Page 1: ...Quick Installation Guide DT820N Wired ADSL2 Router...

Page 2: ...LINE Method one Plug one end of the twisted pair ADSL cable into the LINE port on the rear panel of DT820N and insert the other end into the wall socket Method two You can use a separate splitter Ext...

Page 3: ...ter s Ethernet port or a regular hub switch port and the other end to the LAN port on the DT820N c Attach the power adapter Connect the power adapter to the POWER connector on the rear of the device a...

Page 4: ...please refer to the User Guide on the Resource CD a Launch a suitable web browser and type in 192 168 1 1 in the address bar of the browser b After a moment the login screen shows Enter the default U...

Page 5: ...ck RUN WIZARD the next screen will appear Click the NEXT button to continue Figure 3 b Configure the time for the router and then click the NEXT button Figure 4 c Select the connection type to connect...

Page 6: ...lick NEXT to configure the following options Username Password VPI VCI and Connection Type in Figure 6 Then click NEXT Figure 6 II If you have a dynamic IP or an automatic IP account select Dynamic IP...

Page 7: ...nd then click NEXT Figure 7 III If you have a fixed IP or static IP account select Static IP Address and click NEXT to load the following figure Then enter the VPI VCI IP parameters and Connection Typ...

Page 8: ...ou want to set the router as a bridge select Bridge Mode and click NEXT Then enter the VPI VCI and Connection Type in Figure 9 and then click NEXT Figure 9 d Click NEXT to finish the Quick Start Figur...

Reviews: