30
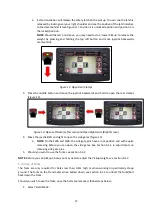
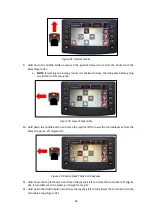
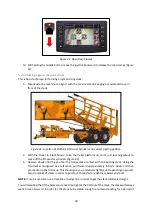
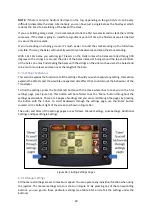
Figure 41: Open Rear Clamps
10.
Still holding the middle button, move the joystick backward to release the rear clamps (Figure
41).
5.4.2 Stacking against previous stacks
This is basic technique for forming a tight and tidy stack.
1.
Manoeuvre the machine to align it with the previous stack, keeping a sensible distance in
front of the stack.
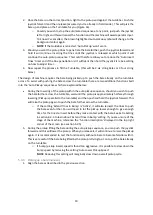
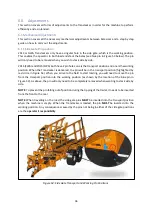
Figure 42: Location of Platform Lift Assist Cylinders and correct tipping position
2.
With the trailer in ‘Stack Mode’
, raise the trailer platform up so
it’s
just touching/about to
come off the lift assistor cylinders (Figure 42).
3.
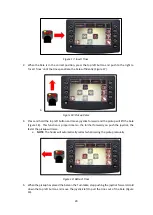
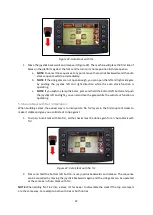
Reverse slowly until the you feel the trailer make contact with the existing stack. Using the
Transtacker mudguard as a reference, pull forward approximately 8-9 tyre cleats and then
proceed to tip the trailer up. This should give you a relatively tight stack. Depending on ground,
adjust number of cleats in order to get stack to satisfactory tightness between stacks.
NOTE:
It can be useful to use a tramline or hedge line in order to get the stack relatively straight.
You will also find that if the bales are stacked too tight at the bottom of the stack, the stack will always
want to lean forward. In order for the stack to be stable enough to remain standing for a period of
Summary of Contents for Transtacker
Page 7: ...7 3 0 Machine Overview Figure 1 Transtacker Overview...
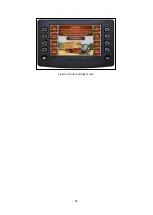
Page 43: ...43 Figure 59 Auto Settings Screen...
Page 57: ...57 8 1 Auto Pickup Sequence Figure 69 Auto Pickup Diagram...
Page 58: ...58 8 2 Auto Stack Sequence both with and without tie Figure 70 Auto Stack Diagram...
Page 59: ...59 8 3 Auto Lower Turntable Figure 71 Auto Lower Turntable Diagram...
Page 60: ...60 8 4 Auto Open Sequence Figure 72 Auto Open Diagram...
Page 61: ...61 8 5 Auto Tip Bed Down Sequence Figure 73 Auto Tip Bed Down Diagram...
Page 62: ...62 8 6 Road Mode Sequence Figure 74 Road Mode Diagram...


