BGS technic KG
Bandwirkerstr. 3
D-42929 Wermelskirchen
Tel.: 02196 720480
Fax.: 02196 7204820
www.bgstechnic.com
© BGS technic KG, Copying and further use not allowed
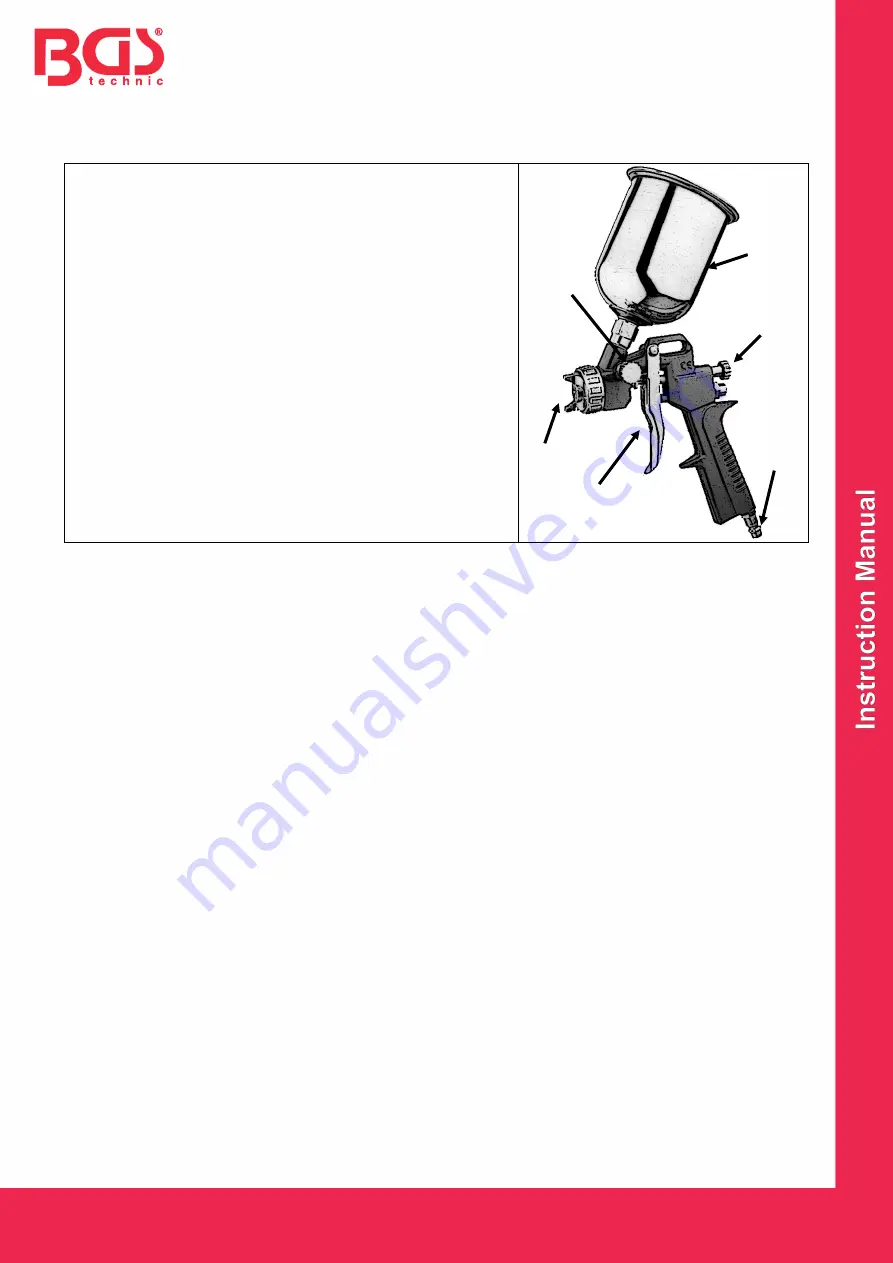
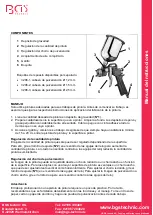
COMPONENTS
1
Cup
2
Paint Regulator
3
Spray Jet Regulator
4
Air Inlet (euro type quick connector)
5
Trigger
6
Nozzle (stainless)
Replacement nozzles available separately:
•
3206-1, spray nozzle Ø 1,2 mm
•
3206-2, spray nozzle Ø 1,5 mm
•
3206-3, spray nozzle Ø 2,5 mm
OPERATION
Always use suitable paint/varnish. Before you start your operation, check the instructions of the
manufacturer.
1. Fill the desired amount of paint into the cup (#
1
).
2. Prepare the work piece carefully. Clean it – traces of dust and grease will seriously affect the
result. Cover or mask everything, which is not meant to be painted.
3. Pull the trigger and start your operation. Keep in mind to always keep a distance of 15 – 20 cm
between the nozzle and the work piece.
Adjusting the amount of paint
You can adjust the amount of sprayed paint in accordance to the surface of the work piece.
Turn the paint regulator (#
2
) clockwise to increase the amount of paint. Turn it counter clockwise to
reduce it.
Adjusting the spray jet
You can adjust the spray jet from a round jet to a rather wide jet. For larger work pieces the latter will
be more convenient. This can be adjusted vertically as well as horizontally. To get a round spray jet
turn the spray jet regulator (#
3
) clockwise. Turn it counter clockwise to get a wide spray jet.
Note
The professional operation of a spray gun takes some experience. Therefore we recommend that you
experience the spray gun’s functions and its handling on a piece of paper or cardboard before you
start. Make a test run before each operation.
1
3
2
4
5
6
1


