background image

7

7. Usage

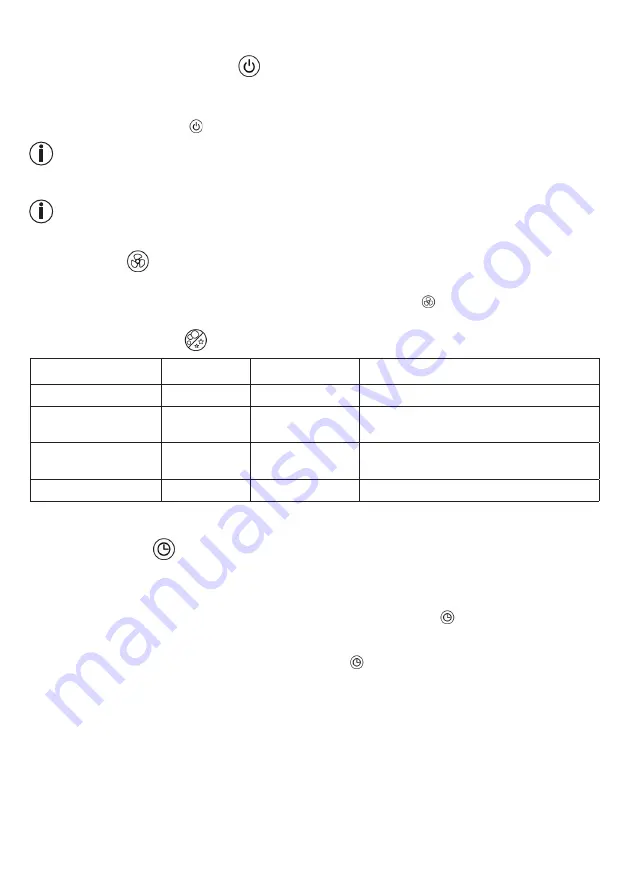
7.1 Switching on the air cleaner 

1. Always follow the instructions in chapter “5. Initial use”.
2. Insert the mains plug into the socket. Ensure that the cable does not pose a trip hazard.
3. Press the ON/OFF button ( ) to switch on the air cleaner.

Note


 When starting up for the first time, all of the LEDs initially light up. The air cleaner is then set to the lowest 

fan speed and the ioniser is activated.

Note


If the “Filter reset” light above the on/off button is flashing, you must replace the combi filter. To do this, 

follow the instructions in the “Filter change” section.

7.2 Fan speed 

The air cleaner has three fan speeds: I (low), II (medium) and III (high).
• To switch between the individual fan speeds, press the fan speed button 

. The fan speed that is currently 

set lights up on the control panel.

7.3 Ioniser/Sleep mode 

Ioniser

Sleep mode

Note

1 x press

ON

OFF

„ION“ LED illuminates

2 x press

ON

ON

„ION“ LED illuminates

„Sleep“ LED flashes

3 x press

OFF

ON

„ION“ LED goes out

„Sleep“ LED flashes

4 x press

OFF

OFF

„Sleep“ LED goes out

If sleep mode is activated, all the LEDs in the operating panel automatically switch off after 10 seconds.

To deactivate sleep mode, press any button on the operating panel.

7.4 Timer function 

The air cleaner features a timer function that you can use to determine the number of hours the air cleaner 

should run for before it automatically switches itself off. The air cleaner has three timer periods: 2H (two hours), 

4H (four hours) and 8H (eight hours). 

• To switch between the individual timer periods, press the TIMER button (

) The TIMER period that is 

currently set lights up on the control panel. The air cleaner will now automatically switch off after the set 

number of hours has passed.

• To switch off the timer, repeatedly press the TIMER button (

), until the light above the TIMER button goes 

out. The air cleaner will now clean for an unlimited period.

Summary of Contents for LR 200

Page 1: ...EN Air purifier Instructions for use LR 200...

Page 2: ...posed of Dear customer Thank you for choosing one of our products Our name stands for high quality thoroughly tested products for applications in the areas of heat gentle therapy blood pressure diagno...

Page 3: ...ticles to themselves due to the pull of the electric charge Due to this higher concentration and the formation of larger particles the particles are then collected in the ioniser collector or land on...

Page 4: ...to disconnect the plug from the socket Never hold or carry the device by the mains cable Keep the cables away from hot surfaces Always switch off the device before disconnecting it from the mains Nev...

Page 5: ...vice is intended for private use WARNING If you suffer from severe respiratory or lung disease consult your doctor before using the air cleaner This device must only be used for the purpose for which...

Page 6: ...s three timer periods 2H two hours 4H four hours and 8H eight hours 6 Initial use 6 1 Removing the air purifier 1 Open the cardboard packaging 2 Remove the device from the top of the box without openi...

Page 7: ...mode Note 1 x press ON OFF ION LED illuminates 2 x press ON ON ION LED illuminates Sleep LED flashes 3 x press OFF ON ION LED goes out Sleep LED flashes 4 x press OFF OFF Sleep LED goes out If sleep m...

Page 8: ...the top and then at the bottom 3 Pull out the pre filter Now to pull out the combi filter pull carefully on the side tabs 4 Insert a new combi filter To insert the combi filter correctly align it wit...

Page 9: ...n the HEPA filter Activated carbon filter HEPA filter H 13 Front Rear IMPORTANT The three layered filter should be changed after 4320 operating hours see Filter change section The three layered filter...

Page 10: ...e filters see Mainte nance and storage section The filters are not correctly inserted Insert the filters correctly The air cleaner is positioned on an uneven surface Position the air cleaner on a leve...

Page 11: ...ee the attached International Service list of service addresses The buyer will then receive further information about the processing of the warranty claim e g where they can send the product and what...

Page 12: ...12 686 81_LR200_HEPA_2019 12 27_01_IM1_FITZ Subject to errors and changes BEURER GmbH S flinger Str 218 89077 Ulm Germany www beurer com www beurer healthguide com...

Reviews: