Install
(Multiple person assembly)
Cable Connections (Cont)
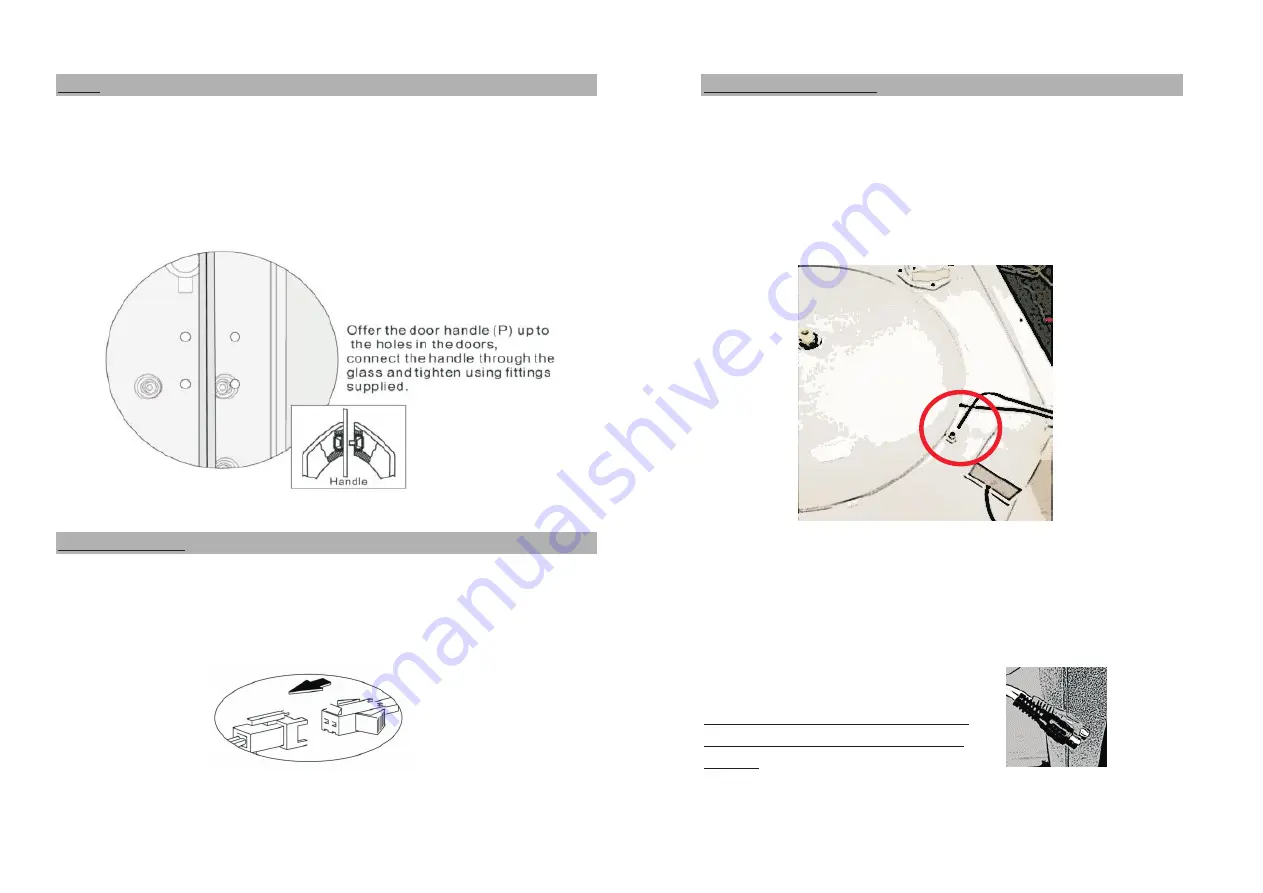
39. Offer the handle up to the pre-formed holes in the doors
The clips are colour coded ie blue to blue, red to red.
40. Join the handles through the glass and secure using the
They are also labelled with symbol indicators.
fittings supplied
You will have a white connector which is for connection to the
back light, on this model this is not to be used.
44. The heat sensor should be pushed into the small hole on top
of the cabin roof, as shown below.
Cable Connections
45. The radio aerial strip should be un-wound and attached to the
41. All connections need to be made before moving the enclosure
roof of the cabin or where the best signal is achieved.
into its final position.
46. Also on the rear of the control panel are a red and a black
42. Connect the earth cable to the metal frame of the tray.
audio output connector, these should be connected to audio
43. Join the clip connectors as shown below
cable which in turn are then attached to your CD player located
outside the enclosure
It is recommended to test all functions
prior to moving the cabin into its final
location
SEPT 18 - V6BB


