6
Please familiarize yourself with
how long it takes for your tug
to ramp up/down and stop;
the“coast” when slowing
is due to the software that
protects your nose gear from
unnecessary damage and
stress. Take the time to get used
to this feature and be aware of
it as you move your aircraft.
INITIAL USE
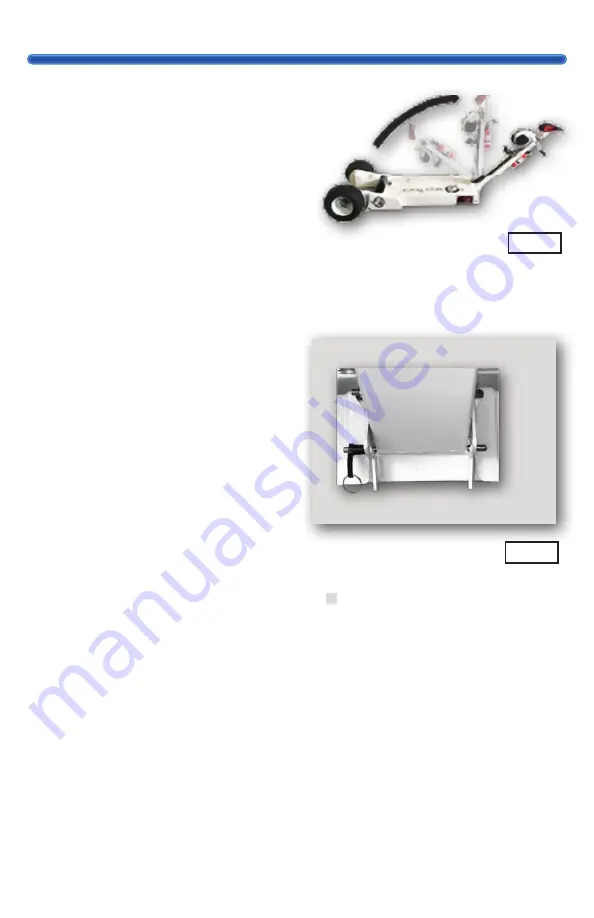
Adjusting the Control Arm
Your tug arrives fully assembled.
Before first use, set the control
arm to your preferred height. To
do this, be sure you have a good
hold on the control arm to make
sure it doesn’t fall onto the cover,
remove the L-Handle Pin at the
base of the control arm and
rotate the arm (FIG 5) until it is
at your preferred angle. (Most
users lower it to the bottom
position.)
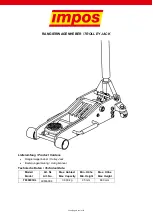
Once you have decided on the
angle, line up the holes on the
base bracket with the holes on
the base of the control arm and
insert the L-Handle Pin until it is
visible from both sides. (FIG 6)
We strongly recommend using
your tug without an aircraft
attached to get used to the
controls and movements; this
is a very user-friendly system,
but it can take a bit of practice
to get familiar with initially.
Change the drive direction
(PUSH/PULL), vary the speed by
slowly twisting the throttle as
you begin moving. Make sure
you are comfortable with the
throttle, maneuverability, and
functionality of the tug before
moving your plane.
FIG 5
FIG 6


