Using individual pictures/graphics
A large library of graphics is available at the factory for designing operating
and display pages for applications in light, blind and HVAC control technology
as well as multimedia and safety technology, which is stored in the device.
Additionally, you can load your own graphics for icons or control knobs, pic-
tures or picture sequences into the device. These have to be saved on a micro
SD card at the topmost level in a defined resolution and specific file format.
When doing so, it is essential to use the predefined folder names (Table 3).
Moreover, the image files must be named with a 4-digit numerical sequence -
(
0001 … 9999
) - in order to be retrievable in the ETS or in the display menu.
Pictures/graphics for:
Resolution
File format
Folder name
Slideshow as screen-
saver
320 x 240 px jpg (RGB colour
space)
diashow
Single picture display as
screensaver
320 x 240 px jpg (RGB colour
space)
diafix
Still picture display
1)
320 x 240 px jpg (RGB colour
space)
festbilder
small icon
1)
48 x 48 px png
icons
Control knob
1)
158 x 158 px png
icons
1)
only configurable over the ETS, not directly selectable on the screen
Table 3: My pictures/graphics on micro SD card
The device is connected, but not yet mounted, so that the slot for Micro SD
Card (3) is accessible. The system has not yet started up. Pictures/graphics
are stored on a micro SD card.
P
If the system already started up before inserting the micro SD card, in
menu
-
execute a
. The device is restarted.
Insert micro SD card into the slot (3) until it snaps into place. When doing so,
make sure that the contacts of the card are facing up towards the display.
Switch on auxiliary voltage.
The device starts up.
In the display menu, an individual screen saver can be set with image data
from the Micro SD Card.
With
Mo. 30.06.14
07:22
Seite 5
Seite 6
Seite 7
enter menu
,
and then select
.
The display changes to the menu
.
With
Tastenton
Bildschirm
Sprache der
editierbaren Texte
Sprache
System
Einstellungen
System
/
Tastenton
Bildschirm
Sprache der
editierbaren Texte
Sprache
System
Einstellungen
System
scroll in the bottom display row (10) to the setting parameter
and select.
With
Tastenton
Bildschirm
Sprache der
editierbaren Texte
Sprache
System
Einstellungen
System
/
Tastenton
Bildschirm
Sprache der
editierbaren Texte
Sprache
System
Einstellungen
System
select e.g.
.
With
Tastenton
Bildschirm
Sprache der
editierbaren Texte
Sprache
System
Einstellungen
System
change to selection of the
.
With
–
+
07 : 45
Weckzeit
EIN
Wecker
Einstellungen System
Wecker
/
–
+
07 : 45
Weckzeit
EIN
Wecker
Einstellungen System
Wecker
set the
of an image stored on the SD card.
P
Intrinsic icons for control surfaces are to be deposited on the memory card
under image number
0250 ... 9999
and can be allocated in the ETS.
P
The configuration of images for permanent displays such as for a greeting
screen is done in the ETS. With a still image display, the touch-sensitive
display is locked for the length of the display.
P
The micro SD card must remain in the device while being used as My
Pictures/Graphics.
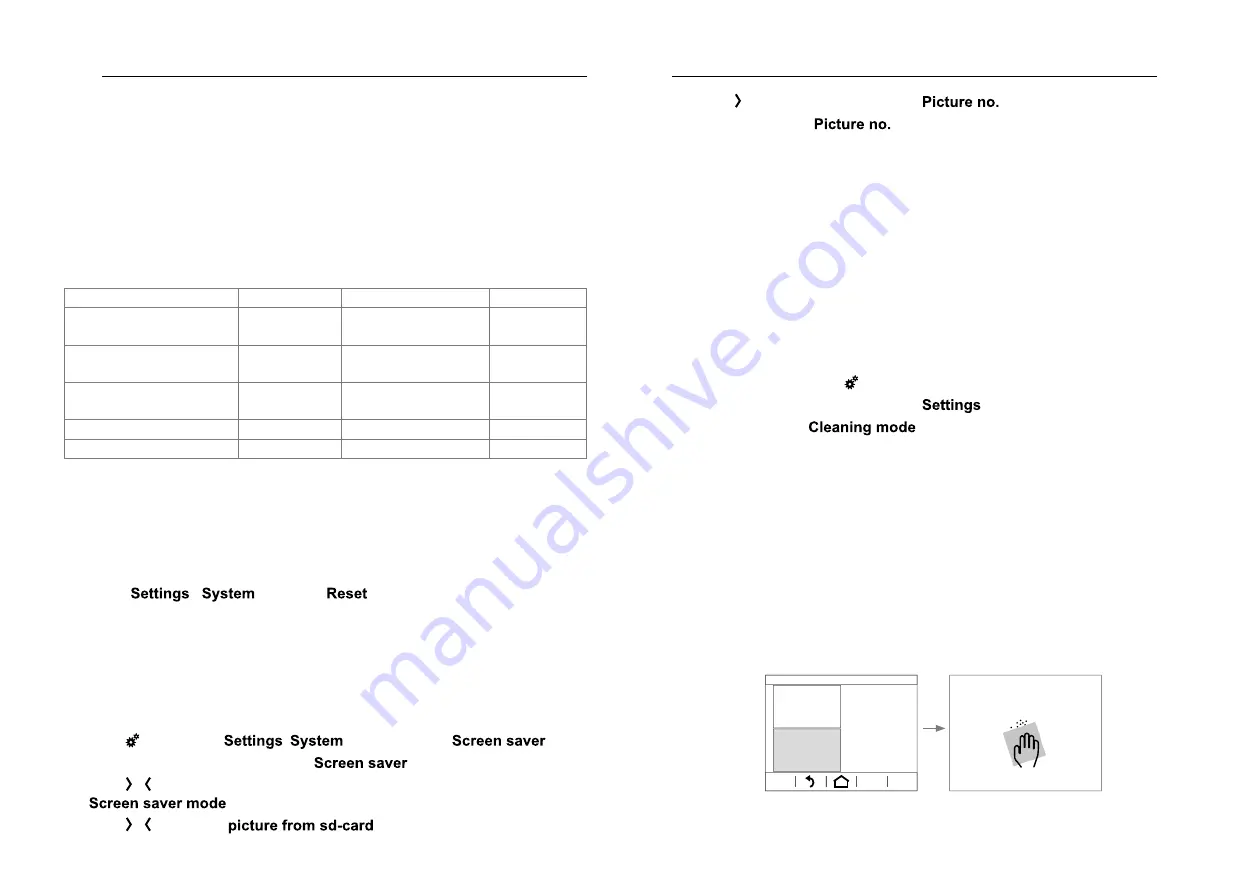
Cleaning display
The device has a special cleaning function to prevent any unintended functions
from being activated when removing dirt or fingerprints etc. While the cleaning
function is active, nothing is evaluated while the display surface is touched.
Press control surface
Mo. 30.06.14
07:22
Seite 5
Seite 6
Seite 7
in the top display row (8).
The display changes to the menu
.
Select submenu
(Figure 8).
The cleaning icon displays the locking of the touch-sensitive display.
Touches are not evaluated – in the delivered state 5 minutes – for the
configured period. The remaining cleaning time is displayed on the screen
as a countdown (Figure 8).
Clean the display surface with a lint-free cloth. Moisten the cleaning cloth
slightly with clear water if necessary.
After the countdown has finished, the display returns to the screensaver/
start page. The device can be operated again.
P
Do not use any sharp-edged implements for cleaning.
P
Do not use any aggressive detergents, acids or organic solvents.
P
Do not allow any moisture to get into the device.
Cleaning mode
System
Settings
00:00:42
Figure 8: Cleaning mode
z
z
33
32


