47
4. Menu setting
This chapter will help you to understand how to set and use various upper functi-
ons. To set the camera's parameters , users must push (
Slide
) key to “TEST” gear
and keep in photo or video mode. The parameters can only be set in this mode ,
and all settings in chapter 4 must be done in this mode.The menu operation is the
same in photo mode and video mode. After all the settings are completed, the
(
Slide
) key must be pushed to "ON" gear before the camera working according
to the parame- ters users set.
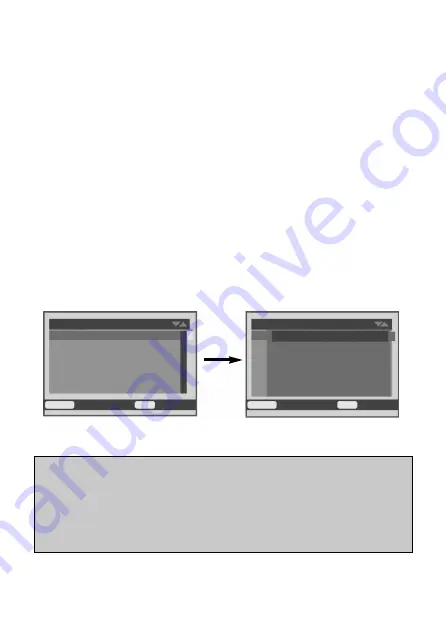
4.1 Mode
This function determines what kind of working mode the camera will work with in
monitor shooting status (the (
Slide
) key is on “ON” gear).(Pic4-1).
1. Press (
MENU
)key to shift to the “Setting” menu;
2. Press (
UP
) or (
DOWN
) key to select “ Mode ”, press (
OK
) key to enter into sub-
menu interface;
3. In the sub-menu interface, press (
UP
) or (
DOWN
) key to select mode: Photo /
Video / Photo & Video;
4. Press (
OK
) key to confirm saved and back to ”Settings” menu, press (
MENU
)
key to back to main interface.
Notice:
Selecting “Photo” mode: the camera will only take photos when pushing the
(
Slide
) key to “ON” gear.
Selecting “Video” mode: the camera will only record videos when pushing the
(
Slide
) key to “ON” gear.
Selecting “Photo & Video” mode: the camera will take photo first, then record
video when pushing the (
Slide
) key to “ON” gear.
Pic 4-1
Settings
Mode
Photo resolution
Photo series
Video resolution
Video length
Cycle storage
MENU
Back
OK
Select
Settings
Photo
Video
Photo / video
MENU
Back
OK
Select


