12
ASSEMBLY
Please refer to motor’s owner’s manual for
instructions and proper winter oil recommendations.
Connecting the wire assembly:
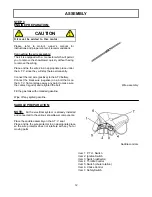
The kit is equipped with a connector which will permit
you to remove the snowblower quickly without having
to remove the wiring.
Place and tie the wires in an appropriate place under
the A.T.V. since they will stay there permanently.
Connect the red wire (positive) to the ATV battery.
Connect the black wire (negative) on a bolt that is on
the A.T.V. frame (scrape away any paint to make sure
the contact is good) and retighten the bolt.
Fill the gas tank with unleaded gasoline.
Wipe off any spilled gasoline.
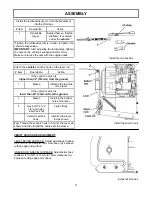
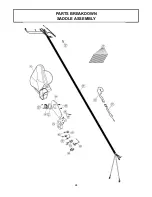
Saddle controls
STEP 3
ENGINE PREPARATION:
Item 1: P.T.O. Switch
Item 2: Ignition Switch
Item 3: Switch (deflector)
Item 4: Throttle Control
Item 5: Switch (chute rotation)
Item 6: Choke Control
Item 7: Safety Switch
SADDLE PREPARATION:
NOTE:
All the electrical system is already installed
and connected to the various snowblower components.
Place the saddle assembly on the A.T.V. seat.
Place and tie the wire protector in an appropriate place
so the wire protector does not interfere with any hot or
moving parts
Wire assembly
CAUTION
Oil must be added to this motor.


