Operation
47
Personalizing the projector menu display
The On-Screen Display (OSD) menus can be set according to your preferences. The
following settings do not affect the projection settings, operation, or performance.
•
Menu display time in the SYSTEM SETUP: Basic > Menu Settings menu sets the length
of time the OSD will remain active after your last key press. The time length ranges from
5 to 30 seconds in 5-second increments. Use
/
to select a suitable time frame.
•
Menu position in the SYSTEM SETUP: Basic > Menu Settings menu sets the OSD
position in five locations. Use
/
to select a preferred position.
•
Language in the SYSTEM SETUP: Basic menu sets your familiar language for the OSD
menus. Use
/
to select your language.
•
Reminder Message in the SYSTEM SETUP: Basic > Menu Settings menu sets whether to
display reminder messages on screen. Use
/
to select your desired setting.
•
Splash Screen in the SYSTEM SETUP: Basic menu sets a preferred logo screen to be
displayed during projector start-up. Use
/
to select a screen.
Controlling the projector through a LAN
environment
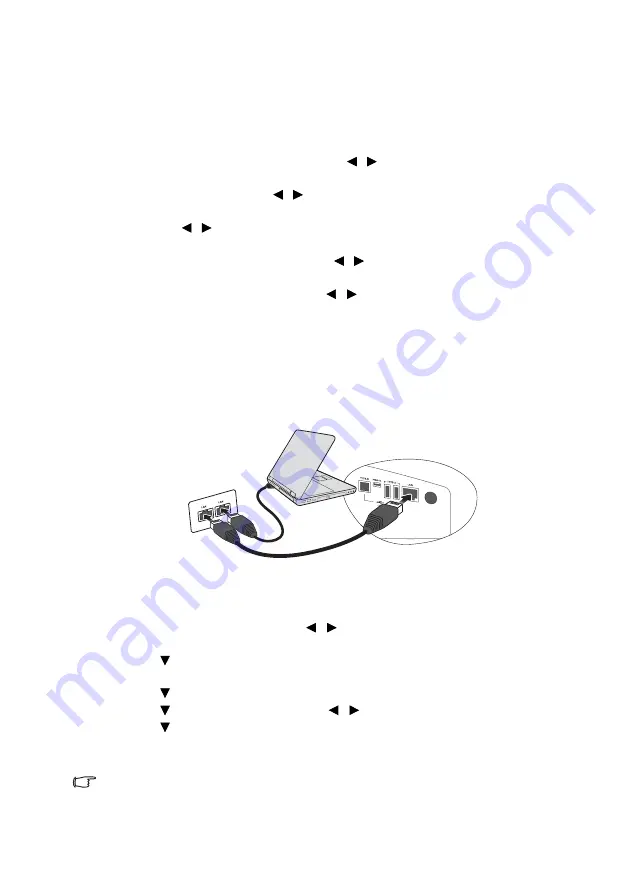
Network Settings allow you to manage the projector from a computer using a web browser
when the computer and the projector are properly connected to the same local area network.
Configuring the Wired LAN Settings
If you are in a DHCP environment:
1.
Take a RJ45 cable and connect one end to the LAN input jack of the projector and the
other end to the RJ45 port.
2.
Press MENU/EXIT and then press
/
until the SYSTEM SETUP: Advanced menu
is highlighted.
3.
Press
to highlight Network Settings and press MODE/ENTER. The Network
Settings page displays.
4.
Press
to highlight Wired LAN and press MODE/ENTER.
5.
Press
to highlight DHCP and press
/
to select On.
6.
Press
to highlight Apply and press MODE/ENTER.
7.
Re-enter the Wired LAN page. The IP Address,
Subnet Mask, Default Gateway, and
DNS settings will be displayed. Note down the IP address.
If the IP Address still does not display, contact your ITS administrator.
If you are in a non-DHCP environment:
1.
Repeat steps 1-4 above.


