BenQ MH534, User Manual
The BenQ MH534 is an impressive multimedia projector designed to deliver exceptional image quality and superior performance. To ensure a hassle-free experience, we provide a comprehensive and easy-to-understand Quick Manual, available for free download at manualshive.com. Explore the full potential of this product with our user-friendly manual.
Share
Download


Reviews:
No comments
Related manuals for MH534

E-VISION 4500 series
Brand: Digital Projection Pages: 30

P1165 -P1265
Brand: Acer Pages: 66

P1165 -P1265
Brand: Acer Pages: 2
P1285B
Brand: Acer Pages: 74
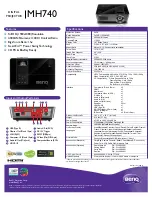
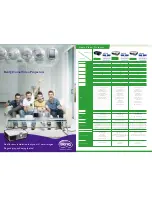
MH740
Brand: BenQ Pages: 2
W1400
Brand: BenQ Pages: 2

HT1070A
Brand: BenQ Pages: 73
MH740
Brand: BenQ Pages: 68

W1400
Brand: BenQ Pages: 63
E-Vision Laser 10K Series
Brand: Digital Projection Pages: 126

LWU505
Brand: Christie Pages: 554

R9002400
Brand: Barco Pages: 102

P1165 -P1265
Brand: Acer Pages: 2

EK-103X
Brand: Eiki Pages: 2
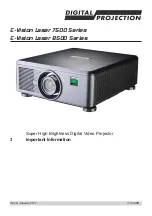
E-Vision Laser 7500 Series
Brand: Digital Projection Pages: 22


