


User’s Manual
Operation
19
Other Correspondent Remote Functions and Messages
OSD FUNCTION
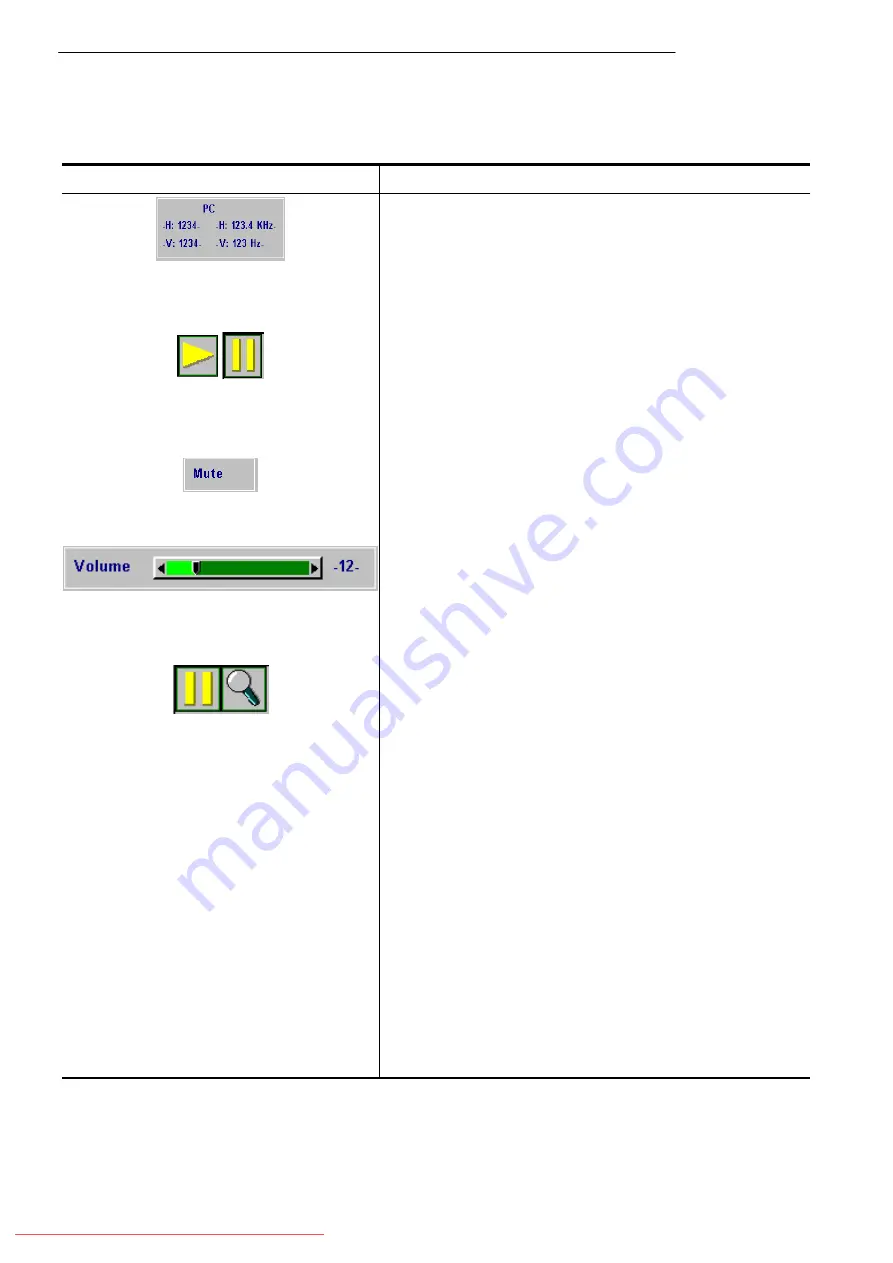
Source
The selected source will be displayed at the bottom
right of the screen for 3 seconds after selecting the
source. (PC, VIDEO, S-VIDEO).
Freeze
The image will be frozen when the “Freeze” button is
pressed. A “
‖
” mark appears at the lower right of the
screen for 3 seconds during the freeze function.
Furthermore, a “
4
” mark appears at the lower right of
the screen for 3 seconds when freeze is released.
“Freeze” is released when the source button or the
“Freeze” button is pressed again.
Mute
Press the “Mute” button and the sound will be muted.
There will be an OSD message as shown below. Press
Mute again or the /- buttons to turn off the
mute.
Volume
Press or – buttons to adjust the volume. The
OSD message below will appear. (The message will
disappear automatically 3 seconds after the volume is
adjusted.)
Magnify
By pressing the magnify “+” button, the center of the
picture can be magnified. Press the button again, and the
image will be further magnified (to a maximum of 4X).
Press the magnify “-” button, and the size of the
magnified image will be reduced by 50 percent. To
return to the normal display mode, press the “Return”
button.
Laser
Press this button to generate the laser beam.
Disk Pad
If users connect the PS2 (ADB) mouse cable on the
projector with the PC/Notebook (Macintosh/
Powerbook) mouse port, the disk pad will be able to
function as a PC/Notebook (Macintosh/ Powerbook)
mouse. When an image has been magnified, press the
“Disk Pad” button to move around the display area (the
mouse function is not available when magnify function is
on).
Drag
This button is a toggle switch to turn on/off the drag
function of the remote mouse.
Blank
Press this button to activate or release the blank
function.


