


Setting up the display
8
Setting up the display
Once the power cord is connected to both the power outlet and the display, the power
indicator LED is lit in red. When power button is pressed to turn on the display, the
power indicator LED is lit in blue. Press power button again to turn off the display.
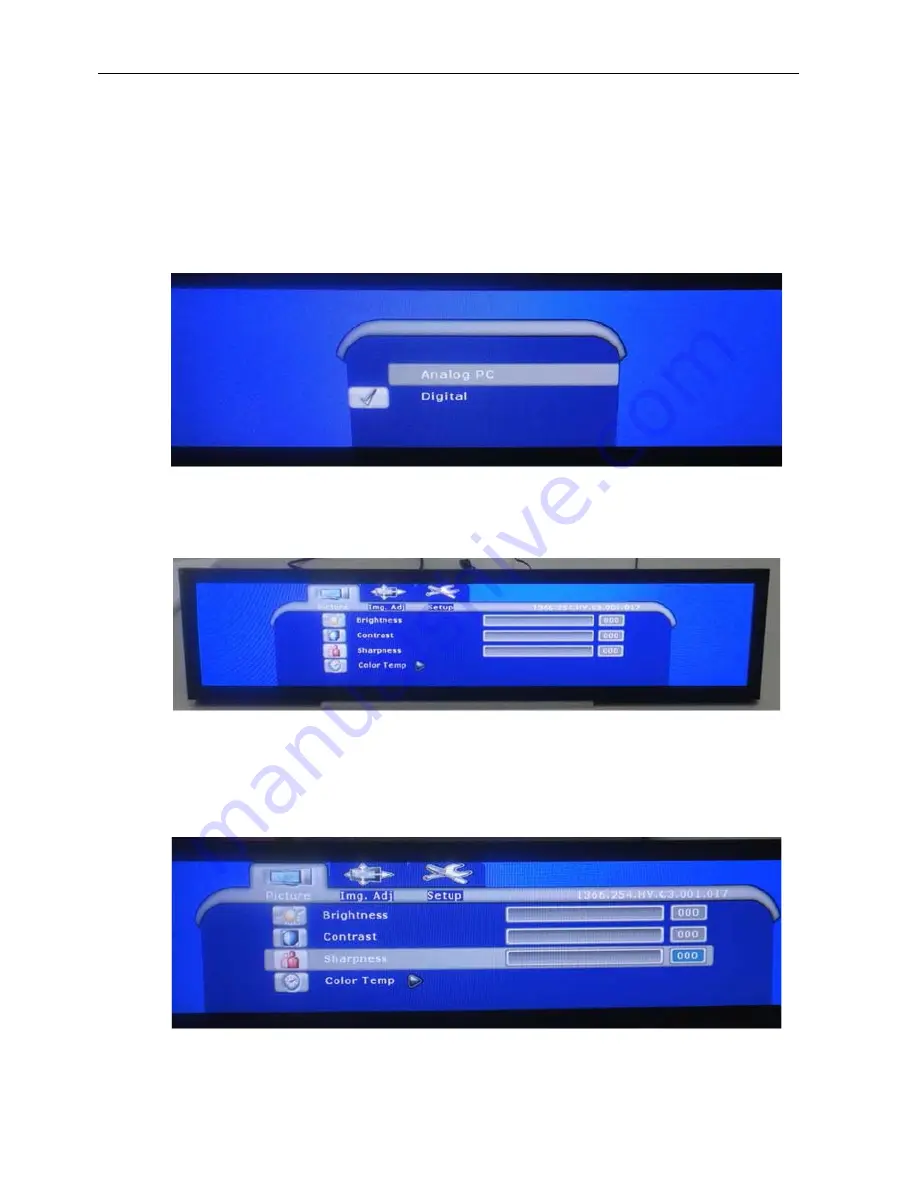
Selecting input singals
Press video source button to select sources from either
Analog PC
for VGA input or
Digital
for DVI input.
OSD menu
Press menu button to open up the OSD setting menu, and then press left or right
buttons to select a submenu. At last, press menu button to exit the OSD setting menu.
Picture
menu
This menu is available for picture quality adjustment only when either video source is
connected to the display. Press down button to select category to change including
Brightness
,
Contrast
,
Sharpness
,
Color
,
Tint
, and
Color Temp
. Press left or right
buttons to adjust values.
Press menu button to exit.