7
section
Installing the KVM Switch
Connecting the KVM Switch
Note: If you are using a PS/2 computer:
Please make sure that all of your PS/2
computers are powered off before connecting to the KVM Switch. Otherwise, the
KVM Switch system might not be properly set up. However, USB computers do
not have this limitation.
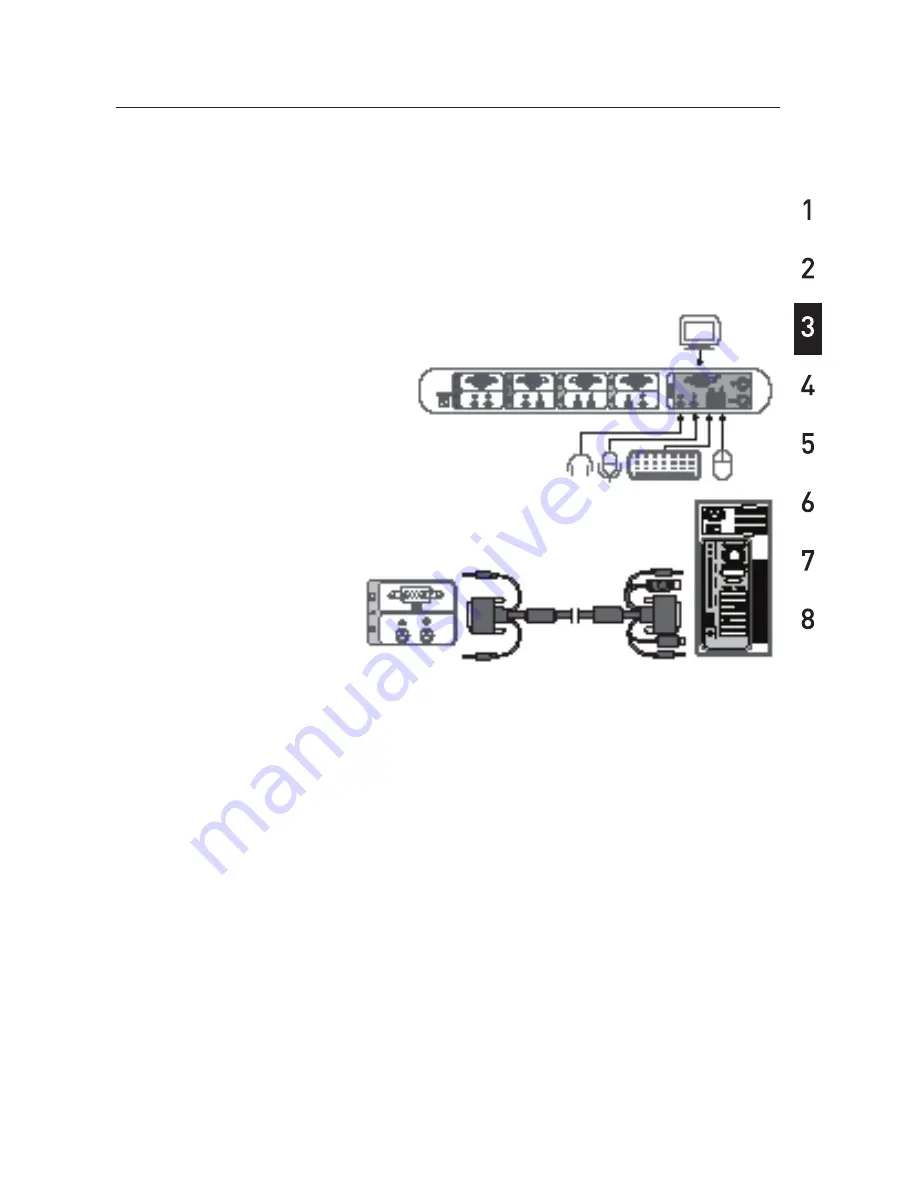
Step 1
Connect the shared keyboard,
mouse, and monitor to the console
port on the rear of the KVM Switch.
Step 2
Connect your PS/2 computer
to a computer port on the rear
of the KVM Switch.
Step 3
For USB computers, use
the special USB PS/2 KVM
cable (with the USB-to-PS/2
adapter) for connection to a USB computer
(PS/2 computer).
Note:
The special KVM cable provides a PS/2 keyboard connector, a USB
connector, and an HDB video connector for the computer connection. When
connecting to a USB computer, just plug the USB connector to it and leave the
PS/2 connector dangling free. When connecting to a PS/2 computer, just add one
USB-to-PS/2 adapter to the USB connector and you’ll have a PS/2 connector for
the mouse.
Do NOT connect the USB connector and the PS/2 keyboard connector to a
computer at the same time.


