background image

12

Using your PS/2 KVM Switch

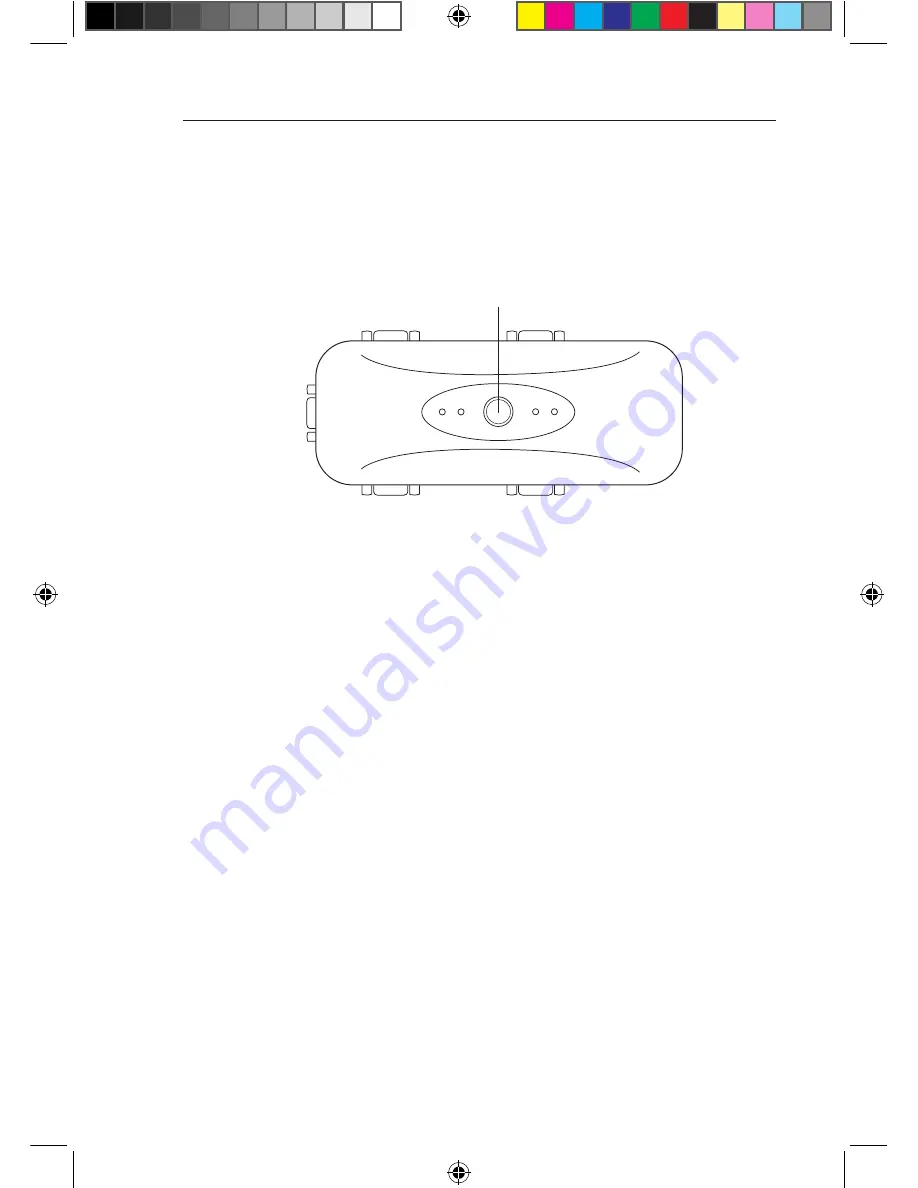
Selecting a Computer Using the


Port-Selector Button

You can select which computer you wish to control by pressing the port-selector 
button. The LED will illuminate to indicate the port is currently selected.

LED Display

The LEDs on the front panel of the PS/2 KVM Switch serves as a status 
monitor. An LED illuminates to indicate that the console currently controls the 
corresponding computer. As a port selector is pushed, the LED will light up 
as you cycle through the ports. A flashing port LED indicates that there is no 
computer connected to that port or that the computer connected is powered off. 
The LED will also blink while the KVM Switch is in AutoScan mode.

Note: 

The port LED will remain solid for some computers that continuously 

supply power to the keyboard PS/2 port, even while they are shut down.

AutoScan Mode

In AutoScan mode, the PS/2 KVM Switch remains on one active port for eight 
seconds before switching to the next active port. This time interval cannot be 
changed.

To activate the AutoScan function, press “Scroll Lock”, “Scroll Lock”, “S”. You 
should hear two beeps.

To stop AutoScan, press the port-selector button on the top panel or any key on 
the keyboard.

Note:

 There is no mouse or keyboard control in AutoScan mode. This is 

necessary to prevent data and synchronization errors. If the user is using the 
mouse or keyboard when the PS/2 KVM Switch is switching between ports, data 
flow may become interrupted and could result in erratic mouse movement and/or 
wrong-character input when using the keyboard. 

Port-Selector Button

P74529ea_F1DJ10xP_uk.indd   12

10/01/2008   10:37:44

Summary of Contents for F1D104PeaB

Page 1: ...OmniView 2 4 Port PS 2 KVM Switch User Manual F1DJ102PeaB F1DJ104PeaB P74529ea_F1DJ10xP_uk indd 1 10 01 2008 10 37 37...

Page 2: ...de 8 Powering Up the Systems 10 4 Using your PS 2 KVM Switch 11 Selecting a Computer Using the Selector Button 11 Selecting a Computer Using Hot Key Commands 11 Selecting a Computer Using the Port Sel...

Page 3: ...n 3 Year Warranty and free technical support This User Manual will provide details about your new PS 2 KVM Switch from installation and operation to troubleshooting in the unlikely event of a problem...

Page 4: ...atically scan and monitor the activities of all connected computers one by one Video Resolution The PS 2 KVM Switch supports video resolutions of up to 1920x1440 75Hz Push Button A push button conveni...

Page 5: ...necting the PS 2 KVM Switch to a computer requires a Belkin Cable Kit Belkin PS 2 Cable Kits F1D9000 XX PS 2 style Belkin PS 2 All in One Cable Kits F3X1105bXX PS 2 style XX denotes length in feet F1D...

Page 6: ...boards PS 2 compatible Supports 101 102 104 106 standard key keyboards Mice PS 2 compatible mice with PS 2 adapter having 2 3 4 or 5 buttons PS 2 compatible wireless or optical mice Monitors CRT LCD w...

Page 7: ...Overview Unit Display Diagrams 4 Port PS 2 KVM Switch Port Selector Button Port Status LEDs Console VGA Port Computer Ports Optional Power Jack Console Keyboard and Mouse Ports P74529ea_F1DJ10xP_uk i...

Page 8: ...ort Max Resolution Up to 1920x1440 75Hz Keyboard Input PS 2 miniDIN6 Mouse Input PS 2 miniDIN6 Monitor Port VGA HDDB15 female PC Ports HDDB15 male PS 2 miniDIN6 Operating Temp 32 to 104 F 0 40 C Stora...

Page 9: ...use the location of your computers in relation to your console the lengths of the cables you use to connect your computers to the KVM Switch Cable Distance Requirements For PS 2 Computers VGA signals...

Page 10: ...n this way Keyboard Monitor and Mouse Connections Connecting the Console Step 1 Connect the monitor to the PS 2 KVM Switch Using the cable that is attached to your monitor connect it to the HDDB15 fem...

Page 11: ...t one end of the PS 2 keyboard KVM cable to the keyboard port on the computer and the other end to the PURPLE keyboard connector under the PC1 port located on the long side of the KVM Switch Refer to...

Page 12: ...to boot normally Your PS 2 KVM Switch is ready to use The computer connected to port labeled PC1 will be displayed on the monitor Check that the keyboard monitor and mouse are working normally Check...

Page 13: ...evious port with simple keyboard hot key sequences using the Scroll Lock key and either the Up or Down arrow keys To send commands to the KVM Switch the Scroll Lock key must be pressed twice within tw...

Page 14: ...rt LED will remain solid for some computers that continuously supply power to the keyboard PS 2 port even while they are shut down AutoScan Mode In AutoScan mode the PS 2 KVM Switch remains on one act...

Page 15: ...that can be used for your PS 2 KVM Switch Note Each command needs to be preceded by Scroll Lock Scroll Lock Command Function Previous computer Next computer 1 2 3 4 Switch to port x 1 2 3 4 S Activat...

Page 16: ...KVM Switch A No the KVM Switch does not require any drivers or software to be installed in your computers Simply connect all your computers to the Belkin KVM Cable Kits and then attach one keyboard mo...

Page 17: ...s the resolution and refresh rate setting on your computer Connect the monitor directly into the computer with which you are having trouble to see if the problem still appears I am getting a black scr...

Page 18: ...s and make sure that they are inserted correctly The computer boots up but the mouse does not work Make sure the mouse is plugged in properly Make sure the mouse works when directly plugged into the c...

Page 19: ...ut to the computer Control requires that the console also has focus on the port and is viewing it KVM Literally Keyboard Video Mouse this term refers to technology that allows two or more computers to...

Page 20: ...t is not covered by this warranty All above warranties are null and void if the Belkin product is not provided to Belkin for inspection upon Belkin s request at the sole expense of the purchaser or if...

Page 21: ...nd of such estimate shall be borne solely by the purchaser Damaged equipment must remain available for inspection until the claim is finalized Whenever claims are settled Belkin reserves the right to...

Page 22: ...upport Belkin Ltd Express Business Park Shipton Way Rushden NN10 6GL United Kingdom 44 0 1933 35 2000 44 0 1933 31 2000 fax Belkin B V Boeing Avenue 333 1119 PH Schiphol Rijk Netherlands 31 0 20 654 7...

Reviews: