1 697 630 500
2013-03-05
|
Beissbarth GmbH
Operating instructions | MS 65 OR RAC S80 | 15
en
10.
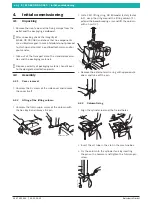
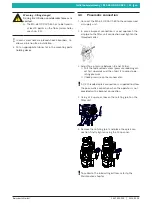
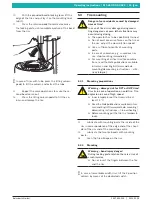
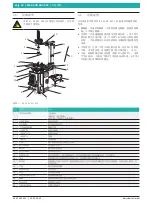
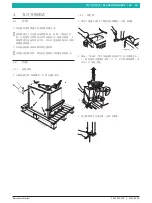
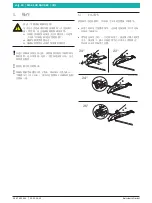
With the provided bead breaking lever lift the
edge of the tire and put lay it on the mounting tool
tab (1).
11.
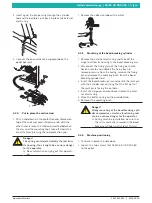
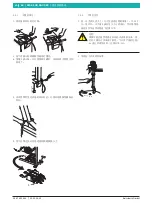
Press the rotation pedal to rotate clockwise
the locking plate, until complete ejection of the bead
from the rim.
652012-16_Mi
1
i
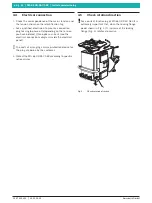
In case of tires with tube, press the tilting column
pedal to tilt the column and extract the tube.
12.
Repeat the same operations to make the se-
cond bead come out.
13.
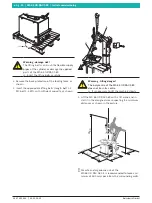
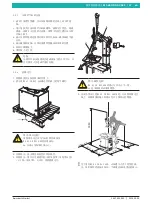
Press the tilting column pedal to tilt the co-
lumn and remove the tire.
5.3
Tire mounting
Danger of car accidents caused by damaged
rims or tires!
In case of tire or rim damage during moun-
ting dangerous or even lethal situations may
occur during driving.
The operator has to be specifically trained.
Do not exert excessive forces on the tire or
the rim, adjust the slow rotation speed.
Use a sufficient quantity of mounting
paste.
In case of anomalies, e.g. suspicious noi-
ses, stop mounting immediately.
For mounting of critical rim/tire combina-
tions, read the Wdk publications available
in German and English!(www.wdk.de:
mounting/demounting instructions – crite-
ria catalogue).
5.3.1
Mounting preparations
Warning – damage risk for RFT or UHP tires!
Cracks in case of operation on cold tire. Tire
explosion in case of high speed.
Inner temperature of the tire must be at
least 15 °C.
Read the Wdk publications available in Ger-
man and English! (www.wdk.de: mounting/
demounting instructions – tire overheating)
Before mounting put the tire in a temperate
room.
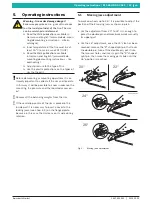
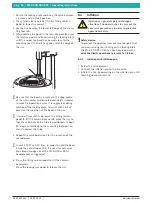
14.
Lubricate with mounting paste the inside of the
rim in correspondence of the edge and of the shoul-
der of the rim and of the semi drop centre.
15.
Lubricate the two tire beads with mounting
paste.
16.
Lean the tire oblique on the rim.
5.3.2
Mounting
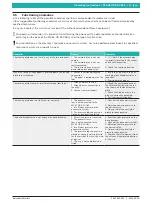
Warning – hand injury danger!
During locking plate rotation there is a risk of
crush injuries.
Do not insert the fingers between the tire
and the rim.
i
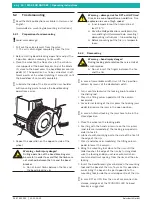
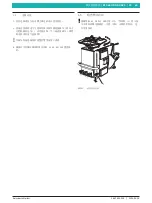
In case of remarkable width rims, lift the 2 position
column by means of the dedicated switch.


