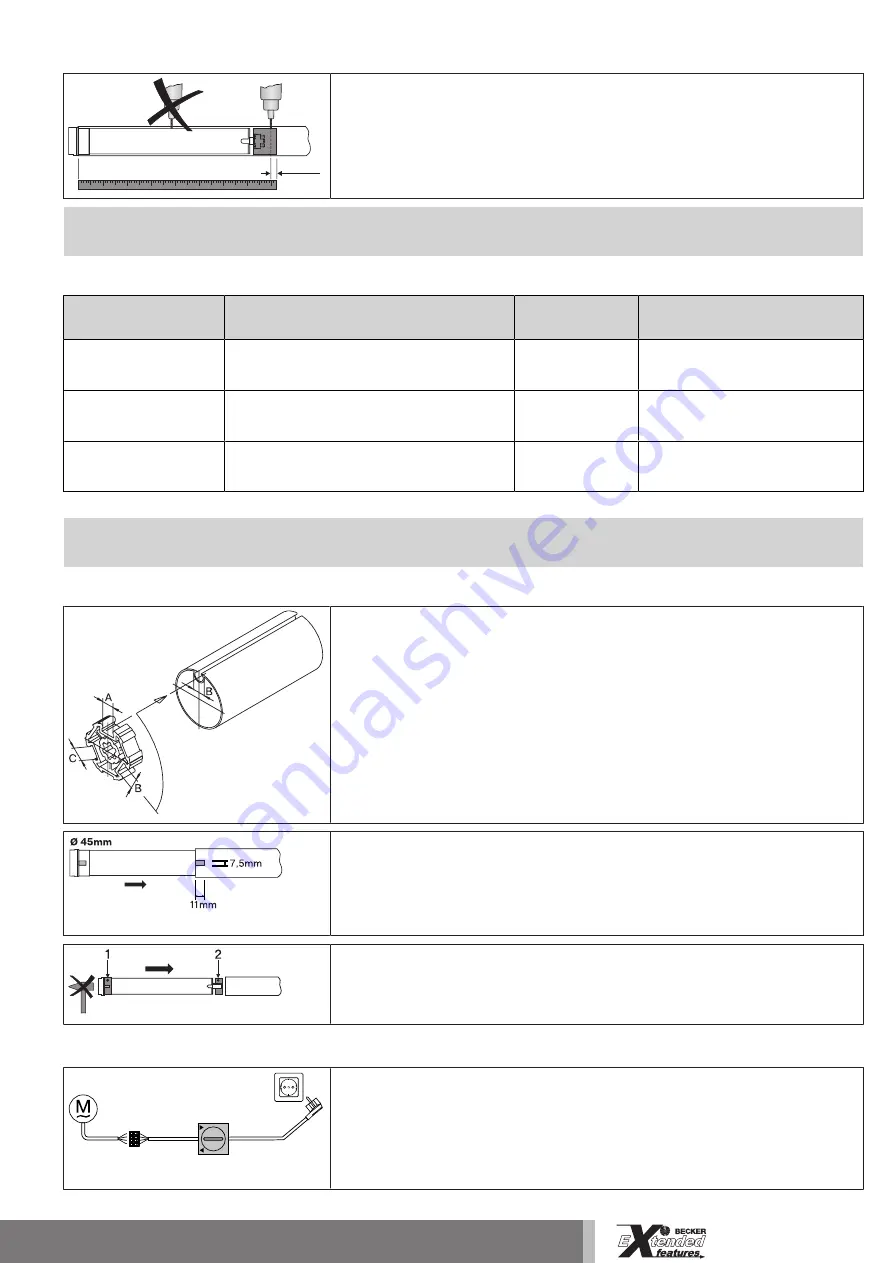
Securing the drive against axial displacement
-10 mm
In order to secure the drive against axial displacement, we recommend screwing the
drive adapter to the tube.
Attention
When drilling into the barrel, never drill near the tubular drive!
Fixing the drive adapter to the barrel dia. 45
Size of drive
[mm]
Diameter of barrel
[mm]
Torque
max. [Nm]
Fastening screws
for drive adapter (4 pc.)
dia. 45
50 - 70 mm plastic drive adapter
25
Self-tapping screw
dia. 4.8 x 9.5 mm
dia. 45
50 - 85 mm plastic drive adapter
for obstacle detection
40
Self-tapping screw
dia. 4.8 x 9.5 mm
dia. 45
50 - 85 mm diecast drive adapter
50
Self-tapping screw
dia. 4.8 x 9.5 mm
We also recommend screwing the idler to the barrel.
Attention
Do not hammer the tubular drive into the tube or drop it into the barrel!
Mounting the drive in the tube
For profile tubes:
In the case of some drive adapters, tolerances of the groove widths in different bar-
rels can be offset by rotating the drive adapter into a different groove recess. These
groove recesses have different sizes and allow the drive to fit exactly.
For round tubes:
First notch the tube on the motor side, so the lug of the thrust ring can also be pushed
into the tube. There must be no play between the lug of the thrust ring and the tube.
For rings without drive lugs, which are used to assist fitting on the thrust ring, the bar-
rel must be connected to the thrust ring by a 4.8 x 9.5 mm self-tapping screw.
Assemble the tubular drive with the relevant thrust ring (1) and drive adapter (2). In-
sert the tubular drive with the pre-assembled thrust ring and drive adapter into the
tube to achieve a form fit. Ensure that the thrust ring and drive adapter are secure in
the tube.
Mount the assembled unit comprising barrel, tubular drive and idler on the box and secure the drive with a split or spring pin ac-
cording to the type of wall bracket fixing.
The drive can be commissioned either with the switch (Item no. 4901 001 158 0) or
the operator control provided.
Connect the pigtail wires of the tubular drive to those of the same colour in the switch
or operator control and switch on the power supply. Check the direction of travel. If
the direction of travel of the shading solution does not correspond to the operator
control, swap the black and brown pigtail wires of the tubular drive.
9
Summary of Contents for Extended Features XR7/85
Page 15: ...Declaration of conformity 15 ...
Page 16: ......


