background image

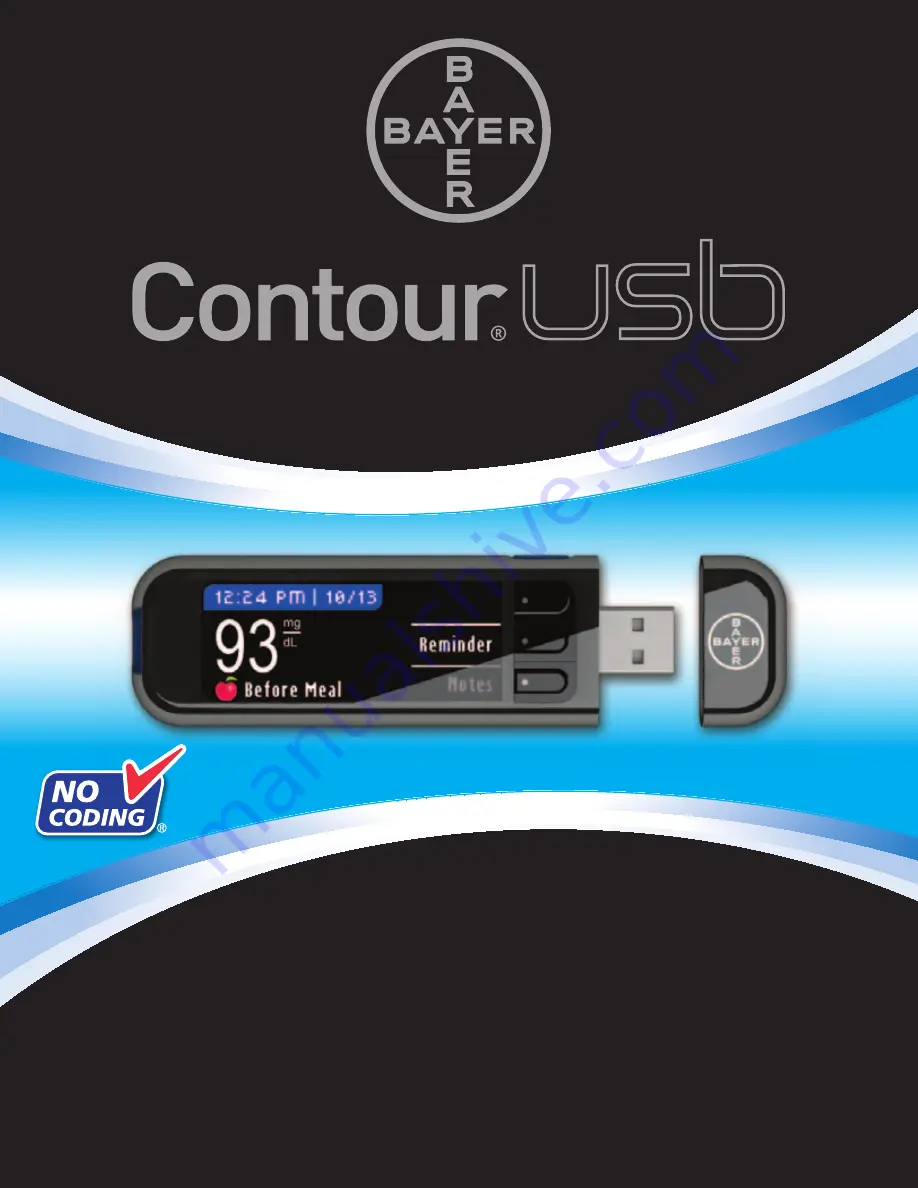
BLOOD GLUCOSE MONITORING SYSTEM

USER GUIDE

USES BAYER’S CONTOUR

®

 BLOOD GLUCOSE TEST STRIPS

www.bayerdiabetes.com/us 

1600 Sherwin Ave.
Des Plaines, IL 60018
T 847.296.6000

July 27, 2009
Bayer Health Care

Contour USB User Guide - US


474752A15
82286110  Rev. 7/09
N/A
6.0" (H) x 4.5" (W)
N/A

New Layout - Contour USB User Guide - US
Alts#1 3.11.09 - Copy Changes
Alts#2 3.12.09 - Copy Changes
Alts#3 4.14.09 - Screen/Copy Change
Alts#4 5.07.09 - Copy Change
Alts#5 6.02.09 - Copy Changes
Alts#6 6.09.09 - Copy Changes
Alts#7 6.11.09 - Copy Changes/image changes
Alts#8 6.15.09 - Copy Changes
Alts#9 6.17.09 - Copy Changes
Alts#10 7.13.09 - Move type away from trim
Alts#11 7.23.09 - Copy Changes
Alts#12 7.27.09 - Copy Changes

DATE:

CLIENT:

PROJECT NAME:

SCHAWK JOB#:

BAN#:

SKU#:

PAGE SIZE:

UPC CODE:

V-12

ENGLISH

PROCESS CYAN
PROCESS MAGENTA
PROCESS YELLOW
PROCESS BLACK
PMS 877
PMS 300
PMS 072

COLORS

Frutiger, Helvetica, 
Zaph Dingbats 

FONTS

Summary of Contents for CONTOUR

Page 1: ...BLOOD GLUCOSE MONITORING SYSTEM USER GUIDE USES BAYER S CONTOUR BLOOD GLUCOSE TEST STRIPS www bayerdiabetes com us ...

Page 2: ...he CONTOUR USB meter and GLUCOFACTS Deluxe software are simple With diabetes simple wins Error Detection and Battery Status Charging Removal 50 System Performance Information 55 Service Information 58 Specifications 59 Caring for Your Meter 60 Supplies References Warranty 61 Getting Ready to Test 14 Getting the Blood Drop 17 Fingertip Testing 17 Alternative Site Testing Forearm or Palm 18 Testing Y...

Page 3: ...ght will flash For more details see page 52 Your CONTOUR USB Blood Glucose Monitoring System You cannot do a blood sugar test while the battery is charging When charging is finished the test strip port light will turn off Unplug your CONTOUR USB meter to test A USB extension cable is included for your convenience For more information on Battery Status Displays and Charging see pages 50 53 Your CONTO...

Page 4: ...essing the OK button Pressing and holding the or buttons will scroll through the list faster Button Selection Scrolling Button Selection Scrolling OK Button Meter Overview Meter Overview Using the Menu Button To turn on the meter press and hold the Menu button until the meter turns on The Main Menu has 3 choices Logbook Trends and Setup Select one by pressing the button next to your choice To go b...

Page 5: ... in your meter kit before testing To test insert the CONTOUR test strip and the meter will turn on Follow the on screen prompts Remove the test strip to turn the meter off Extra Memory Your meter contains 500 MB extra memory GLUCOFACTS Deluxe software and extra memory require a high power USB port For more details see page 53 GLUCOFACTS Deluxe Data Management Software GLUCOFACTS Deluxe Data Manage...

Page 6: ...your language On the next screen choose Quickstart see page 9 Customize see page 10 or Help Quickstart is set to the default settings You will need to confirm the date and time then you can immediately begin testing You can also change these settings later Customize allows you to adjust settings By default AutoLog is on Target is set to Before Meal 70 130 mg dL After Meal 70 180 mg dL These setting...

Page 7: ...button see page 48 A screen confirms your target is set Setup is complete You may now check your blood sugar The next screen has the current date and time If it is correct press the Accept button If incorrect press the Change button see pages 43 45 A screen confirms the date and time are set Initial Startup Using Customize Initial Startup Using Customize Press the Customize button to change the defa...

Page 8: ...strips in the original bottle Tightly close the bottle immediately after removing a test strip The bottle is designed to keep the test strips dry Exposure to room humidity from leaving the bottle open or not storing them in the original bottle can damage your test strips Do not drop blood directly on the flat surface of the test strip Your test strip is designed to easily sip the blood into the sam...

Page 9: ...t 1 To remove the endcap hold the device with your thumb on the grip indent and hold the endcap dial in the other hand Snap the endcap off from top to bottom 2 Loosen the round protective cap on a lancet by rotating it turn but do not remove it 3 Insert the lancet firmly into the lancing device until it comes to a full stop Potential Biohazard The MICROLET 2 lancing device is designed for self test...

Page 10: ... fingertip testing 1 Rotate the endcap dial to adjust the puncture depth The amount of pressure applied to the puncture site also af fects puncture depth 2 Press the endcap firmly against the puncture site and press the blue release button with the Bayer logo 3 Stroke your hand and finger towards the puncture site to form a drop of blood Do not squeeze around the puncture site 4 Test immediately afte...

Page 11: ...dry thoroughly 1 Attach the clear AST endcap to the MICROLET 2 lancing device IMPORTANT Do not use Alternative Site Testing under the following conditions Use fingertip testing in any of these cases If you think your blood glucose is low hypoglycemia When blood glucose is changing rapidly after a meal insulin dose or exercise If you have hypoglycemic unawareness lack of symptoms If you get alternat...

Page 12: ...om the skin For palm testing it is not necessary to rub the skin or pump the device up and down 1 Press the clear endcap firmly against the puncture site and then press the blue release button Do not test the blood sample from palm or forearm if you get Smeared blood Clotted blood Runny blood Clear fluid mixed with the blood 3 Maintain steady pressure until a small round blood drop forms 2 Maintain ...

Page 13: ...ion However if your result is a low blood sugar result or high blood sugar result you will always see your result in 5 seconds Collecting Your Blood Drop Testing with AutoLog On Testing Your Blood Testing Your Blood Your test result is displayed in large numbers for 2 seconds before changing to the normal test result screen For results under 20 mg dL or over 600 mg dL see page 26 NOTE If you do no...

Page 14: ...ys dispose of test strip and lancet properly All products that come in contact with human blood should be handled as if capable of transmitting viral diseases Testing Your Blood Testing with AutoLog Off After applying blood to the test strip when AutoLog is turned off the testing countdown screen appears for the 5 second countdown Your test result is displayed You may add a Note or Reminder Testin...

Page 15: ...iately is displayed Expected Values Blood sugar values will vary depending on food intake medication dosages health stress or activity Non diabetic expected values are 75 to 110mg dL fasting 1 You should consult with your healthcare provider for expected values specific to your needs High and Low Blood Sugar Alert Screens Test Results CAUTION If your blood sugar reading is under 50 mg dL follow med...

Page 16: ...ith large orange numbers will alert you that your blood sugar is high Test Results Symptoms of High and Low Blood Sugar Symptoms of High and Low Blood Sugar You can better understand your test results by being aware of the symptoms of high or low blood sugar this will also help you decide what to do if your results seem unusual Some of the most common symptoms are 1 High blood sugar Hyperglycemia ...

Page 17: ...ueeze a small drop of control solution on a clean non absorbent surface such as a piece of wax paper Do not apply control solution to the test strip directly from the bottle Performing a Control Test Performing a Control Test Even when AutoLog is on there is no need to mark the control test In 5 seconds the meter displays the control test result 6 Immediately touch the tip of the test strip to the...

Page 18: ...u can change the Reminder countdown time to the time you wish by pressing the Change button 1 Press the or button to select the correct hours Press the OK button 2 Press the or button to select the minutes Minutes change in 15 minute increments Press the OK button A screen confirms the Reminder countdown time The meter will return to the test result screen When the Reminder feature is on the clock ...

Page 19: ...Reminder is set to off press the OK button to change the Reminder settings A screen confirms the Reminder time set When the Reminder feature is on the clock symbol is in the blue header Setting a Reminder Setting a Reminder 3 To start the countdown press the Start button or press the Change button to scroll to a different countdown time Follow the instructions on the previous page ...

Page 20: ...ter Testing 1 Press the Reminder button A screen confirms your choice The Countdown is now stopped and the clock symbol will disappear From the Setup Menu 1 Press the OK button A screen confirms your choice If the countdown is currently on the screen will read Reminder In with the remaining amount of time displayed 2 To stop the Countdown press the Stop button 2 Press the Stop button The countdown i...

Page 21: ...nutes of the reminder neither screen will appear and the countdown will be stopped Adding Notes You may add Notes to your test result that may help explain results Your notes will be saved in the Logbook 1 From the test result screen press the Notes button 2 Press the or button to scroll through the choices Some may not be visible until you scroll up or down Press the OK button when your choice is...

Page 22: ...s Press the Menu button twice to turn the light off Logbook To access the Logbook press the Logbook button from the Main Menu In Logbook you can scroll through all the stored test results in memory by pressing the or button Trends 1 Press the Trends button to view averages If AutoLog is on the default Before Meal and After Meal target ranges will appear To set personalized target ranges see page 4...

Page 23: ...or Day Month Year button 6 Press the or button to select the correct year Press the OK button 7 Press the or button to select the correct month Press the OK button 8 Press the or button to select the correct day Press the OK button Setting the Date Setup 2 Press the button to display the 14 Day Before Meal Average This example shows that your Before Meal average is 128 mg dL and 38 test results ar...

Page 24: ... 24 hour clock button 6 Press the or button to select the correct hour Press the OK button 7 Press the or button to select the correct minute Press the OK button 8 Press the or button to select the correct AM PM Press the OK button A screen confirms the time you entered If correct press the Done button and the Setup menu will appear If you need to make changes press the Change button and repeat the...

Page 25: ...OK button 2 To turn the AutoLog off press the Turn Off button To keep the AutoLog on press the Accept button A screen confirms that AutoLog is off The Setup menu will appear Setup Turning the Sound On Off Setup Turning AutoLog On Off Turning the Sound On Off 1 Press the Menu button to go to the Main Menu 2 Press the Setup button 3 Press the or button to select Sound Press the OK button Sound is tur...

Page 26: ... OK button A screen confirms that all target ranges are set If correct press the Done button You will be returned to the Setup menu To make changes press the Change button and repeat the process 4 To make changes to your target range press the Change button otherwise Go Back Press for Help 5 Press the or button to select your desired Before Meal low target Press the OK button Repeat this process to...

Page 27: ...tatus will be displayed with a battery symbol on the Apply Blood screen and the Main Menu screen It shows how much battery life is left This screen displays full battery As the battery is used the battery symbol on the screen gradually shows less fill color The color of the battery fill turns yellow when the battery is low and then red when your battery is almost out of charge A series of low batter...

Page 28: ...memory the strip port light flashes quickly Wall Charger For information about your wall charger please refer to the insert contained in your meter kit Rapid Charge If the battery is low when you plug in your meter it will Rapid Charge for about 1 minute You can run a blood sugar test as soon as Rapid Charge is complete Normal Charging When Rapid Charge ends normal charging is expected to last up t...

Page 29: ...g by people with diabetes to monitor glucose concentrations in whole blood The test provides a quantitative measurement of glucose in blood from 20 to 600 mg dL CAUTION For in vitro diagnostic use only Potential Biohazard The CONTOUR USB meter is intended for use with only one person All products or objects that come in contact with human blood even after cleaning should be handled as if capable o...

Page 30: ...um Mean SD Coefficient of variation 44 mg dL 1 0 mg dL 2 4 84 mg dL 1 4 mg dL 1 7 132 mg dL 1 8 mg dL 1 3 204 mg dL 3 5 mg dL 1 7 332 mg dL 3 8 mg dL 1 2 Limitations Preservatives Blood may be collected by healthcare professionals into test tubes containing heparin Do not use other anticoagulants or preservatives Altitude Up to 10 000 feet 3048 meters does not significantly affect results Lipemic Sp...

Page 31: ...are low and unlikely to interfere with other nearby electronic equipment nor are emissions from nearby electronic equipment likely to interfere with the meter Immunity to electrostatic discharge meets the requirements of IEC 61000 4 2 It is advisable to avoid use of electronic devices in very dry environments especially if synthetic materials are present Service Information If you have a problem a...

Page 32: ...ited States from Bayer HealthCare LLC Customer Service Department Order Entry P O Box 2004 Mishawaka Indiana 46546 or call 1 800 348 8100 to order Caring for Your Meter Only connect to a computer or charger that is certified to UL 60950 1 If you use a cable use the one provided in your meter kit Store your meter in the carrying case provided whenever possible Wash hands and dry them thoroughly befo...

Page 33: ...e or more of the following US patents 5 120 420 5 266 179 5 582 697 5 620 579 5 723 284 5 954 738 6 059 946 6 451 040 6 599 406 6 827 829 6 911 131 7 232 510 as well as pending applications and international equivalents Warranty Warranty Manufacturer s Warranty Bayer Diabetes Care warrants to the original purchaser that this instrument will be free from defects in materials and workmanship for 5 y...

Page 34: ...oding logo are trademarks of Bayer Windows and Vista are registered trademarks of Microsoft Mac OS is a registered trademark of Apple Inc YSI is a trademark of YSI Incorporated 82286110 Rev 7 09 Bayer HealthCare LLC Mishawaka IN 46544 USA www bayerdiabetes com us ...

Reviews: