


DVR User Manual
20
Step 1
: Enter into Menu
Setup
Record
Recycle Record interface;
Step 2
: Checkmark recycle record to activate auto recycling. If the option is disabled or not
selected, the DVR would stop recording once HDD is full.
Step 3
: Click “Apply” button to save the setting.
4.3.6 Snap
In this interface, user can set up Resolution, quality, snap interval, snap number.
4.4 Schedule Configuration
Schedule configuration includes three sub menus: schedule, motion and sensor.
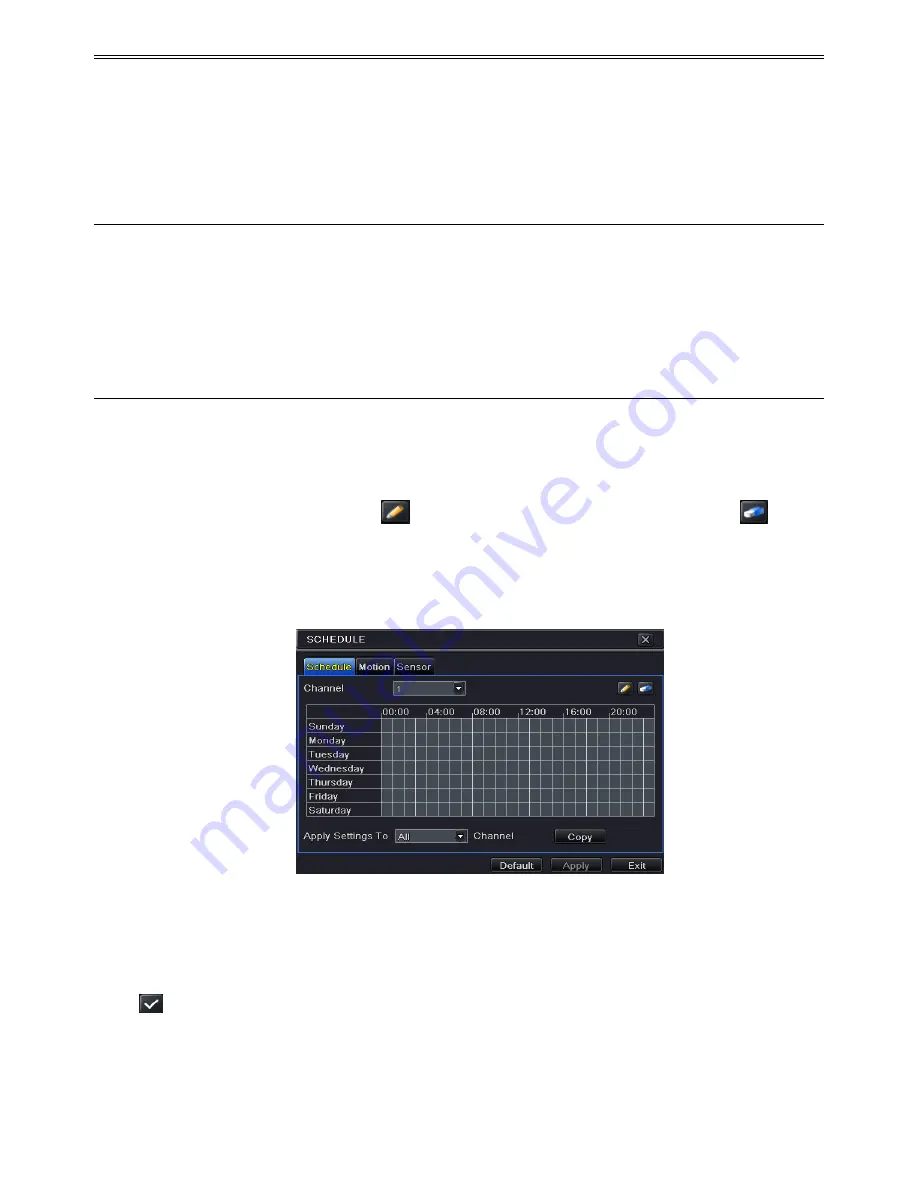
4.4.1 Schedule
This tab allows defining schedule for normal recording for seven days of a week, 24 hours of a
day. Every row denotes an hourly timeline for a day. Click the grid to do relevant setup. A
highlighted area denotes selected timeline. Operate the following steps to set schedule:
Step 1
: Enter into Menu
Setup
Schedule interface. Refer to Fig 4-14:
Step 2
: Select channel and click “
” button to add a certain day schedule. Click “
”
button to delete the selected schedule.
If you want to apply the schedule setting of a certain channel to other or all channels, you need
to select channel and click “Copy” button.
Fig 4-14 Schedule Configuration-Schedule
You can also set week schedule by double-clicking in the grinding area. This will take you to
see a dialog box as below.
Step 1
: Select a day and click “Add” button to schedule start time and end time. Then click
to save.
Step 2
: Select other days and add schedule or copy settings from one schedule to the others
under the Apply Settings To item.