


After Sales Support TEL: 1300 886 649
24
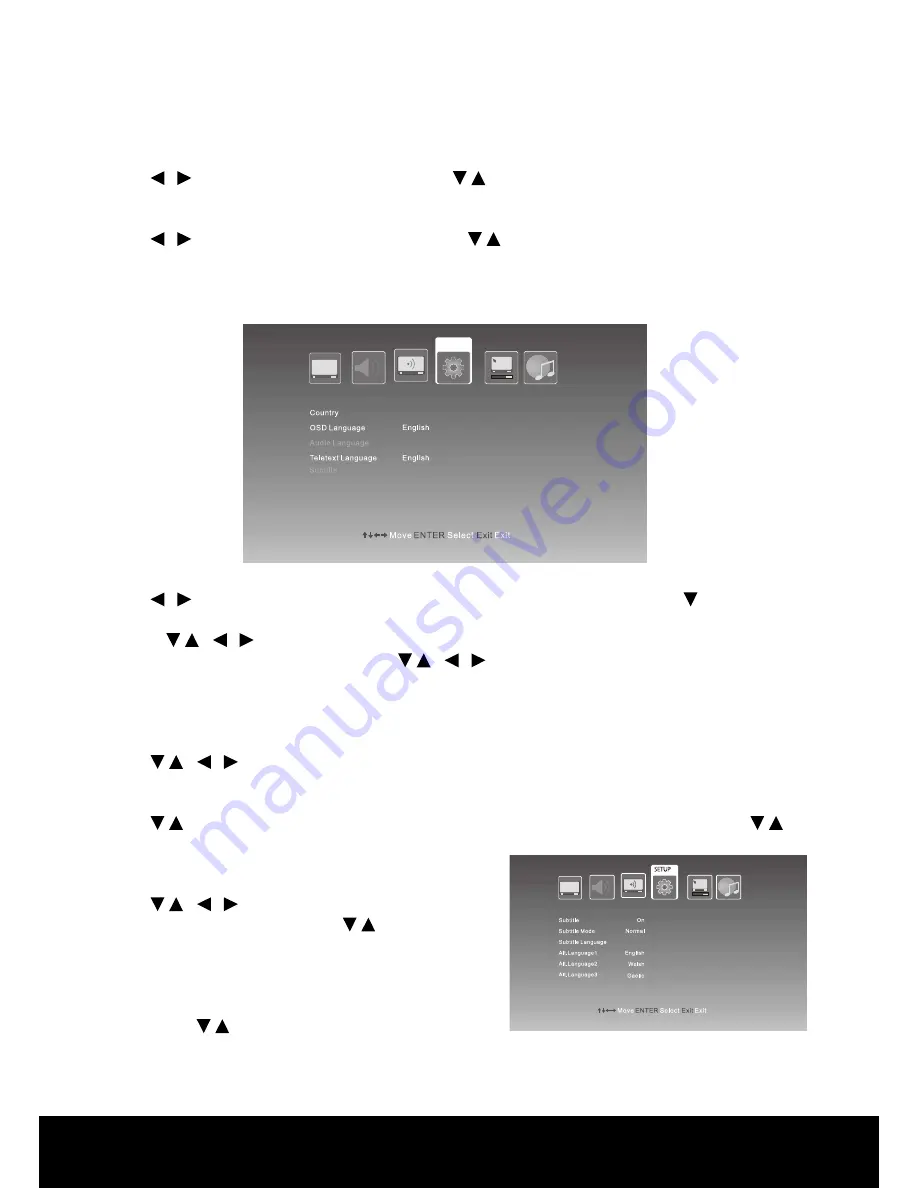
Setup Menu
Press MENU button on the front of panel or MENU on the remote control to display the main menu.
Press / button to select Setup in the main menu, then press ENTER button or
button to
enter.
1. Press
/ /
/ button to select the entry that you want to adjust.
2. Press ENTER button to enter and press
/ /
/ button to edit.
3. After finishing your adjustment, press MENU or EXIT button to save and return back to the
previous menu.
Audio Language
Press
/ /
/ button to select Audio Language, then press ENTER button to enter.
Alt.Language1/2/3
Press
/
button to select Alt.Language1/2/3, then press ENTER button to enter and press
/
button to select.
Subtitle
Press
/ /
/ buttons to select Subtitle, then press
ENTER button to enter and press
/
button to choose
On or Off.
NOTES:
1. Press SUBTITLE button on the remote control to enter
and press
/
button to choose On or Off.
2. When subtitle is at ** Off ** state, the subtitle mode and subtitle language show in grey will not
be available.
3. Each channel must be selected individually.
Channel
Press / button to select Channel, then press
/
button to adjust.
Frequency
Press / button to select Frequency, then press
/
button to adjust.
NOTE: Program edit and auto search menu and description are the same with the ATV source.
SETUP
AUS
Setup Wizard
Reset


