Bauhn AS-42LED1 Instruction Manual Download Page 19

After Sales Support         TEL: 1300 886 649

18

Time

Press   /   button to select hour, then press 

/

 button to choose the hour of current time, 

Chooses the minute with the similar method. Press 

/

 button to select AM or PM.

NOTE: Only when you set the Time Mode -- Manual -- you can set the Current Time .

WakeUp Time

Press 

/

 button to select WakeUp Time, then press ENTER button to enter. Use the same method 

as Current Time to set the date and time.
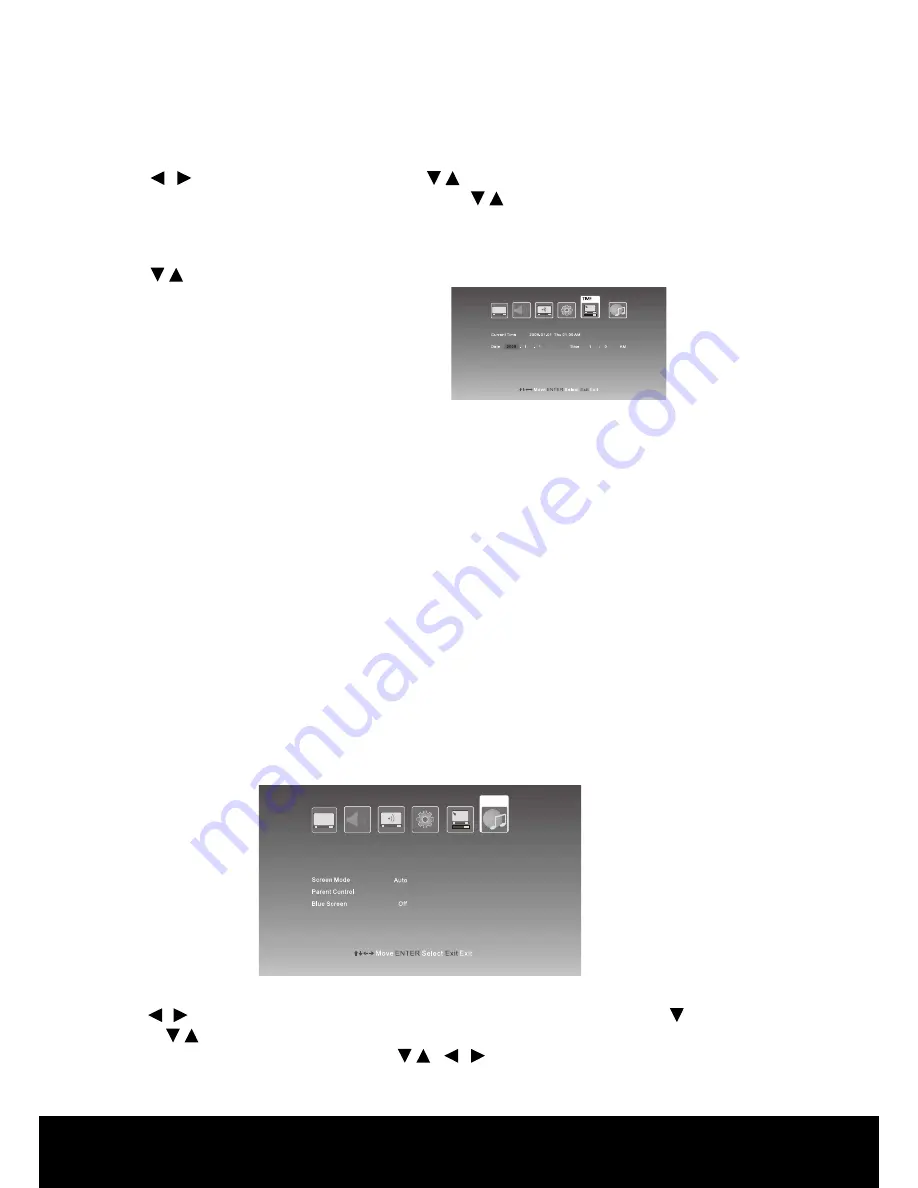
Others Menu

Press MENU button on the front of panel or MENU on the remote control to display the main menu.

Press   /   button to select “Others” in the main menu, then press ENTER button or 


button to enter.

1. Press 

/

 button to select the entry that you want to adjust.

2. Press ENTER button to enter and press 

/  / 

 /   button to edit.

3.  After finishing your adjustment, press MENU or EXIT button to save and return back to the 

previous menu.

Personnel Video Recording (PVR)

1 Please insert the Media/USB drive into the Media/USB slot before selecting record mode.

2 Select the TV program and channel you wish to record.

3  Press the REC button twice and input the length of time you wish to record. Press the OK button 

and the unit will start recording.

4  If you wish to stop the recording, press the STOP button and then press OK button and the 

recording will cease.

5  If you wish to turn the TV OFF during the record mode, press the POWER button on the remote control 

and the screen will become black. Once the recording is complete the TV will turn to standby and 

power down. During the record time, the LED is BLUE and when it powers down the LED is RED.

NOTE:  (A) During the record mode, you cannot change channels or select another function.

                (B)  If the signal is interrupted or removed while in record, the recording will stop until the 

signal is established. This may cause you to lose program content.

6  While in the EPG mode, you can select a scheduled program to start at the program EPG menu time 

from the channel list by pressing the BLUE (reminder) button. A symbol of a clock will appear to the 

right hand side of the selected program that you wish to record. 

NOTE:  A OSD message will inform you of the recording of the selected program 30 seconds prior to 

the EPG menu scheduled time.

OTHERS

MEDIA

Summary of Contents for AS-42LED1

Page 1: ...Instruction Manual Model Number AS 42LED1 After sales support TEL 1300 886 649 106cm 42 FHD 100Hz LED TV...

Page 2: ...ailure within its intended use over the course of the first 2 years after the date of purchase we will remedy the problem as quickly as possible once it has been brought to our attention In the unlike...

Page 3: ...2 years warranty means Welcome Important Safety Instructions Front Panel and Back Panel Antenna Cable Connection Quick reference guide RemoteControl BasicOperation FAQ s Specifications Base Installati...

Page 4: ...purchasing a product made by one of the leading manufacturers All products brought to you by BAUHN are manufactured to the highest standards of performance and safety and as part of our philosophy of...

Page 5: ...e following conditions If the set will not be used for a long period of time If the power cord or the power outlet plug is damaged If the set is subject to impact has been dropped or is not working Th...

Page 6: ...1 Power ON OFF 2 Power Indicator 3 Remote Sensor 4 Program Up Down Button 5 Volume Up Down Button 6 Menu Button 7 TV AV Button 8 Speakers 1 VGA Input 2 HDMI 3 Input 3 HDMI 2 Input 4 HDMI 1 Input 5 An...

Page 7: ...recommended QUICK REFERENCE GUIDE 1 After you have connected your TV to the antenna as per above turn on your TV via the Remote control 2 Please select the SOURCE button to ensure you are in the DTV m...

Page 8: ...ss to hold the current Teletext page 14 INDEX button Press to display index page 15 SIZE button Press this button to select the Teletext size 16 Some specially function see the prompt in the OSD 17 AS...

Page 9: ...acle between the main unit and remote control the remote control may not operate properly 3 Replace the batteries immediately once the remote control is found not to work properly 4 Do not mix new bat...

Page 10: ...this icon will display on the top left corner of the menu No signal this icon will display on the top left corner of the menu Press the MENU button to display the MAIN OSD MENU Press the button to sel...

Page 11: ...to the previous menu Brightness Press button to select Brightness then press ENTER button to enter and press button to adjust Contrast Press button to select Contrast then press ENTER button to enter...

Page 12: ...lect Cinema Mode then press ENTER button to enter and press button to select Available Cinema Off Low Medium High Audio Menu Press the MENU button on the front of the panel or MENU on the remote contr...

Page 13: ...Press button to select Treble then press the ENTER button to enter and press button to adjust Bass Press button to select Bass then press the ENTER button to enter and press button to adjust Equalizer...

Page 14: ...ress MENU or EXIT button to save and return back to the previous menu Program Edit Press button to select Program Table then press ENTER button to enter Service Type Press button to select Service Typ...

Page 15: ...to confirm press ENTER button again will set it to a normal channel Lock Press button to select what you want to lock as a channel then press button to select lock and press ENTER button to confirm p...

Page 16: ...l No then press button to adjust Color System Press button to select Color System then press button to select Auto SECAM PAL Sound System Press button to select Sound System then press button to selec...

Page 17: ...o enter and press button to edit 3 After finishing your adjustment press MENU or EXIT button to save and return back to the previous menu Country Press button to select Country then press ENTER button...

Page 18: ...ack to the previous menu Time Mode Press button to select Time Mode then press ENTER button to enter and press button to select Auto or Manual Daylight Saving Press button to select Daylight Saving th...

Page 19: ...l you wish to record 3 Press the REC button twice and input the length of time you wish to record Press the OK button and the unit will start recording 4 If you wish to stop the recording press the ST...

Page 20: ...Press button to select Parental Control then press ENTER button to enter Input password to enter default password is 8888 Parental Lock Press button to select Parental Lock then press ENTER button to...

Page 21: ...button to edit 3 After finishing your adjustment press MENU or EXIT button to save and return back to the previous menu Note Country and teletext language selection are not available in AV source and...

Page 22: ...that you want to adjust 2 Press ENTER button to enter and press button to edit 3 After finishing your adjustment press MENU or EXIT button to save and return back to the previous menu Notes 1 Video m...

Page 23: ...o select V Position then press ENTER button to enter and press button to adjust H Position Press button to select H Position then press ENTER button to enter and press button to adjust Phase Press but...

Page 24: ...djustment press MENU or EXIT button to save and return back to the previous menu EPG PVR 1 Select the EPG button to display the Electronic Program Guide 2 Select the program by pressing the navigation...

Page 25: ...r Alt Language1 2 3 Press button to select Alt Language1 2 3 then press ENTER button to enter and press button to select Subtitle Press buttons to select Subtitle then press ENTER button to enter and...

Page 26: ...r and press button to choose Notes 1 Video menu and description are the same with the ATV source 2 Audio menu and description are the same with the ATV source 3 Time menu and description are the same...

Page 27: ...s button to select then press ENTER button anti clockwise rotating the picture Press button to select then press ENTER button the menu will appear as the following Press button to select Repeat then p...

Page 28: ...op when the progress bar has returned to the start then it will return to the menu Press button to select then press ENTER button it will PAUSE press Play to continue Press button to select then press...

Page 29: ...eleting files When you wish to delete a PVR recorded program or files press the BLUE button then OK to delete the file NOTE other Media USB files cannot be deleted Press button to select Movie and pre...

Page 30: ...set by the PC Suggest to change to the best resolution or other standard resolutions of the system SNOWY DOTS PIXILATION AND INTERFERENCE If the antenna is located in the fringe area of a television...

Page 31: ...ing temperature 5C0 35C0 Working humidity 20 80 Storage temperature 15C0 45C0 Storage humidity 10 90 Channel coverage 46MHz 820MHz System TV PAL SECAM BG D K I L L AV PAL SECAM NTSC PLAYBACK Preset pr...

Page 32: ...m board 3 Place the base over the connection bracket and the bottom board 4 Fix the bottom board to the base 5 Attach the TV to the stand Base 1pc Base Bottom board 1pc Bottom board Connection bracket...

Reviews: