11-07-2013
P-800LT Freeze Point Analyzer
3-12
Installation and Startup
NOTE: Although the Validation Request and Stream Select contacts may be present,
these functions are only available on Analyzer’s which incorporate these options.
S
TARTUP
1. Start flow of process sample to the Analyzer and verify that the flow rate is regulated at 1.4 to 10
bar (20 to 100 psi). A flow rate of 1 to 2 liters/minute is required. Check for sample line leaks.
2. Analyzers with an air-cooled cryocooler. Open the Vortext air valve and set the pressure to 2 bar
(30 psi).
Analyzers with a water cooled cryocooler. Turn the coolant supply “ON” and check for leaks.
3. Start the flow of instrument air to the Analyzer and verify that the pressure is adequate.
(Analyzers a water-cooled cryocooler require a minimum of 4 bar / 58 psi; Analyzers with an air-
cooled cryocooler require 6-8 bar / 87-116 psi).
4. Apply electrical power to the Analyzer.
5. Open the Measurement Enclosure.
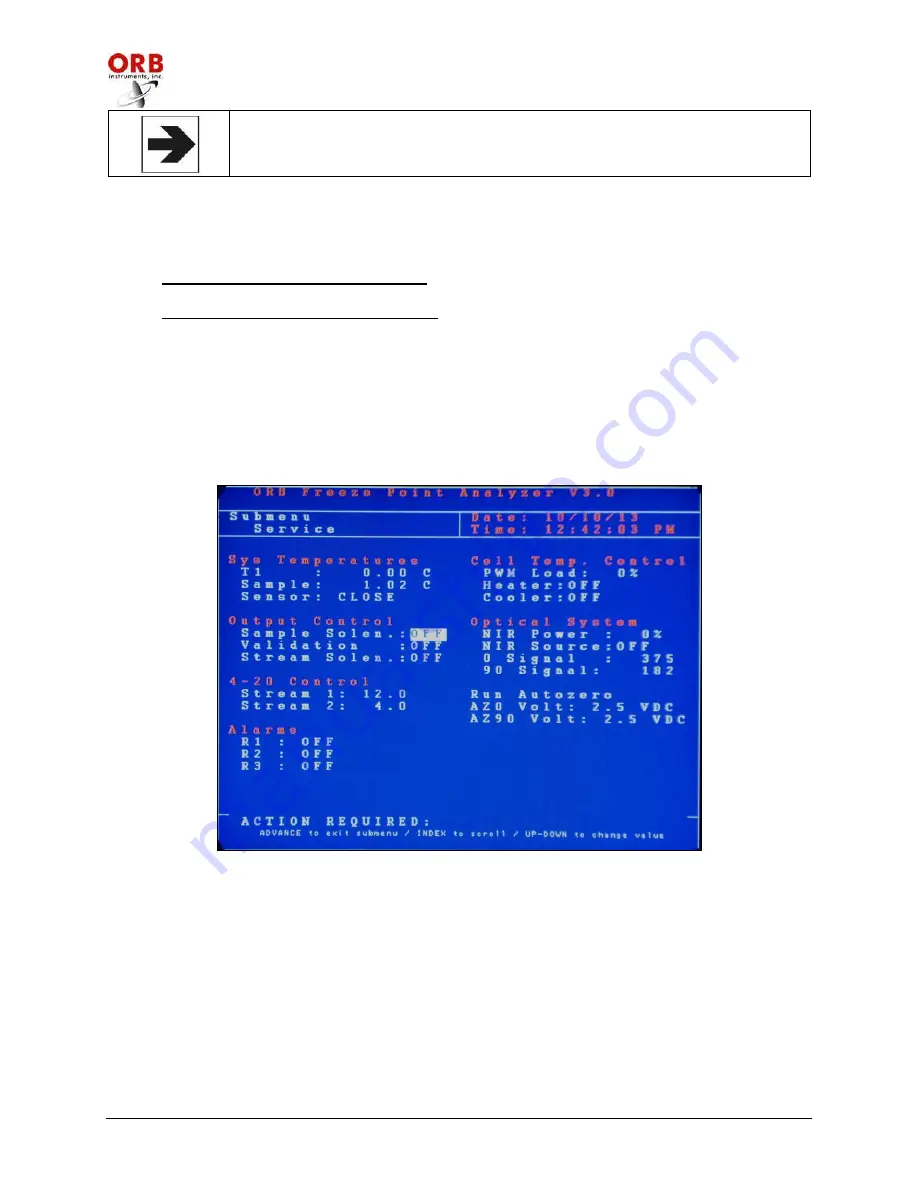
6. Access the Service menu and perform the following checks (see Section 6 for information on
accessing this menu and performing these functions):
A. Turn the sample solenoid (listed under Output Control) ON.
B. Verify that sample is flowing to the detection cell and check for leaks in the Measurement
Enclosure.
C. Turn the sample solenoid OFF and note the sample temperature.
D. Turn the cooler (Cell Temperature Control) ON for approximately 60 seconds. The sample
temperature should decrease.
E. Turn the cooler OFF.
F. Increase NIR Power (Optical System) to 50%.
G. Turn NIR Source (Optical System) ON. The 0 Signal should increase in value.


