background image

MEZZANINE GATE

 Installation Procedure

12

90

DR

ILL

 TH

RO

UG

H

to s

uit 

M6

12

08

11

18

x 1

x 1

x 1

x 1

x 2

x 1

x 2

x 4

x 2

x 1

M8

 Ny

loc

k N

ut

M8

 x 3

5 H

ex 

bol

t

M8

 W

a

she

r

M1

2

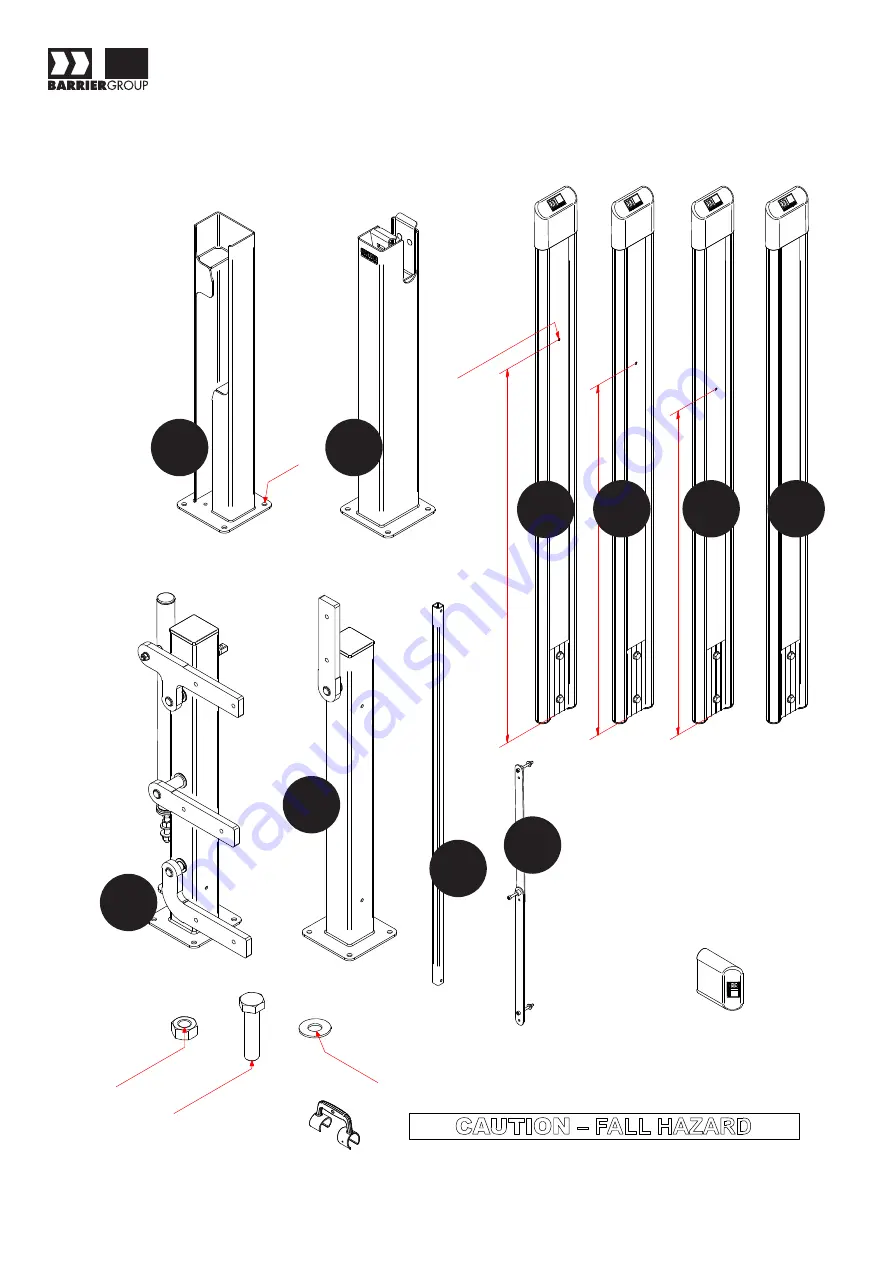
CONTENTS

x 1

x 1

IP33 – Mezzanine Gate  ©  Copyright 2016    

www.barriergroup.com.au

D

H

G

A

B

C

E

F

I

J

Summary of Contents for MEZZANINE GATE

Page 1: ...MEZZANINE GATE Installation Procedure IP33 Mezzanine Gate Copyright 2016 www barriergroup com au Optional Double Rail U Bars ...

Page 2: ...Procedure 1290 DRILL THROUGH to suit M6 1208 1118 x 1 x 1 x 1 x 1 x 2 x 1 x 2 x 4 x 2 x 1 M8 Nylock Nut M8 x 35 Hex bolt M8 Washer M12 CONTENTS x 1 x 1 IP33 Mezzanine Gate Copyright 2016 www barriergroup com au D H G A B C E F I J ...

Page 3: ...pyright 2016 www barriergroup com au Gap should not exceed 100mm x 4 M12 Note Ensure to choose appropriate fixing to suit flooring STEP 1 G E 200 2002 1602 200 119 200 1508 200 200 1259 200 200 1603 200 130 DROP Footprint layout as shown is for standard MZ1500 A ...

Page 4: ...MEZZANINE GATE Installation Procedure IP33 Mezzanine Gate Copyright 2016 www barriergroup com au STEP 2 x 6 M12 x 1 x 1 x 1 STEP 2 G A B C ...

Page 5: ... connector I is a slip fit onto square shaft on H post remove any galvanising build up at both end from ins s ide I prior a to ssembly CAUTION DO NOT force I onto square shaft on H post as it could casue damage to aluminium bushes IP33 Mezzanine Gate Copyright 2016 www barriergroup com au STEP 3 STEP 4 I H G G A B C E E A B C ...

Page 6: ...MEZZANINE GATE Installation Procedure IP33 Mezzanine Gate Copyright 2016 www barriergroup com au STEP 5 R ECOMMENDE 0 0 4 D D H STEP 5 G A B C E ...

Page 7: ...MEZZANINE GATE Installation Procedure IP33 Mezzanine Gate Copyright 2016 www barriergroup com au STEP 6 M12 CAUTION message must be applied on rail prior operation STEP 6 F H G E ...

Page 8: ...n or responsibility accepted by the manufacturers if the gate is not installed as instructed Barrier Group do not warrant the work of 3rd party contractors BEFORE YOU START 1 The installer must ensure the desired mounting point for the gate is level plumb and rigid 2 Use fixings appropriate to the material into which they are being fixed not included 3 Check all parts are included Contact Barrier ...

Reviews: