


31
Preparations
Others
Operation
30
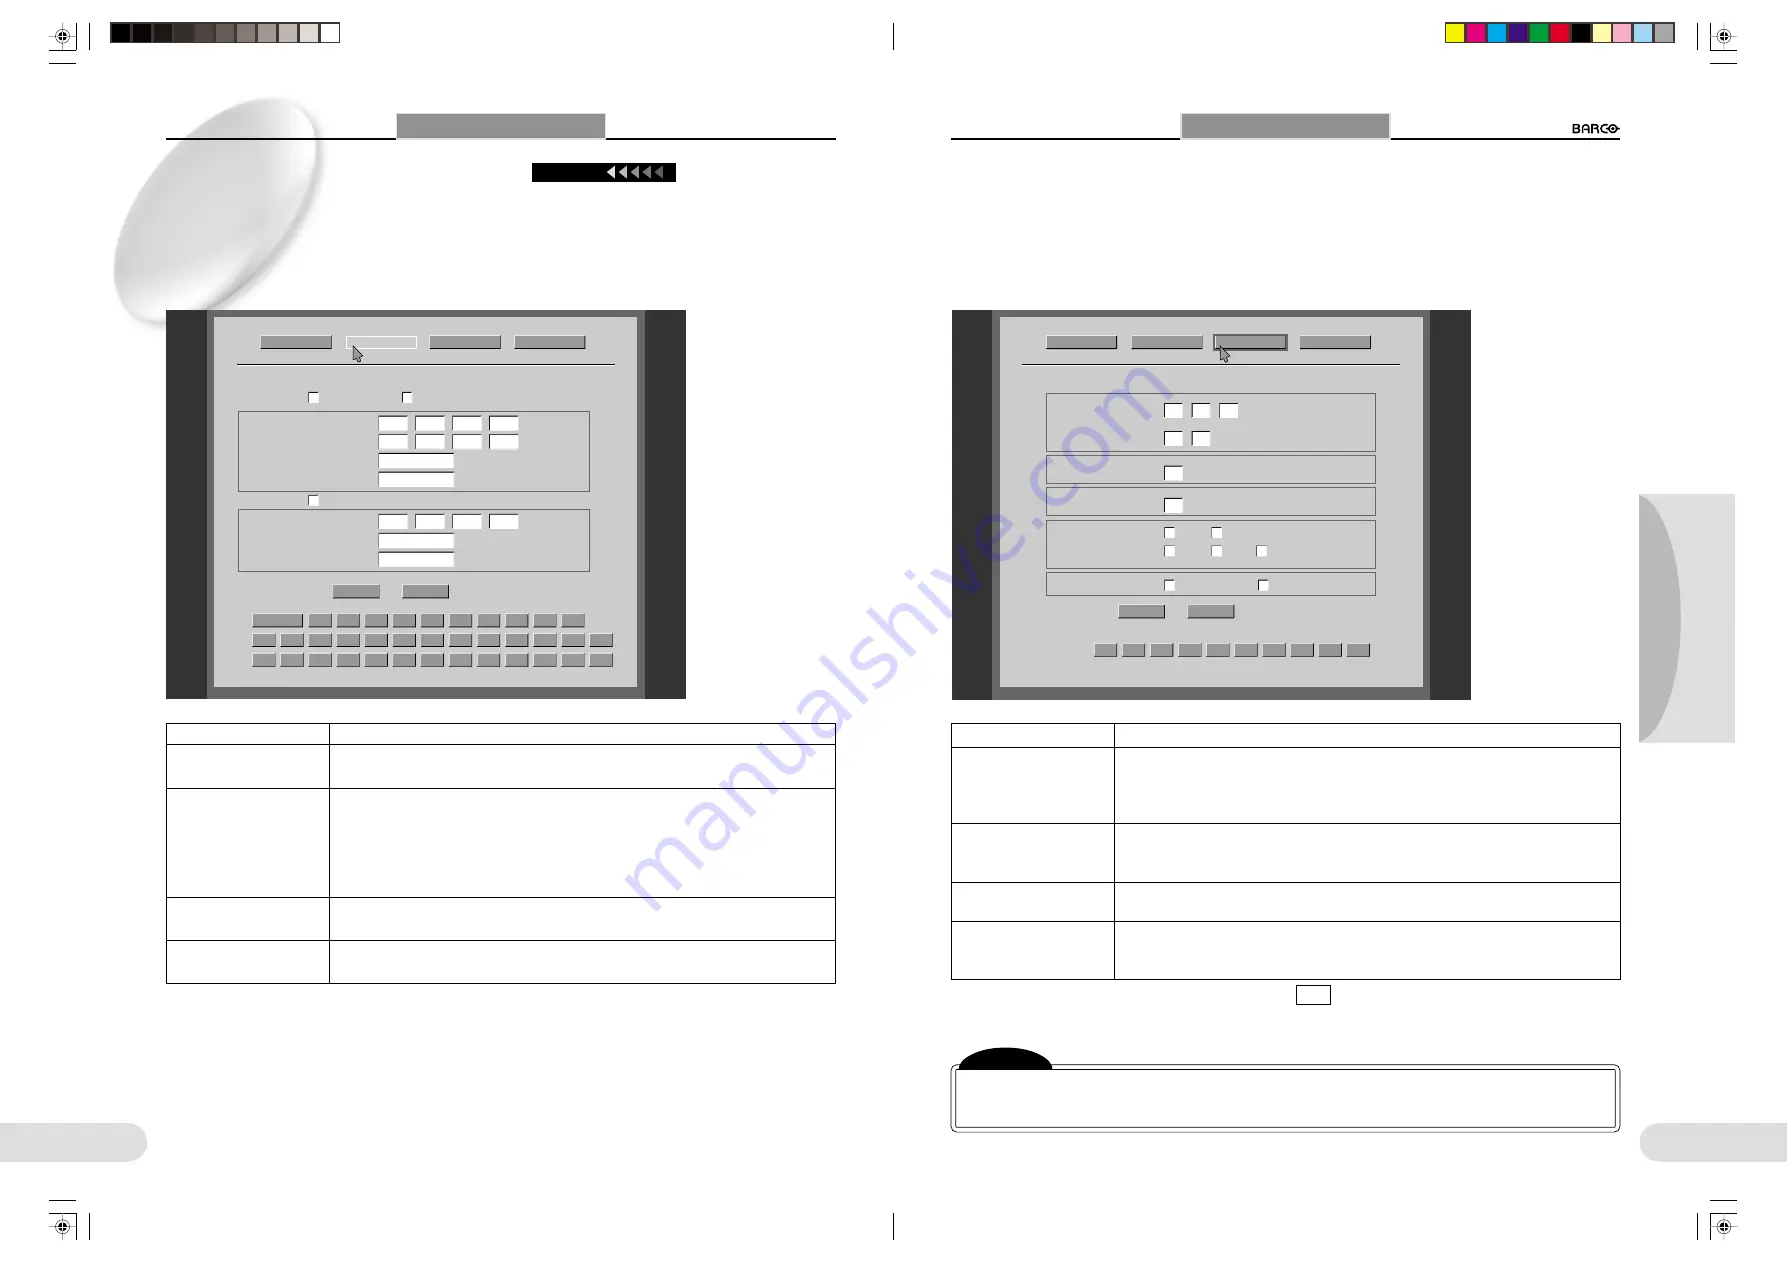
[Timer... Setting]
--------------- Set the time and date.
PowerOn Setting
0
1
2
3
4
5
6
7
8
9
SAVE
Default
NetWork Setting
Timer Setting etc..
Date:
00
/
20
year / month / day
04
26
/
Time:
15
:
hour : minute
01
Power Save Timer
99
min
( 00 min = Power Save Off)
No Operation Time
Slide Show
99
sec
( 10 - 99 sec)
Interval Timer
File Type
( FTP , Card)
Return to Window
*
JPEG
BMP
TYPE:
*
1280*960
640*480
320*240
SIZE:
PopUp 3rd Button
Slide Show
Delite File
*
Timer... Setting
Date:, Time:
Power Save Timer
Slide Show
File Type
PopUp 3rd Button
To set the time and date.
To set the time (in minutes) from the last operation until the screen is darkened. When you select
“00” min, the power save function does not operate.
To recover the mode, press any button or move the mouse, when using web software, press
Light ON/OFF or XGA/SXGA button.
To set the interval of image changes (in seconds) in a slide show.
For information on slide shows, see “Items to be Operated Using the PC Card Menus”. (
☞
p.36)
The interval may be prolonged over the specified time if processing of some image takes more time.
TYPE: To select the format (JPEG or BMP) when saving an image file on a PC card or in a server.
SIZE: To select the file size (resolution) when saving an image file on a PC card or in a server.
To set the function of the third button from the left of the PC Card menu. (
☞
p.36)
Slide Show: To use as the Slide Show button.
Delete File: To use as the Delete File button.
When the settings of the necessary items are completed, left-click SAVE .
[Return to Window]
----------------- To clear the menu and restore the normal display
Using Menus
L
Setup (Continued)
-------------------------------------------------------------------------------------------------------------------------------------
[NetWork Setting]
--------------- Set the items relating to networking.
PowerOn Setting
SAVE
n
o
p
q
r
s
t
u
v
w
x
y
z
a
b
c
d
e
f
g
h
i
j
k
l
m
skip
0
1
2
3
4
5
6
7
8
9
Default
NetWork Setting
*
Enable NetWork
Enable FTP Client
*
Read Only ( FTP, WEB : disable Write / Control)
NetWork Setting
Internal Server
192
168
001
002
IP Address
255
255
000
000
SubNet Mask
User ID
anonymous
( max 10 char.)
Pass Word
none
( max 10 char.)
External Server
192
168
001
001
IP Address
User ID
anonymous
( max 10 char.)
Pass Word
none
( max 10 char.)
Timer... Setting
Return to Window
Using Menus
Enable NetWork
Read Only (FTP, WEB:
disable Write/Control)
Internal Server
Enable FTP Client
External Server
To enable/disable the network function.
To inhibit/allow Web control and writing with FTP.
To set the IP addresses of FTP, HTTP and Telnet servers, subnet mask, user ID, and password. For
the IP addresses, ask the administrator of your network.
When you set “User ID” to other than “anonymous,” identification is requested when connect-
ing to the network.
Log-on using the user ID and password specified here is enabled. (
☞
p.32)
To enable/disable the FTP client function. When the function is disabled, the menu buttons
become inoperative, eliminating inadvertent activation.
To set an external FTP server. This setting is required when sending an image file to the FTP
server. For instructions regarding the FTP server, ask the administrator of your network.
○ ○ ○ ○ ○ ○ ○ ○ ○ ○ ○ ○ ○ ○ ○ ○ ○ ○ ○ ○ ○ ○ ○ ○ ○ ○ ○ ○ ○ ○ ○ ○ ○ ○ ○ ○ ○ ○ ○ ○ ○
Items to be Adjusted Using Menus
When you change the IP address, once turn the power off and then back on again.
Note
[
When the Imager will not be used for a prolonged period, the backup function for the built-in clock
may deteriorate, and the clock may stop. After a long period of disuse, reset the clock. The backup
function will be restored by applying the power.
Continued
**BARCO 018-037(E)
2000.7.18, 8:19 PM
30-31


