


Baja Shifter 90 Model SF90 (double-seat): Owner’s Manual Version:1.0 April 2005
17
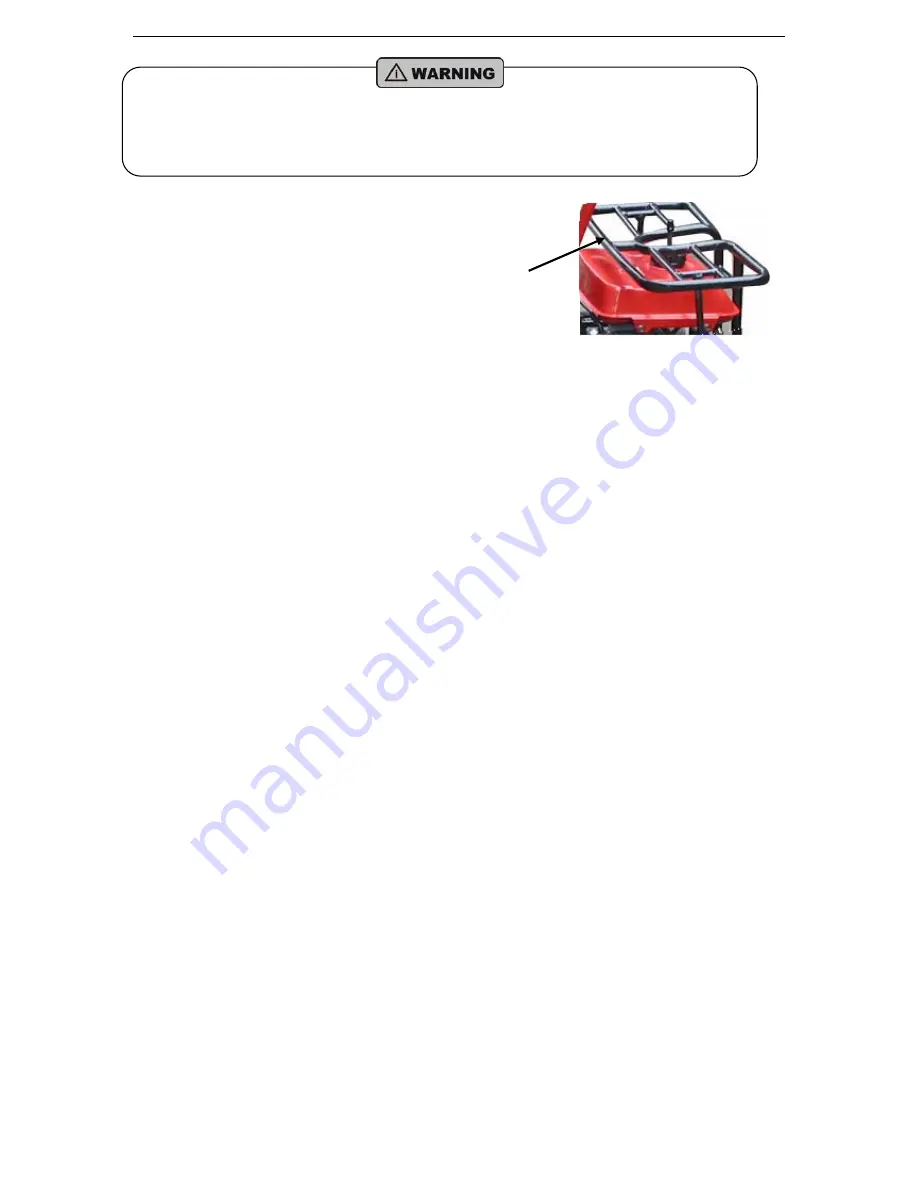
Rear Rack
Limited Loadage
The limited loadage on the rear rack is 5kg or 11 lbs.
z
Operating this BUGGY after consuming alcohol or drugs can seriously affect your judgments,
cause you to react more slowly, affect your balance and perception, and even could result in
serious injuries or death.
z
Never consume alcohol or drugs before or while operating your BUGGY.