background image

13

  BF-UM-C-DP C171-EN November 2019

USER MANU

AL FOR DISPL

A

Y

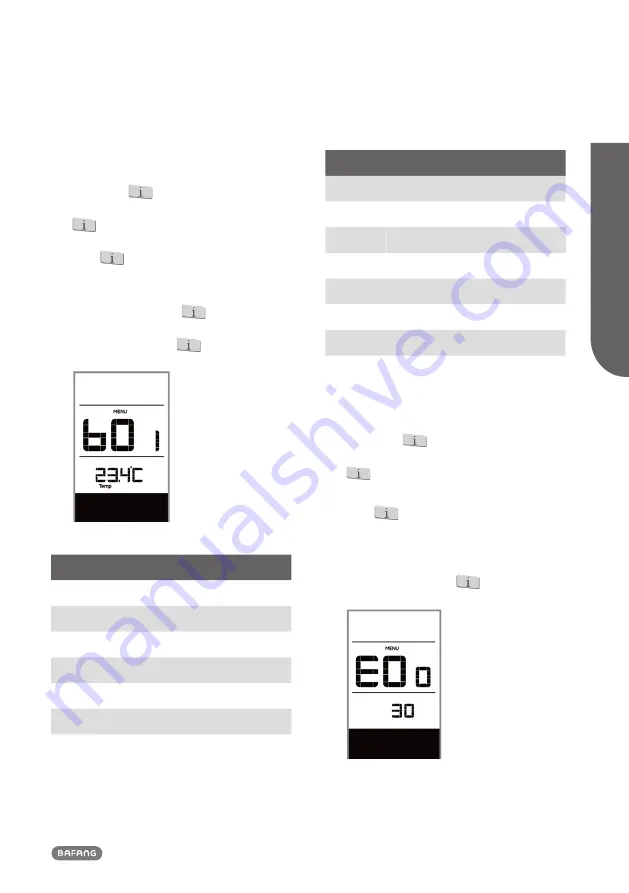
7.7.2.11 Battery Information

When the system is on, quickly press 
(<0.3S) the 

 button twice to access 

the “MENU” interface, repetitively press the 

 button until the “b01” appears on the 

display (as shown below). You can briefly 
press 

 (0.3s) to view all information of 

the battery.

Once you have viewed your desired informa-
tion, press (<0.3S) the 

 button twice to 

save and return to the main screen, or you 
can press (<0.3S) the 

 button once to 

enter next item "Message of Error Code".

Content Explanation

b01

Current temperature (°C)

b04

Voltage (V)

b06

Discharge (A)

b07

Remaining Capacity (A/h)

b08

Total Capacity (A/h)

b09

Relative SOC (%)

b10

Absolute SOC (%)  

Content Explanation

b11

Charging cycles (number)

b12

Maximum not charging time (Hr)

b13

Recently not charging time (Hr)

d00

 Number of battery cell

d01

 Voltage of cell 1 (m/V)

d02

Voltage of cell 2 (m/V)

dn

Voltage of cell n (m/V)

NOTE:

 If no data is detected, "--" is displayed.

7.7.2.12  Message of Error Code

When the system is on, quickly press 
(<0.3S) the 

 button twice to access 

the “MENU” interface, repetitively press the 

 button until the “E00” appears on the 

display (as shown below). You can briefly 

press 


(0.3s) to view last ten Error Code 

“EO0” to “EO9”. Error code "00" means that 
there is no error. 

Once you have viewed your desired informa-
tion, press (<0.3S) the 

 button twice to 

save and return to the main screen.

Summary of Contents for DP C171.CAN

Page 1: ...w 3 7 4 Display 4 7 5 Key Definition 5 7 6 Normal Operation 5 7 6 1 Switching the System ON OFF 5 7 6 2 Selection of Support Levels 5 7 6 3 Selection mode 6 7 6 4 Headlights backlighting 6 7 6 5 Walk...

Page 2: ...update 7 1 IMPORTANT NOTICE If the error information from the display cannot be corrected according to the inst ructions please contact your retailer The product is designed to be waterproof It is hi...

Page 3: ...ttery capacity indicator Automatic sensors explanation of the light ing system Brightness setting for backlight Indication of performance support Walk assistance Kilometer stand including single trip...

Page 4: ...eed AVG 6 Kilometer stand Daily kilometers TRIP Total kilometers TOTAL 7 Data Display data which corresponds to the current mode 8 Walking assistance 9 USB charging indicator displays the icon if an e...

Page 5: ...ystem If the automatic shutdown time is set to 5 minutes it can be set with the Auto Off function See Auto Off the display will automatically be turned off within the desired time when it is not in op...

Page 6: ...ghting Hold 2S the button to activate the headlight and backlight Hold 2S the button again to turn off the headlight and backlight The brightness of the backlight can be set in the display settings Br...

Page 7: ...he battery in a percentage if the frame of indicator blinks that means to charge as shown in the figure below Bars Charge in Percentage 10 90 9 80 C 90 8 70 C 80 7 60 C 70 6 50 C 60 5 40 C 50 4 30 C 4...

Page 8: ...desired selec tion press 0 3S the button twice to save and return to the main screen or you can press 0 3S the button once to save and enter next item Selection of unit in km Miles NOTE If the daily...

Page 9: ...Off 7 7 1 5 Set Auto Off When the system is on quickly press 0 3S the button twice to access the MENU interface repetitively press the button until the OFF appears on the display as shown below And th...

Page 10: ...as shown below Once you have viewed your desired informa tion press 0 3S the button twice to save and return to the main screen or you can press 0 3S the button once to enter next item Controller hard...

Page 11: ...item Display software info 7 7 2 6 Display software info When the system is on quickly press 0 3S the button twice to access the MENU interface repetitively press the button until the dSc Display Soft...

Page 12: ...e check appears on the display as shown below Once you have viewed your desired informa tion press 0 3S the button twice to save and return to the main screen or you can press 0 3S the button once to...

Page 13: ...Discharge A b07 Remaining Capacity A h b08 Total Capacity A h b09 Relative SOC b10 Absolute SOC Content Explanation b11 Charging cycles number b12 Maximum not charging time Hr b13 Recently not chargi...

Page 14: ...ck in its correct position Check the throttle can adjust back into its correct position if the situation does not improve please change to a new throttle only with this function 07 Overvoltage protect...

Page 15: ...or connector is connected correctly 4 If the error persists please contact your retailer 25 Torque signal Error 1 Check that all connections are connected correctly 2 If the error persists please cont...

Page 16: ...tailer 44 Voltage of the single cell is too high Please contact your retailer 45 Temperature from the battery is too high Please contact your retailer 46 The temperature of the battery is too low Plea...

Reviews: