PAGE 30
LEVELING THE DECK
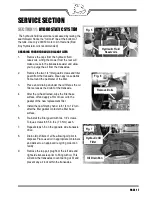
Before leveling the deck, please verify linkage bar is
secured properly as described in the picture to the right.
1.
Start on a flat, level surface and set the air
pressure in all four tires to 12 psi. Measure the
deck at all four corners. The deck should be level
from left to right but should be pitched downward
front to back. The deck pitch is achieved by
measuring from the cutting edge of the blade to the
ground. Bad Boy recommends having a ¼” pitch
down in the front measured from the cutting edge
of the blade. Adjustments can be made by
adjusting the deck hangers in their slots.
2.
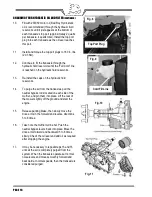
Using a pair of approximately 3 ft. long 2x4's, stand
the boards on edge and slide them under the deck
from front to back as shown in Fig. 38. Making sure
the deck wheels and blade bolts do not rest on the
2x4’s, and that the front and back edge of the deck
rest on the 2x4’s.
3.
Lower the deck down onto the 2x4's using either
the deck lift pedal or the electric actuator,
whichever your mower is equipped with. The deck
should now be approximately 3 1/2" off the ground.
to achieve the proper 1/4" pitch down in the front it
may be necessary to use some 1/4" spacers under
the rear of the deck as shown in Fig. 39.
4.
Using a pair of 9/16" wrenches, loosen all deck
hanger bolts on the top of the deck. These are the
lower bolts in the slots of the deck as shown in Fig.
41. Do not loosen the upper bolts that attach the
deck hangers to the actuator lift bars.
5.
The deck is now loose from the frame and
movement of the lift arm should only move the
hanger bolts up and down in the deck slots.
6.
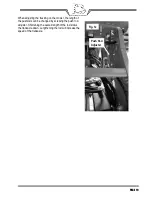
Set the deck dial to the 3.5 position, tighten all deck
hanger bolts in their slots starting from the rear of
the deck then moving to the front. Lift the deck to
the highest position. Measure all four corners of the
deck again to ensure that no further adjustments
are necessary. The front of deck should be 1/4”
lower than rear of deck.
7.
Remove 2x4s.
Place 2x4’s with
the 4” Sides Facing
Out
¼” Spacer
Deck Hanger
Check Deck Pitch by Measuring
to the Cutting Edge of the Blade
Deck Hanger Bolt
Fig. 38
Fig. 39
Fig. 40
Fig. 41
Fig. 42


