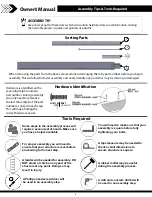
Hardware Iden
tifi
cation
ASSEMBLY TIP:
Keep and eye out for these boxes which will contain helpful pictures and information making
the assembly process as quick and painless as possible.
Sorting Parts
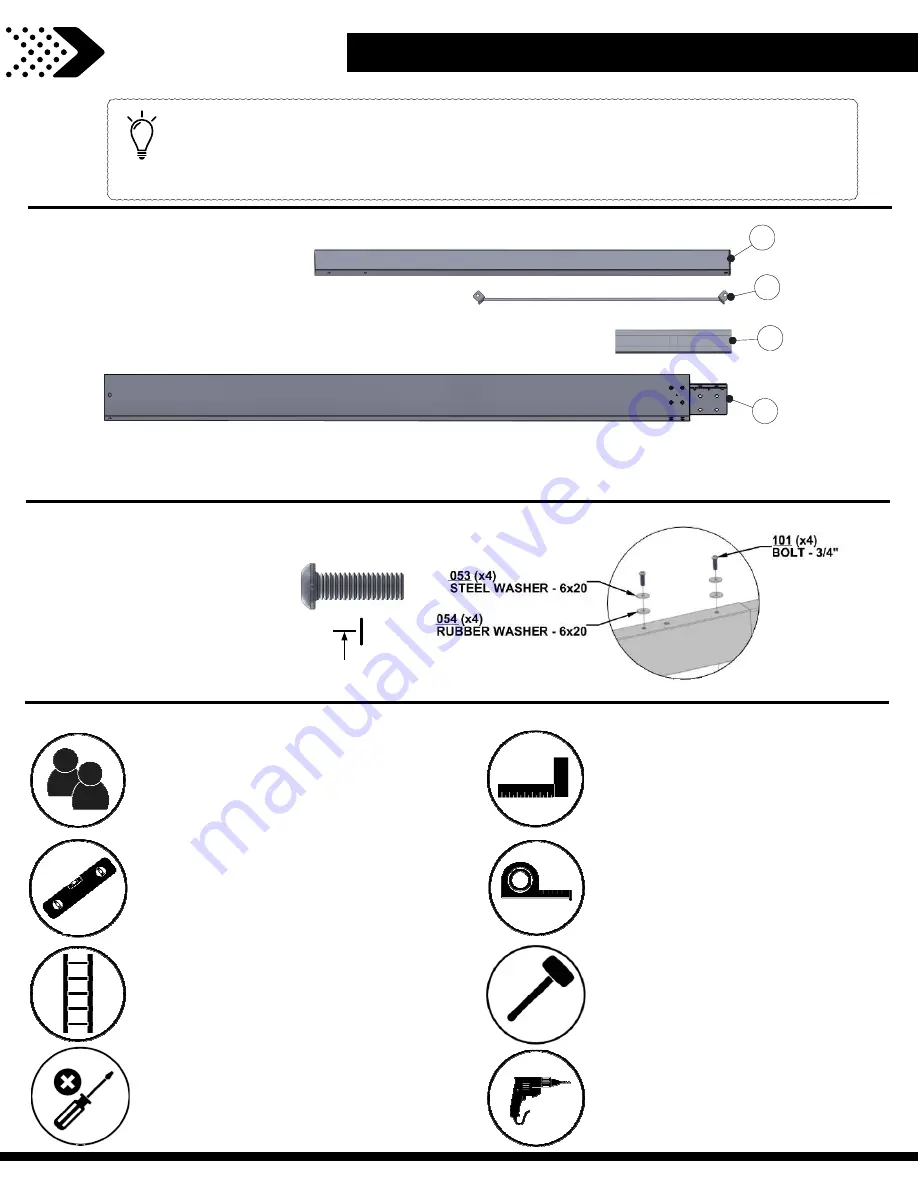
When removing the parts from the boxes we recommend arranging them by part number before you begin
assembly. This will allow for faster assembly and easily identify any parts that may be missing or damaged.
Assembly Tips & Tools Required
Owner’s Manual
Hardware is identified with a
seven digit alpha-numeric
part number. During assembly
you only need to reference
the last three digits of the part
number as noted in each step.
This will make finding the
correct hardware easier.
BOLT
1/4-20x3/4"
(
24
)
H101
101
Tools Required
A rubber mallet may be useful
during the assembly process.
You will need to make sure that your
assembly is square before fully
tightening your bolts.
A tape measure may be needed to
check overall dimensions to
ensure structure is square.
Some steps in the assembly process will
require a second set of hands. Make sure
you have a helper available.
For proper assembly you will need to
ensure that your structure is level before
proceeding to the next step.
A ladder will be needed for assembly. DO
NOT stand or climb on any part of the
structure at any point. Doing so may
result in injury.
A Phillips head screw driver will
be used in an assembly step.
6
F
L
H2
A
A
drill and concrete drill bit will
be used in an assembly step.


