Dynamis User Guide
8
Getting Started
1
. Attach lanyard to the handset. To avoid
dropping the unit use the lanyard around neck or
wrist.
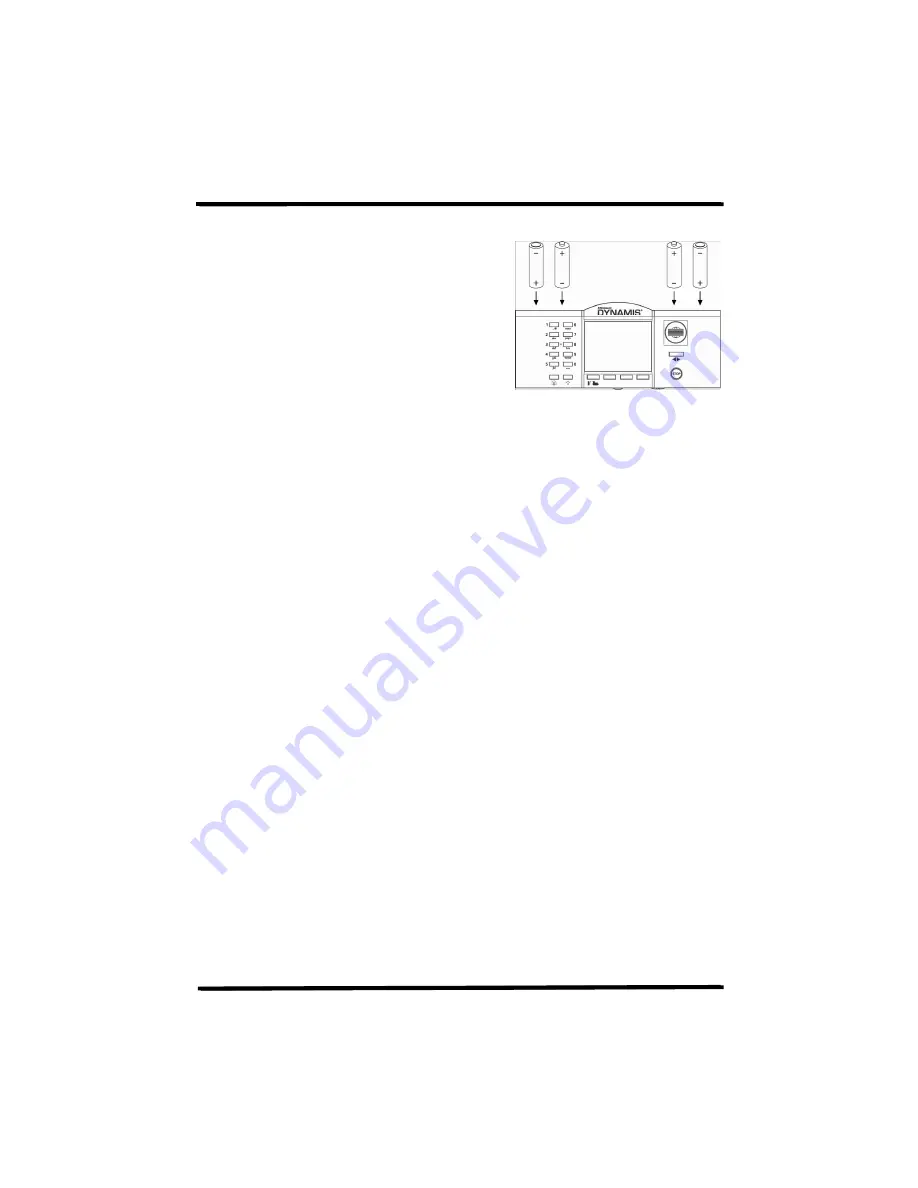
2
. Insert 4 AAA batteries into handset orientating
as shown on the diagram. The battery covers are
removed by carefully releasing the clips at the rear
of the handset
3
. Connect receiver to terminal on top of the Command Station.
4
. Place Command Station by layout, locating in a position with a good angle of view
to the Command Station infra-red receiver. Remove existing controllers / power
packs and connect the wires to the Command Station.
Use the red lead with jack plug to connect to Bachmann E-Z Track® or the
Bachmann Branchline track powerclip
Other leads with bare wire connectors can be connected to the green
connector block which plugs to the Command Station. This is
recommended for layouts using higher track power.
Please refer to ‘
How to make the best of Dynamis on your layout’
section for advice on connecting to existing layouts
5
. Select the appropriate mains pins for the wall transformer: they fit and lock in
place with a twist action. THIS PROCEDURE SHOULD BE CARRIED OUT BY AN
ADULT
6
. Connect the power supply lead to the Command Station. Plug the transformer
into wall socket. The LED on the Command station receiver will be illuminated.
7
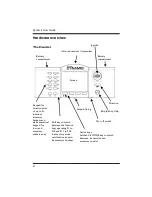
. Turn on the Handset with the switch underneath – the Handset always powers up
with the STOP cutout in place (press STOP button to proceed) and ready to run a
locomotive with address 3.
8
. Place a locomotive on the track. New DCC locomotives or decoders are shipped
with an address of 3.
To run a locomotive with a different address, press [LOCO] key and then enter
locomotive address and press [ACCEPT]. This locomotive number shows on the
screen along with a default roster entry that has been created.


