


Pur•Chek
™
Instruction 2100-9000
12
5 Maintenance & Troubleshooting
5.1 Setting the Elevation
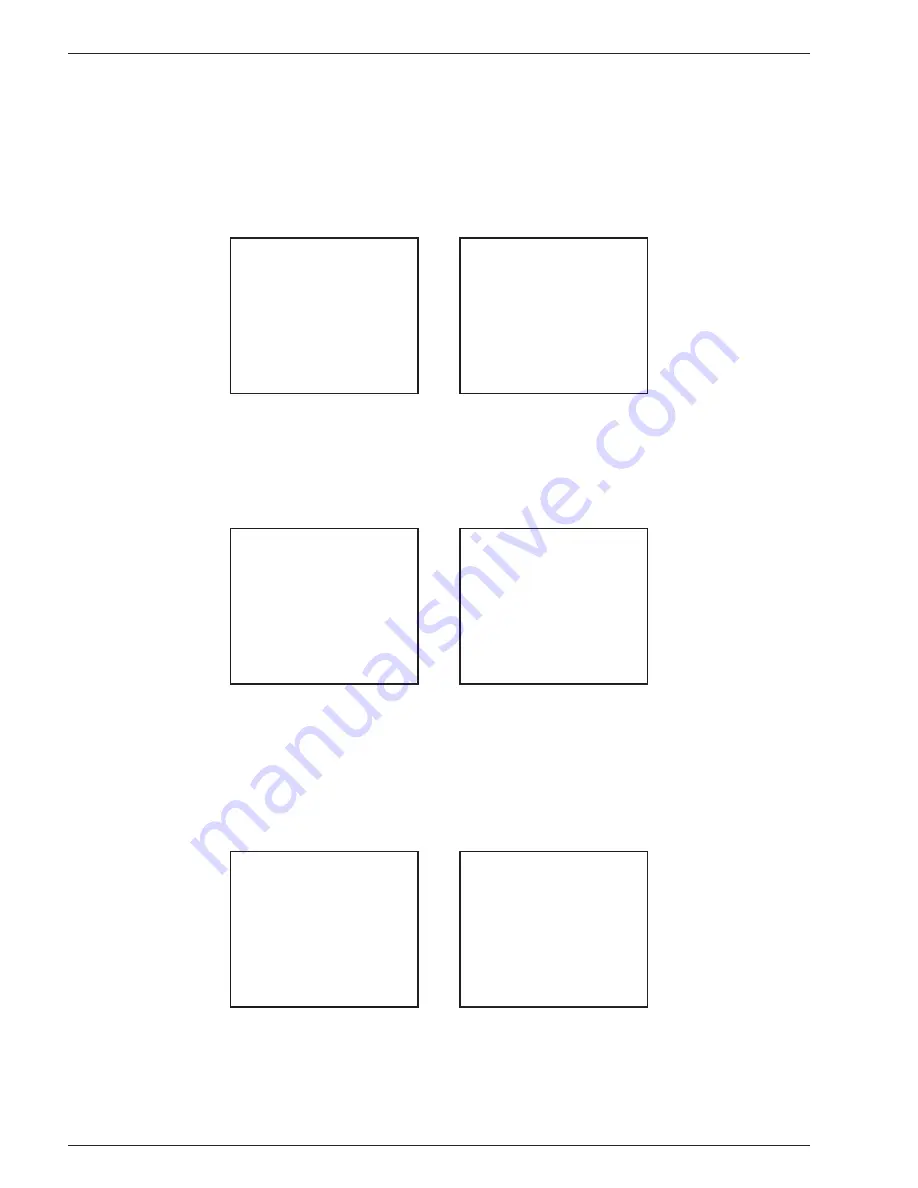
During the initial power-up, the Pur•Chek™ will indicate that the elevation has not been set. To set the eleva-
tion, press the “Help” button on the “Ready to Air Cal” screen as shown in Section 4.3, Figure 3. The screen will
display several options as shown in Figure 17. Pressing the “SET” button will display the options in Figure 18.
TO CHANGE
SETTINGS OR
REPLACE PAPER
ROLL PRESS SET
FOR OTHER HELP
PRESS HELP
Figure 17.
Figure 18.
SET HELP DONE
SET FEED DONE
TO FEED IN A
NEW PAPER TOLL
PRESS FEED
PRESS SET TO
ADJ LCD CONTRAST
OR ELEVATION
Press the “SET” button shown in Figure 18 to display the screen options shown in Figure 19. Pressing the
“ELEV” button will take you the elevation screen shown in Figure 20. Use the “UP” & “DOWN” buttons to
adjust the unit to the elevation in your area. Press the “SAVE” button when fi nished to return to the help screen
(Figure 17).
TO SET THE
ELEVATION PRESS
ELEV BUNNON
TO SET THE
LCD CONTRAST
PRESS CONT
Figure 19.
Figure 20.
ELEV CONT DONE
SET FEED DONE
FEET
METERS
400
122
5.2 Setting the LCD Contrast
The Pur•Chek™ features an adjustable LCD contrast for use in varying light conditions. To adjust the contrast,
press the “HELP” button on the “Ready to Air Cal” screen as shown in Section 2.2, Figure 3. The screen will
display several options as shown in Figure 17. Pressing the “SET” button will display the options in Figure 18.
TO CHANGE
SETTINGS OR
REPLACE PAPER
ROLL PRESS SET
FOR OTHER HELP
PRESS HELP
Figure 21.
Figure 22.
SET HELP DONE
SET FEED DONE
TO FEED IN A
NEW PAPER TOLL
PRESS FEED
PRESS SET TO
ADJ LCD CONTRAST
OR ELEVATION
Press the “SET” button shown in Figure 21 to display the screen options shown in Figure 22. Pressing the
“SET” button in Figure 22 will advance the display to Figure 23. Pressing the “CONT” button will take you the
contrast screen shown in Figure 24. Use the “UP” & “DOWN” buttons to adjust the screen contrast for best
viewing. Press the “SAVE” button when fi nished to return to the help screen (Figure 21).
R


