Instruction 3015-4275
41
ADM800 - Zone Setup Programming
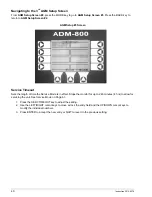
Navigating to the 1
st
Zone Setup Screen
There are two ways to display
Zone Setup Screen #1
:
• From the
System Screen
(Page 31) press the key adjacent to the AGM300 unit associated with the zone you
wish to work with. Next, press the ZONES key; and then press the key adjacent to the desired zone.
• From the top level
Zone Screen
(Page 44) press the key adjacent to the zone you wish to work with. To
select a different zone, use the UP/DOWN cursor keys or the NEXT key to scroll the screen display.
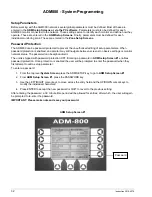
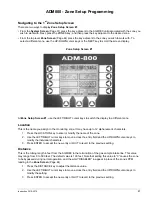
Zone Setup Screen #1
At
Zone Setup Screen #1
, use the LEFT/RIGHT cursor keys to switch the display to a different zone.
Location
This is the name you assign to the monitoring zone. It may have up to 12 alphanumeric characters.
1. Press the LOCATION key to enter or modify the name of the zone.
2. Use the LEFT/RIGHT cursor keys to move across the entry field and the UP/DOWN cursor keys to
modify the individual characters.
3. Press ENTER to accept the new entry or QUIT to revert to the previous setting.
Distance
This is the tubing length in feet from the AGM300 to the termination of the gas sample intake line. This value
may range from 0 to 500 feet. The default value is 100 feet. Note that setting this value to “0” causes the zone
to be bypassed during normal operation, and the word “DISABLED” in appear in place of the zone’s PPM
reading in the
Zone Screen
(Page 44).
1. Press the DISTANCE key to adjust the distance value.
2. Use the LEFT/RIGHT cursor keys to move across the entry field and the UP/DOWN cursor keys to
modify the setting.
3. Press ENTER to accept the new entry or QUIT to revert to the previous setting.
Summary of Contents for ADM800
Page 17: ...Instruction 3015 4275 9 AGM300 AC Input Power and Ground Connections...
Page 33: ...Instruction 3015 4275 25 ADM800 AC Input Power and Ground Connections...
Page 70: ...62 Instruction 3015 4275 Notes...
Page 71: ...Instruction 3015 4275 63 Appendix...
Page 74: ...66 Instruction 3015 4275 ADM800 Logic Diagram...
Page 93: ...Instruction 3015 4256 85 Notes...

