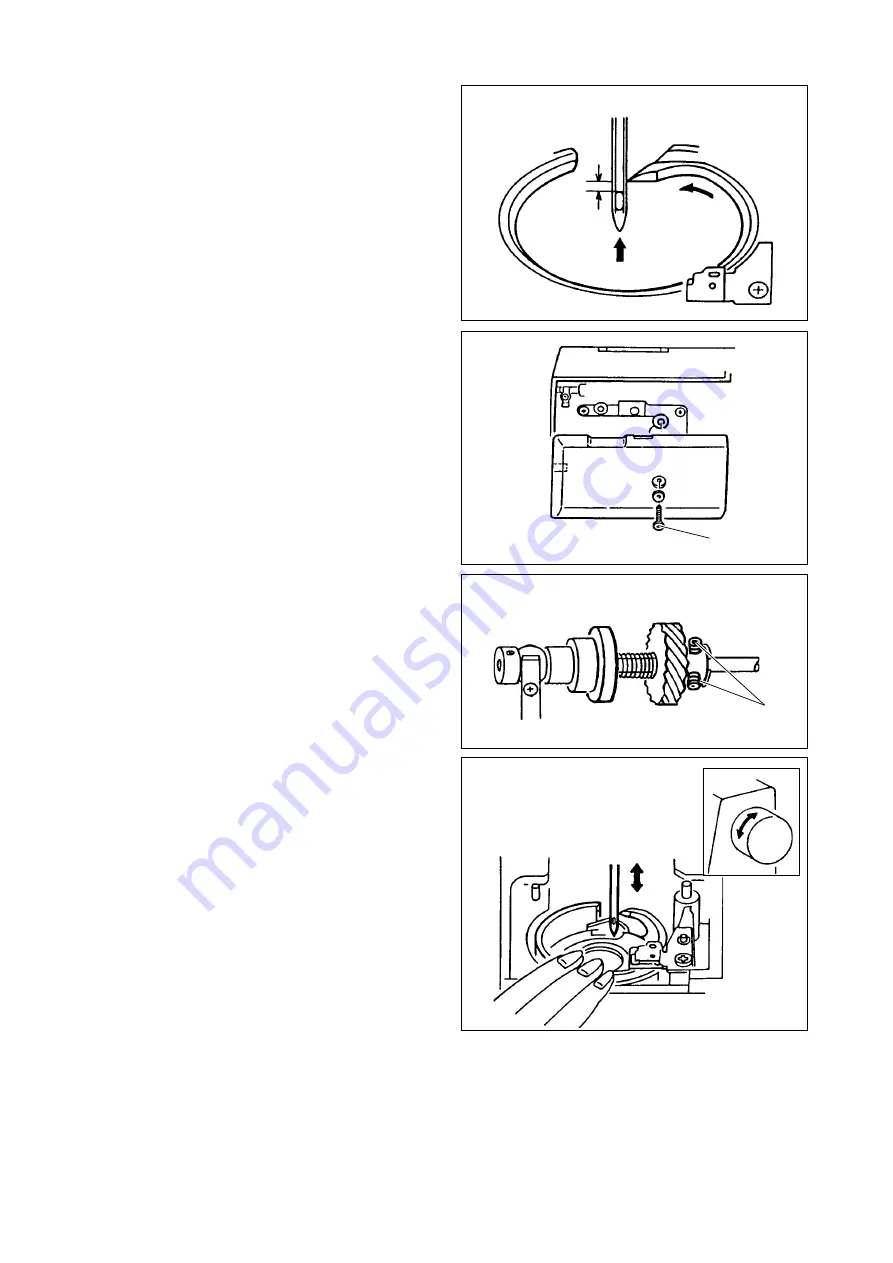
fig. 3-1
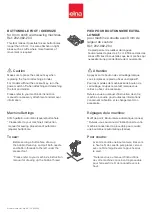
fig. 3-2
a
fig. 3-3
b
fig. 3-4
1.5-2.0 mm
- 7 -
3. TIMING OF THE HOOK
Prior to making this adjustmetnt, be sure that the needle
bar is set at the correct height. (See sec. 1)
Check the timing of hook as follows:
1. Remove the needle plate and bobbin holder. (See sec.
1-2)
2. Set the pattern number at “1”. (Straight stitch on left
needle position)
3. Turn the handwheel toward you until the needle is at
its lowest point.
4. Then, turn the handwheel slowly to turn the hook
counter-clockwise until the tip of hook is aligned with
the right side of needle. (fig. 3-1)
At this time, the gap between the tip of hook and the
top edge of needle eye should be 1.5 to 2.0 mm.
If the gap is too small or too large, adjust as follows:
5. Tilt the machine backward.
Remove the bed lid by removing the screw (a) and
sliding bed lid to the left. (fig. 3-2)
6. Loosen the two screws (b) on the lower shaft gear with
a hexagon socket screw key (2.5 mm). (fig. 3-3)
7. Turn the hook race by hand so that the tip of hook will
align with the right side of needle.
In this position, hold the race with your left hand and
turn the handwheel toward you to obtain the correct
gap (1.5 to 2.0 mm). (fig. 3-4)
8. Tighten the screws (b) and check the timing again.
9. Replace the bed lid, bobbin holder and needle plate.


