English
885-E42/E43
Printed in China
APPENDIX
UTILITY STITCHES
SEWING BASICS
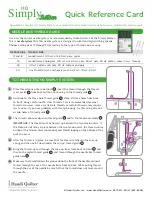
KNOWING YOUR
SEWING MACHINE
Operation Manual
Product Code: 885-E42/E43
Sewing Machine
XG2315-001
Be sure to read this document before using the machine.
We recommend that you keep this document nearby for future reference.
Please visit us at
http://support.brother.com/
where you can get product
support and answers to frequently asked questions (FAQs).
Operation Manual
885-
E42/E43
Cover1-4
PANTONE 285C
K