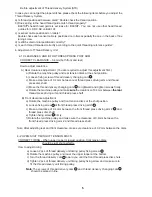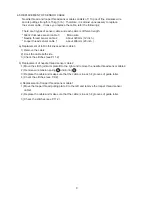
4-3 HOW TO REPLACE THE TIMING BELT OF THREAD DELIVERY UNIT
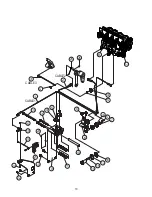
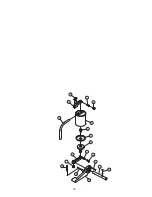
e) Loosen the presser foot joint link fixing screw A( 24 upper screw).
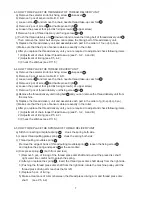
4-4 HOW TO REPLACE THE THREAD DELIVERY UNIT
a) Remove the selector knob link fixing screw
& spacer 13 .
b) Remove 3 pcs of sensor cable B, C & D.
c) Loosen screw F and remove the chain needle thread take-up cam fork E .
d) Remove 2 pcs of screw G and hadle pin set right H .
f) Remove 3 pcs of thread delivery unit fixing screw
& .
g) Remove the thread delivery unit timing belt
and you can remove the thread delivery unit
from
the machine.
h) Replace the thread delivery unit and assemble each part in the order of g)-f)-e)-d)-c)-b)-a).
i) Make sure that the 2 pcs of sensor cable are exactly in the roller.
.
j) After you replace the thread delivery unit, you are required to adjust and check following items;
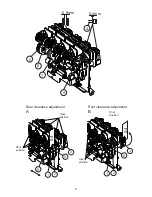
1) Adjustment of chain looper thread take-up (see P., 3-2, A and B)
2) Adjustment of timing (see P.5, 4-2)
3) Check the stitches (see P.11,5)
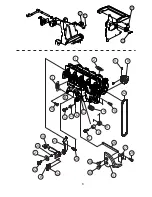
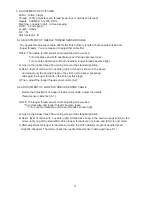
4-5 HOW TO REPLACE THE SPRINGS OF THREAD DELIVERY UNIT
b) Looper thread pulling plate spring
Hook the spring both side
c) Thread pulling movable spring
Remove the edge of hook of thread pulling movable spring , loosen the fixing screw
and replace the spring and space
at the same time.
d) Disc press spring
(both front and rear)
a) Stitch connecting arm plate spring
Hook the spring both side
2) After you replace the spring
, insert the thread press disc shaft slowly from the right side.
3) Pushing the thread press disc shaft from the right side, rotate the machine pulley until the
thread press driving arm reaches the far left.
4) Replace 5 pcs. of E-ring.
5) Make a clearance of 0.4mm between the thread press driving arm and thread press disc
shaft . (see P5, 4-2)
1) Remove 5 pcs. of E-ring of the thread press disc shaft and pull out the press disc shaft
right ward. Be careful not to splash the spring.
7
14
10
11
12
e) Loosen the presser foot joint link fixing screw A( 24 upper screw).
a) Remove the selector knob link fixing screw
& spacer 13 .
b) Remove 3 pcs of sensor cable B, C & D.
c) Loosen screw F and remove the chain needle thread take-up cam fork E .
d) Remove 2 pcs of screw G and hadle pin set right H .
f) Remove 3 pcs of thread delivery unit fixing screw
& .
h) Replace the thread delivery unit and assemble each part in the order of f)-e)-d)-c)-b)-a).
i) Make sure that the 2 pcs of sensor cable are exactly in the roller.
.
j) After you replace the thread delivery unit, you are required to adjust and check following items;
1) Adjustment of chain looper thread take-up (see P., 3-2, A and B)
2) Adjustment of timing (see P.5, 4-2)
3) Check the stitches (see P.11,5)
14
10
11
3
2
5
6
5
7
4
4
g) Push the thread delivery unit
downward and remove the timing belt of thread delivery unit .
Then, remove the motor belt and you can replace the timing belt of thread delivery unit.
1
12


