4 - 14
Test mode
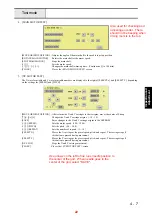
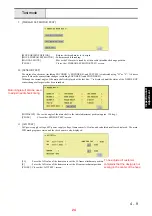
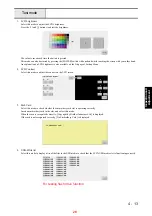
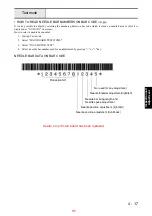
7. USB-F file list
Select this mode to display a list of the files transferred from the PC to check that the USB function is operating correctly.
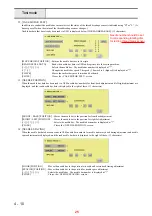
8. Touch Panel adj
Select this mode to adjust the touch panel.
This mode can also be started as follows:
1) Press the [POWER] switch with one hand while touching the screen with your other hand.
2) Press the [THREAD CUT] button on the <Brightness Adjustment> screen.
Touch the center of the [+] symbols with a stylus pen in the following order: top left corner, bottom left corner, bottom right
corner, top right corner, and center.
When the touch panel is adjusted correctly, a black square appears in the top left corner of the screen. If adjustment fails, a red
square appears.
If a red square appears, repeat the operation from step 1.
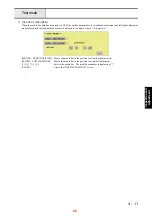
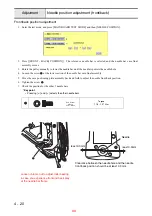
9. PANEL EEPROM
Select this mode to display the contents of the panel's EEPROM. The contents cannot be changed.
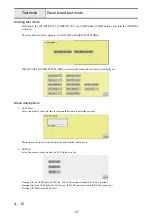
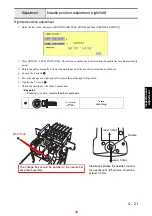
10. Machine EEPROM
Select this mode to display the contents of the sewing machine's EEPROM.
1
2
4
5
3
29
Summary of Contents for EMP6
Page 1: ...EMP6 BMP8 Technical Training...
Page 16: ...2 55 Disassembly Power unit Main unit 15...
Page 18: ...2 73 Disassembly Operation panel Main unit 17...
Page 44: ......


