


1. Press
OK
key or key to pop up the "Input
Password" dialogue, you can not enter into the
menu unless the correct password is inputted. The
default password is "
0000
".
2. Press
PR+, PR-
keys to move the cursor up or
down.
3. Press
EXIT
key or key to move the focus to
the left menu.
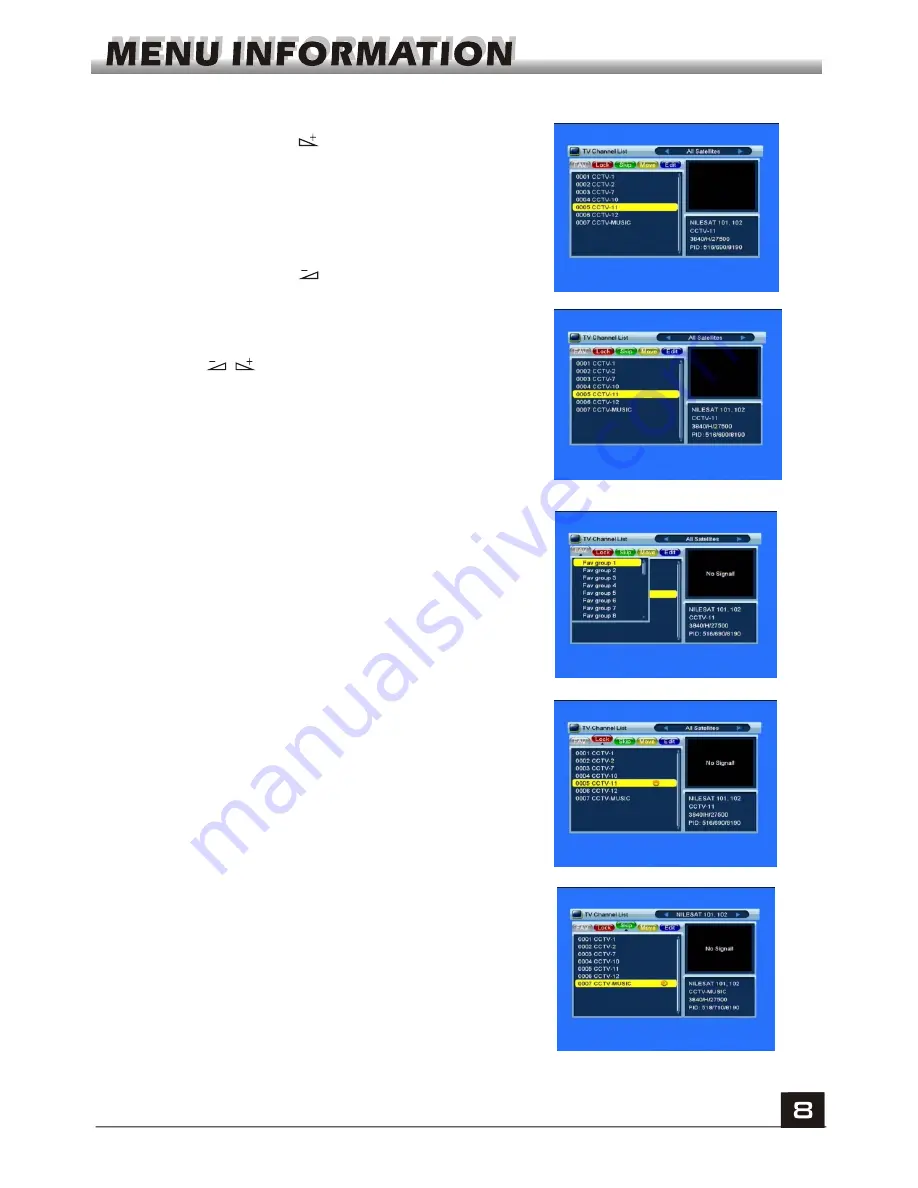
1. Edit Channel
1. Press keys to select satellite.
2. Press
PR+, PR-
keys to select the program that
you want to play, and then press
OK
key to view it in
the small window. If move the
yellow
cursor to
select up or down, you will see a gray line which
indicates the playing program in the small window.
1.1 TV Channel List
3. Press
FAV
key to move the FAV button upward.
Select the program and press
OK
key to pop up the
favourite group list. In the list, select the group that
you want to add into and press
OK
key, and then
you will find the favourite mark is displayed at the
right side of the selected program.
Press
FAV
key again to exit from the fav mode, and
you will find the FAV button return to the origin
position.
4. Press
red
colour key to move the Lock button
upward. Select the program and press
OK
key to
mark this program with the Lock mark. You can
cancel this mark by pressing
OK
key once more.
Press
red
colour key again to exit from the lock
mode, and you will find the Lock button return to
the origin position.
5. Press
green
colour key to move the Skip button
upward. Select the program and press
OK
key to
mark this program with the skip mark. You can
cancel this mark by pressing
OK
key once more.
Press
green
colour key again to exit from the skip
mode, and you will find the Skip button return to
the origin position.
Summary of Contents for S809
Page 1: ...User s Guide...
Page 2: ...English...