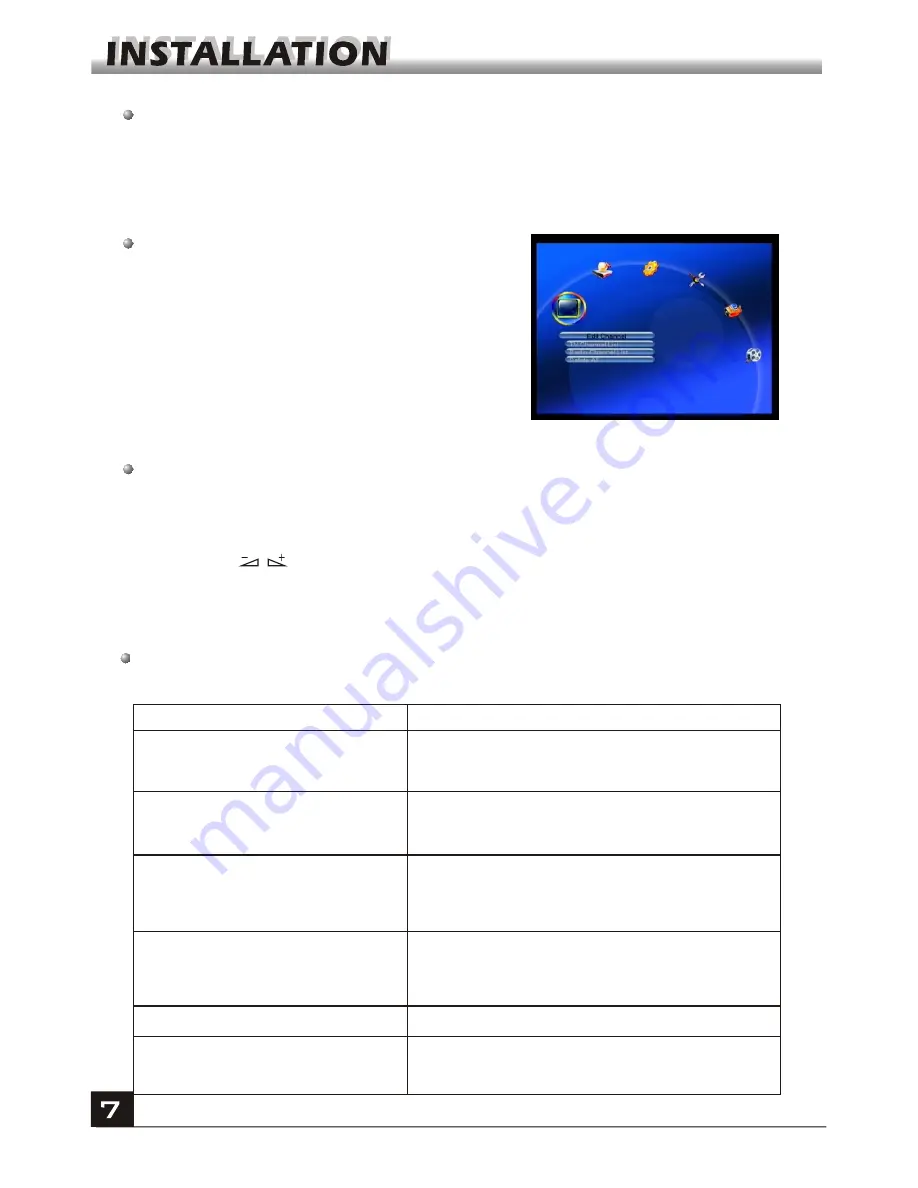
AZAMERICA S809 Owner'S Manual Download Page 11

Main Menu

This menu consists of 6  major main menus 

as follow.


- Edit Channel

 - Installation

 - System Setup

 - Tools

 - Game 


-


REC

During the installation the 

OK

 key confirms a selection and 

LIST

 key shows Down 

List Box  if the column has 

34 

mark. You can also use the numeric keys on the 

RCU to enter numeric value.

Use the 

PR+

,

 PR-

 key to move upwards and downwards from one line to another 

line and use             key to move from main menu to sub menu and move from left 

side to right side or versa.

Meantime, you want to escape the menu system, please press 

MENU

 or 

EXIT

 key 

on the RCU.

Make sure that you have properly installed and connected the cables of the receiver 

well. If the receiver is the factory status or there is no program list, when power on, 

the Main Menu window will be displayed on the screen.

During the normal TV/Radio mode, press 

MENU

 key on the RCU  to enter into the 

Main Menu

 window.

If there is no program, you can not exit from the 

Main Menu

 window by pressing 

MENU

 or 

EXIT

 key. System will inform "No channel" and the following items turn grey.

Sub-menu

Turn grey when there is no program

Edit Channel

Installation

System Setup

Tools

TV Channel List
Radio Channel List
Delete all

Antenna Connection         Satellite List
Antenna Setup             Single Satellite Search
Multi Satellite Search        TP List

Language                     TV System
Local Time Setting      Timer Setting
Parental Lock              OSD Setting
Favorite                        Other

Information                  Factory Setting
 

Game

Tetris             Othello             Sudoku

REC

Record Manager   HHD Information       
PVR Setting

 Upgrade by USB

Conditional Access

 USB

Upgrade by Network

Network Local Setting

Summary of Contents for S809

Page 1: ...User s Guide...

Page 2: ...English...

Page 3: ...6 Main Menu 1 Channel List 1 1 TV Channel List 1 2 Radio Channel List 1 3 Delete All 2 Installation 2 1 Antenna Connection 2 2 Satellite List 2 3 Antenna Setup 2 4 Single Satellite Search 2 5 Multi Sa...

Page 4: ...d Mangager 6 2 PVR Setting 6 3 HDD Information 7 Hot key 7 1 Info 7 2 EPG 7 3 Find 7 4 Numer 7 5 TV Radio 7 6 Up Down 7 7 Left Right 7 8 Mute 7 9 Pause 7 10 OK 7 11 Audio 7 12 Recall 7 13 Fav Network...

Page 5: ...hics PIG support 256 colors On Screen Display Automatic network search for newly added transponders DiSEqC 1 2 fully support 13 18V 0 22K 0 12V LNB control Various channel editing function favorite mo...

Page 6: ...r an extended period Do not touch the receiver during thunder since that might create electric shock hazards Do not block ventilation holes of the Receiver so that air can circulate freely Do not expo...

Page 7: ...d out using the buttons on the RCU and some of the function can also be carried out using the buttons on the front panel The receiver is easy to use always at your command and adaptable for future adv...

Page 8: ...ves up down a page in the list FAV INFO Executes the selected item in the menu screen or enters the desired value in any input mode When watching a channel change channels or move to the next higher o...

Page 9: ...LNB OUT CONNECT TO THE OTHER RECEIVER POWER ON OFF CONNECT TO ADIGITAL AMPLIFIER CONNECT TO AUDIO R L TO TV OR AUDIO TUNER CONNECT TO A PC FOR S W UPGRADE Rear Panel Front Panel RF CONNECTTO TV ANT I...

Page 10: ...Connecting to TV using RCA support Connecting to Digital Amplifier Satellite Dish L R IN VIDEO TV AUDIO DIGITALAUDIO CONVERTOR OR AMPLIFIER SPEAKER Satellite Dish DIGITAL AUDIO L R...

Page 11: ...tory status or there is no program list when power on the Main Menu window will be displayed on the screen During the normal TV Radio mode press MENU key on the RCU to enter into the Main Menu window...

Page 12: ...list In the list select the group that you want to add into and press OK key and then you will find the favourite mark is displayed at the right side of the selected program Press FAV key again to ex...

Page 13: ...then the capital letter at last the lowercase Name Z A The opposite order of the above Name A Z Free Scramble All FTA programs are listed ahead while all scrambled programs are listed last Lock all l...

Page 14: ...re to save Select Yes button and press OK key to save or select NO button and press OK key to exit without saving 1 2 Radio Channel List Sine the same operation as 1 1 TV Channel List here we don t ex...

Page 15: ...Channel Name Longitude You can press keys to switch between east longitude and west longitude After pressing OK key you can use numeric keys to edit the longitude press EXIT key or the PR PR keys to...

Page 16: ...ner 4 Motor Setting Press OK key to the Motor Setting window Satellite Press keys to select the satellite in circle Or press OK key to pop up the drop down list then select the desired satellite in th...

Page 17: ...ngitude or latitude press MENU key or EXIT key to exit The range of the longitude is from 0 to 180 while the range of the latitude is from 0 to 90 If the inputted value is not in this range system wil...

Page 18: ...l Press keys to select among TV Radio TVChannel Radio 4 Network Search Select between No and Yes This item turns grey when Auto Scan is selected in the following Scan mode item 5 Scan Mode Press keys...

Page 19: ...Network Search Press keys to select the proper option Press OK key at the OK button to start searching 1 Press OK key to enter into the Language window Press keys to select the language in circle whi...

Page 20: ...ms will turn grey Select the proper option in the GMT Offset item The default setting is GMT ON 3 3 Local Time Setting 3 Date Time When select OFF in GMT Usage Date and Time two items take effect whil...

Page 21: ...rd 2 Channel Lock Press keys to select between Off and On The default value is Off 3 5 Parental Lock If select On you can not view the locked channel set in Chanel List Edit window until you have inpu...

Page 22: ...ect password is inputted The default password is 0000 2 Press PR PR keys to move the cursor up or down 3 Press EXIT key or key to move the focus to the left menu 4 2 Factory Setting Press OK key to en...

Page 23: ...now the basic information about this conditional access such as Card Status CAS System ID Interface Version Card Number Number of sessions Country Indicator and Maturity Level 4 4 2 Change PIN Changes...

Page 24: ...ess ok key in the file directory play the selected file when scroll bar is on the file automatic return USB menu after play is over Yellow key Press to show the Play List Red key Press to show the Gre...

Page 25: ...User Press number key 0 9 to input the user name 5 Press number key 0 9 the input the password 6 Press OK key on star button to begin updating Press green key to delete the number or characters and p...

Page 26: ...backward Press key to slow forward or slow backward 6 2 PVR Setting 1 Timeshift Select between ON and OFF 2 Jump Select among 30sec 1min 5 min 10 min and 30 min 3 TS file size Select from 1G to 4G 4...

Page 27: ...nnel and program and press OK key to know the detail information of the current program Press FIND key on to pop up the Find window Use numeric keys to enter into the character and use the colour keys...

Page 28: ...ume or press keys to open the volume 7 8 Mute In normal mode press TV RADIO key to switch between TV mode and Radio mode 7 5 TV RADIO Press PR PR keys to change the channel up or down If in the all sa...

Page 29: ...ess MENU or EXIT key to exit 3 If there is no favorite channel system will inform No FAV Channel when you press FAV key 7 13 FAV Press TXT key to open the teletext on the screen If there is no teletex...

Page 30: ...is too small Change to a larger dish LNB noise factor too high Change to an LNB with lower noise factor The LNB is faulty Change the LNB The picture is not showed on the screen when switching on The s...

Reviews: