7
Adding the
panel to
Cerebrum
In order to add a CCP-4200B hardware panel on your Cerebrum system
you will need to be running Cerebrum V1.13 or later. To add the panel go
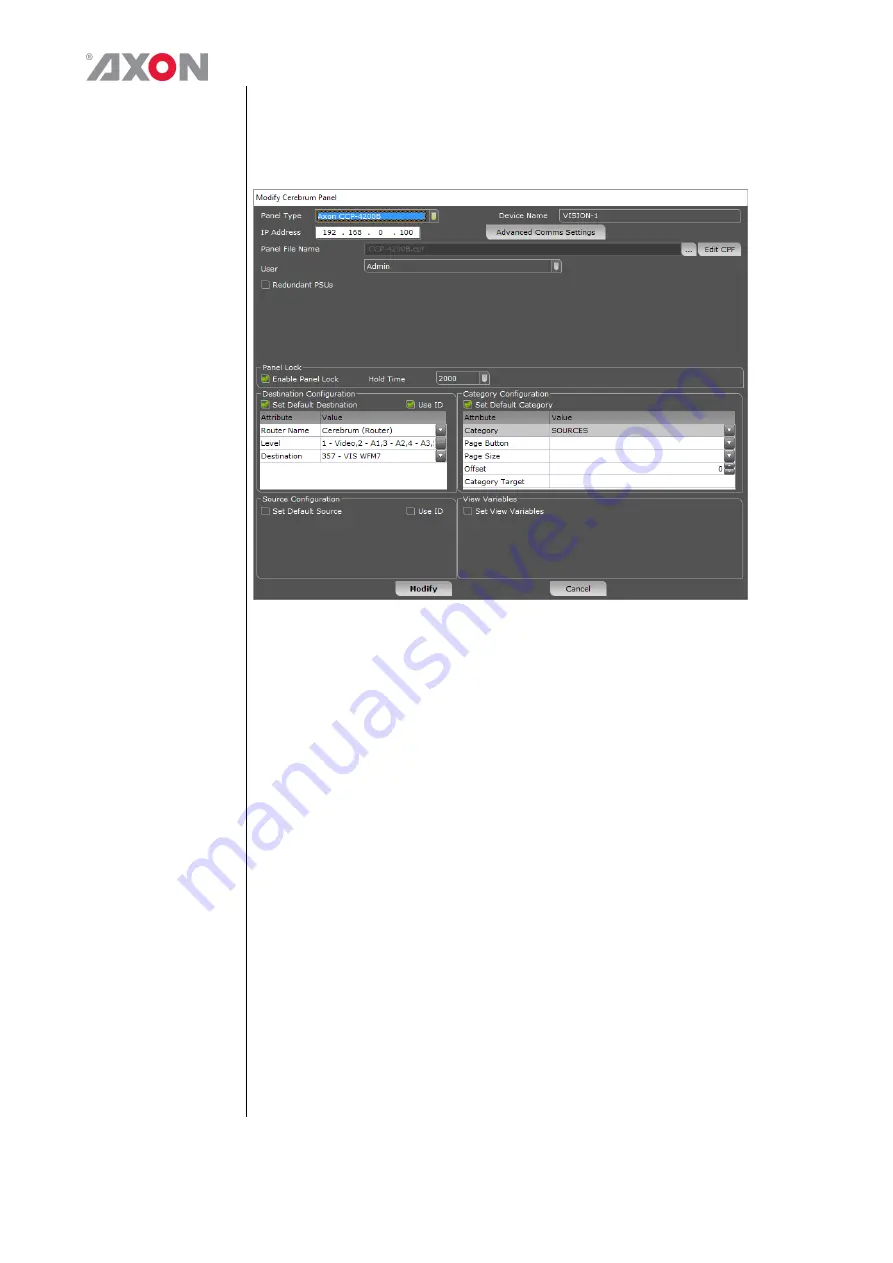
to the Network menu and choose the ‘Add Network Device’ item. A
dialog will appear as shown below.
The required Panel Type should be chosen from the drop down list and the
required IP address should be defined for the device. An optional Device
Name can be specified to aid recognition for the panels use or location.
The initial or home page Cerebrum Panel File (.cpf) needs to be specified.
This will determine what the panel will show when the system starts or the
panel is modified.
The default settings that the panels will use for the router, category and
view variables when restarting can be optionally defined for the panel. In
this way multiple panels can use the same CPF file but change their
behaviour based on this information.
The check box for redundant PSU will make sure an alarm or warning is
generated in the Cerebrum system if one of the PSU’s fails.
When you have finished choosing the options press Add to continue. The
panel should now appear at the correct IP address in the System View of
Cerebrum.
When this panel is selected in the System View the control tab of the
Device View should show a mimic of what the panel is currently
displaying. An example is shown below:


