


AXIS M3007–PV
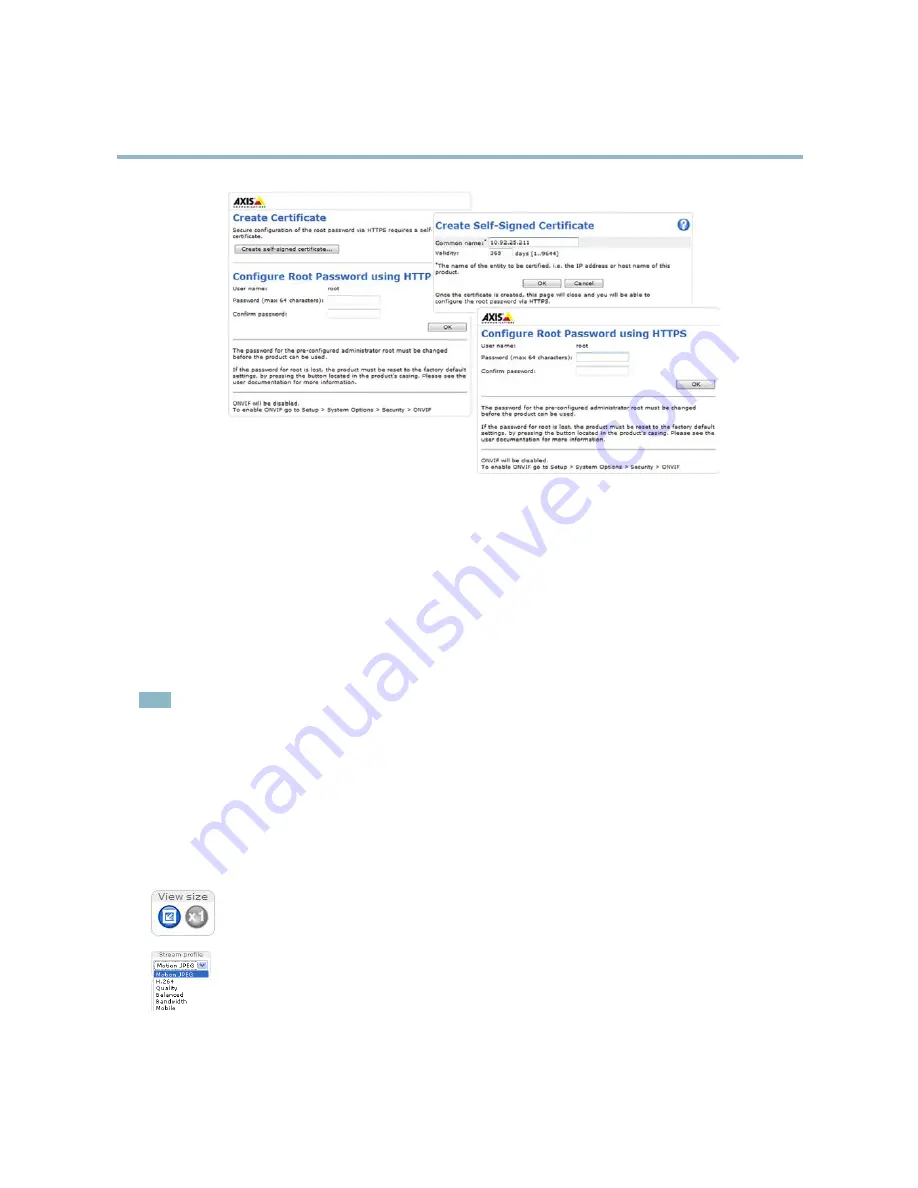
Accessing the Product
Select Camera Mode
This product can be used either with downloadable intelligent video applications (see
Applications, on page 30
) or with multiple view
modes (see
View modes, on page 16
). The first time the product is accessed the Camera Mode dialog prompts you to choose between
the two options. If the ‘Multiple view modes’ option is selected make sure to select the correct camera orientation. Select
Ceiling
,
Wall
or
Desktop
depending on how the Axis product is installed. The settings for the product will differ depending on the orientation
chosen. To change the orientation, click
Restore
from
Setup System Options Maintenance
in the product’s web page and select the
orientation again. Restoring will reset all except IP parameters to the original factory settings.
Set Power Line Frequency
Power line frequency is set the first time the Axis product is accessed and can only be changed from Plain Config (see
page 47
)
or by resetting the product to factory default.
Note
Power line frequency is different in different geographic regions. In the Americas, 60 Hz is usually used; most other parts of
the world use 50 Hz. Local variations may apply, always check with the local authorities.
The Live View Page
The controls and layout of the Live View page may have been customized to meet specific installation requirements and user
preferences. Consequently, some of the examples and functions featured here may differ from those displayed in your own Live View
page. The following provides an overview of each available control.
Controls on the Live View Page
Click
View size
to scale the image down to 800 pixels wide or to full scale. Only available in MJPEG.
Select a stream profile for the Live View page from the
Stream Profile
drop-down list. For information about how
to configure stream profiles, see
page 19
.
8