26 |
A x i o m T o o l G r o u p
Before beginning to use the machine, there are just a couple of key items that are important to cover.
First,
reading the manual
. Typically, this is not stressed enough, with many questions being asked that are often
covered in the text.
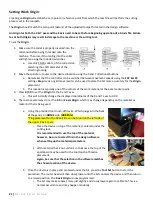
Second, is the surfacing of the spoil boards which are included with the machine. Surfacing of these MDF strips
ensures that the work plane is perfectly parallel to the path of the spindle while being perpendicular to the router bit
itself.
Rest easy knowing that this simple surfacing operation is largely taken care by the Axiom team. A surfacing program
has been pre-loaded into the handheld controller’s internal memory.
To setup and run this stored job, please refer to the previous sections covering setup of ORIGN locations and file
operations.
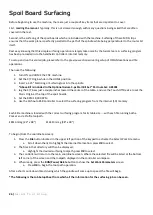
Then use the following:
1.
Turn ON and HOME the CNC machine.
2.
Set the X/Y Origin while in the HOME position.
3.
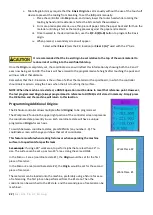
Insert a 1.25” Mortising or Surfacing tool into the spindle.
*Above Bit is included in the Optional Axiom 3-pc Start Bit Set* Part number: ABS301
4.
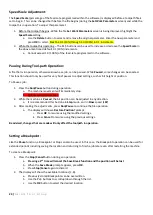
Jog the X/Y Axes just a couple inches toward the center of the table…and use the Touch-Off Device to set the
Z Axis Origin at the top of the spoil boards.
5.
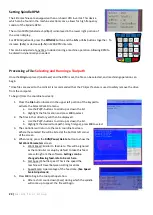
Set the RPM 18,000 RPM
6.
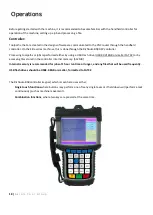
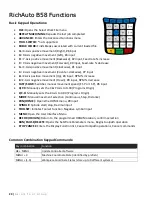
Use the RichAuto B58 Controller to select the surfacing program from the internal (SD) memory.
Each Elite machine is loaded with the correct surfacing program for its table size…. with each file running both a
Pocket and a Profile toolpath.
E8SFC.mmg (24” x 48”)
E16SFC.mmg (48” x 48”)
To begin (From the coordinate screen):
1-
Press the
File
button located in the upper left portion of the keypad to activate the Select Work File menu.
a.
Scroll down the list to highlight the Internal file location, press
OK
to select.
2-
The files in that directory will then be displayed.
a.
Highlight the desired surfacing toolpath, press
OK
to select
3-
The controller will return to the main coordinate screen. Where the selected file will be listed at the bottom
left corner of the screen and the toolpath displayed in the controller workspace.
4-
When ready, press the
RUN/Pause/Delete
button to show the
Set Work Parameters
screen.
a.
Press
OK
to begin the tool-path operation.
After a short count-down (4sec) during which the spindle will come up to speed, the file will begin.
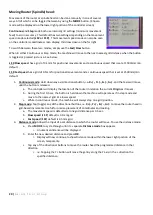
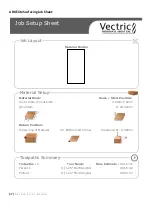
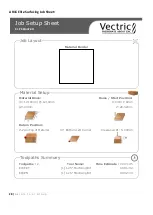
*The following is the Job Setup Sheet from which all the information for the surfacing job can be seen.
Spoil Board Surfacing
Summary of Contents for AR16 ELITE
Page 1: ...AR8 16 ELITE MANUAL Axiom Tool Group Inc All rights reserved Rev 1 2 2020 ...
Page 46: ...46 A x i o m T o o l G r o u p AR8 Elite Part List ...
Page 47: ...47 A x i o m T o o l G r o u p ...
Page 48: ...48 A x i o m T o o l G r o u p ...
Page 49: ...49 A x i o m T o o l G r o u p ...
Page 50: ...50 A x i o m T o o l G r o u p ...
Page 51: ...51 A x i o m T o o l G r o u p ...
Page 52: ...52 A x i o m T o o l G r o u p ...
Page 53: ...53 A x i o m T o o l G r o u p ...
Page 54: ...54 A x i o m T o o l G r o u p ...
Page 55: ...55 A x i o m T o o l G r o u p AR16 Elite Part List ...
Page 56: ...56 A x i o m T o o l G r o u p ...
Page 57: ...57 A x i o m T o o l G r o u p ...
Page 58: ...58 A x i o m T o o l G r o u p ...
Page 59: ...59 A x i o m T o o l G r o u p ...
Page 60: ...60 A x i o m T o o l G r o u p ...
Page 61: ...61 A x i o m T o o l G r o u p ...
Page 62: ...62 A x i o m T o o l G r o u p ...
Page 63: ...63 A x i o m T o o l G r o u p ...
Page 64: ...64 A x i o m T o o l G r o u p ...

