2
When the DVR is under quad channel display, press “SEQ” button the DVR will enter quad screen sequence
mode. Press again to exit the sequence mode.
10)
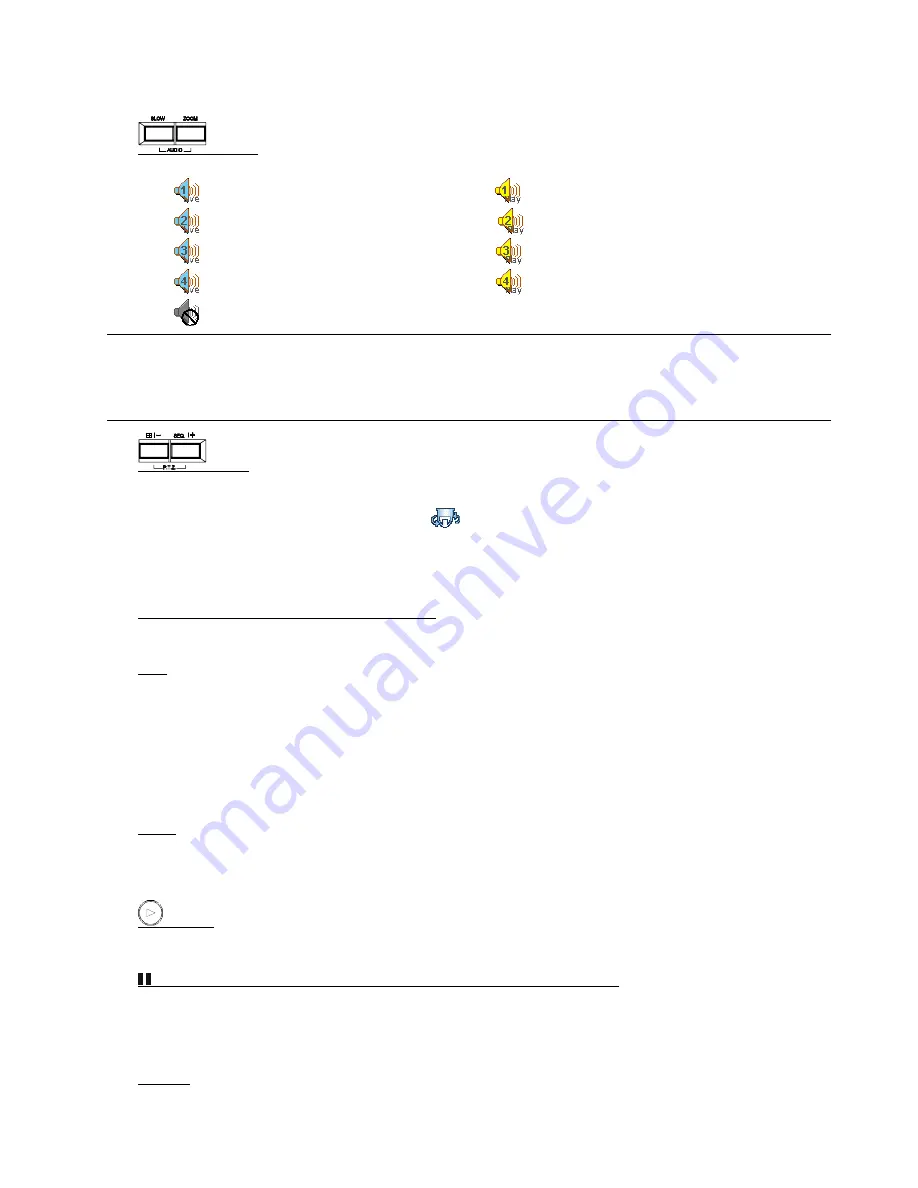
(Audio)
Use these two buttons to select the live or playback sound of the audio channels.
Icon “
” means: Live audio of the 1
st
audio channel / Icon “
” means: Playback audio of the 1
st
audio channel
Icon “
” means: Live audio of the 2
nd
audio channel / Icon “
” means: Playback audio of the 2
nd
audio channel
Icon “
” means: Live audio of the 3
rd
audio channel / Icon “
” means: Playback audio of the 3
rd
audio channel
Icon “
” means: Live audio of the 4
th
audio channel / Icon “
” means: Playback audio of the 4
th
audio channel
Icon “
” means: The audio channel is not selected.
Note:
If you want to make a video backup with audio, please connect audio cameras to the channels
which support the audio function
For 16CH & 8CH DVR, the audio channels are CH1, CH2, CH3 and CH4.
For 4CH DVR, the audio channels are CH1 and CH2.
11)
(PTZ)
Press these two buttons at the same time to enter / exit the PTZ control mode.
In the PTZ control mode (Indicated by the icon “
”):
Zoom in: Press "
+
" button ; Zoom out: Press "
-
" button
Adjust PTZ angle: Press "UP”, “DOWN”, “LEFT” or “RIGHT" buttons
12) 1 ~ 16 (for 16CH) / 1~8 (for 8CH) / 1~4 (for 4CH)
Press one of the buttons to select the channel to display.
13) LIST
To quick search the recorded files by event list, press this button to show all types of the event lists.
ALARM: List the information of the alarm-trigger-recorded files.
MANUAL: List the information of the manual-recorded files. The DVR will save one recorded file once any recording setting is changed
MOTION: List the information of the motion-trigger-recorded files.
SYSTEM: List the information of the system-recorded files. The DVR system will save one recorded file every one hour.
TIMER: List the information of the timer-recorded files.
14) SNAP
Please connect a USB drive first and then press “SNAP” button to take a snapshot picture of the current image on
the monitor.
15)
(PLAY)
Press this button to playback the recorded video.
16)
(PAUSE/UP/ +),
◄◄
(REW/LEFT),
►►
(FF/RIGHT),
▓
(STOP/DOWN/ -)
Press one of these four buttons to move the cursor up/down/left/right.
Under the playback mode, press these buttons to pause / stop / fast rewind / fast forward the playback file.
Press ”UP/ +” or “DOWN/ -” button to change the setting in the menu.
17) POWER
Press “POWER” button long enough to turn on/off your DVR.


