background image

QUICK  INSTALLATION 

Page  5 


3.4 Power Setup 

This device should be operated only with the type of power source indicated on the manufacturer’s label. Connect the 

indicated AC power cord to the power adapter, and plug into an electrical outlet. “POWER” LED will be on as red. Press 

“POWER” button, and “POWER” LED will be on as green. It takes approximately 10 to 15 seconds to boot the system. 

3.5 Date and Time Setting 

Before any operation of the DVR, please set the date and time on your DVR first. 

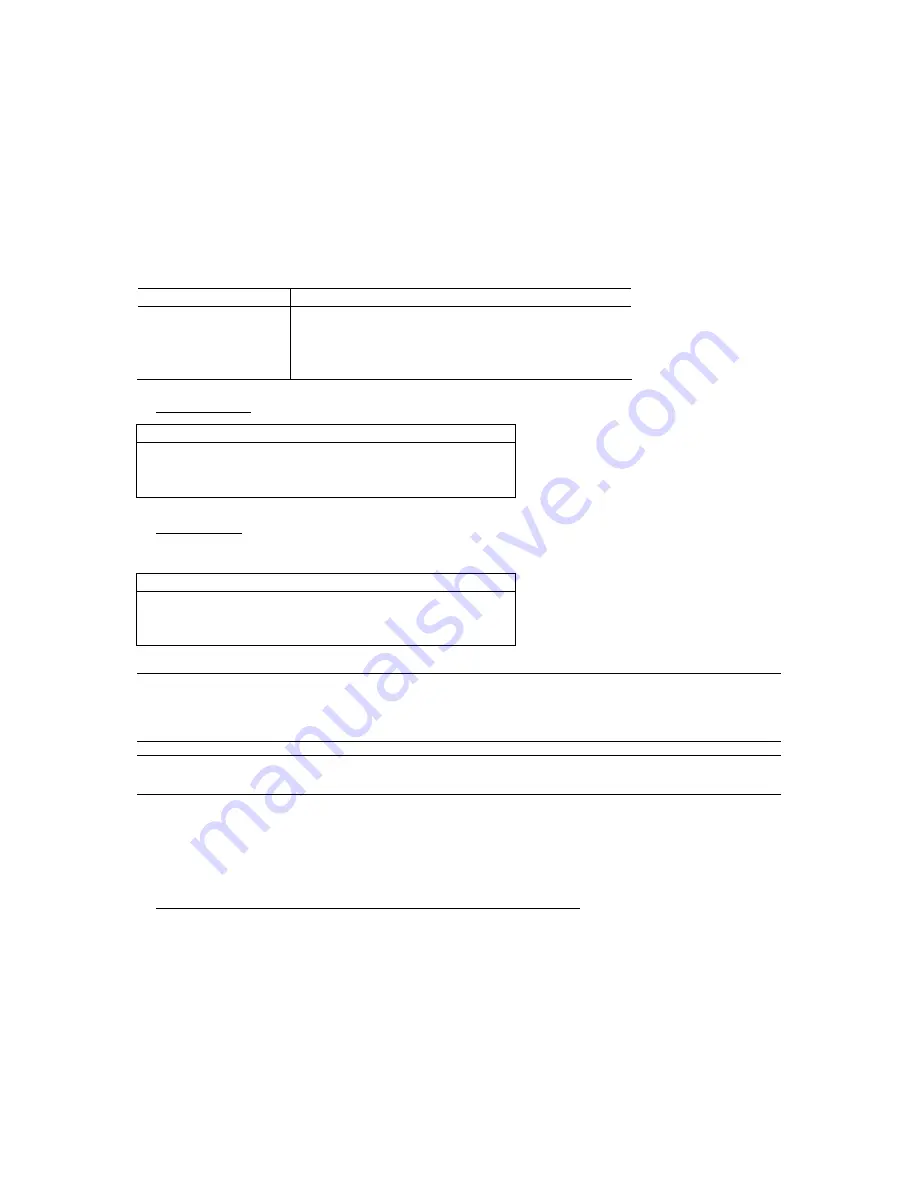
You can use the following buttons for menu setting: 

BUTTON 

FUNCTION 

UP, DOWN, LEFT, RIGHT 

Move the cursor. 

  , 


Choose numbers / selections. 

ENTER 

Go to the submenu / confirm the selection. 

MENU 

Go to the menu list / confirm the change / exit the menu list. 


1)  Date and System: 

DATE 

DATE 

2006-AUG-28      18:30:00 

FORMAT 

Y-M-D 

DAYLIGHT SAVING 

ON 


2)  Daylight Saving: 

The menu path is as following: “MENU” 

  “DATE” 

  “DAYLIGHT SAVING”. 

DAYLIGHT SAVING 

START 

4

TH

-SUN-MAR      24:00:00 

END 

4

TH

-SUN-OCT      24:00:00 

ADJUST 

01:00 


Note: 

Please  DO  NOT  change  the  date  or  time  of  your  DVR  after  the  recording  function  is  activated. 

Otherwise, the recorded data will be disordered and you will not be able to find the recorded file to 
backup by time search. If users change the date or time accidentally when the recording function is 
activated, it’s recommended to clear all HDD data, and start recording again.


Note:

 If the time and date settings return to their default values after the DVR is rebooted, please charge the 

DVR for at least 24-48 straight hours. Please contact your local retailer if the situation still occurs.


3.6 LAN or Internet Setup 

3.6.1 STATIC IP 

1)  Build a Local Area Network (LAN) between DVR and PC/NB with network cable: 

Your NB/PC and DVR must be under the same network domain to build the area network. Please change the IP 

address of your PC/NB into 192.168.1.X (X can be the number between 1~255, except 10) and the subnet mask into 

255.255.255.0 for communicate with the DVR. 

Summary of Contents for AVD715

Page 1: ...ans our manufacture processes and products are strictly lead free and without the hazardous substances cited in the directive The crossed out wheeled bin mark symbolizes that within the European Union...

Page 2: ...path in your PC An IR transmitter is also supplied for remote control 1 2 Package Contents ITEMS QTY Digital Video Recorder DVR 1 Adapter and Power Cord 1 Screws 12 DSUB PIN Connector 1 HDD Data BUS...

Page 3: ...following instructions If you plan to install three HDDs please set two HDDs to Master mode and one HDD to Slave mode and place them to the exact position according to the indication If you plan to in...

Page 4: ...to section 6 4 5 Remote at page 32 of the manual 3 2 2 PTZ Camera Connection 1 Connect the PTZ camera with indicated power supply 2 Connect the PTZ camera video output to the DVR video input port wit...

Page 5: ...the HDD key supplied in the IDA package 2 Connect all IDA with SCSI cable IDE interface Connect from one of the three DEVICE PORT at one IDA rear panel to the host port of another disk array One IDA a...

Page 6: ...TE DAYLIGHT SAVING DAYLIGHT SAVING START 4TH SUN MAR 24 00 00 END 4TH SUN OCT 24 00 00 ADJUST 01 00 Note Please DO NOT change the date or time of your DVR after the recording function is activated Oth...

Page 7: ...p network After setting up the network information of the DVR and connect it to the network you can use the IP address Port Account Password you just entered in the supplied AP software to log into yo...

Page 8: ...r account You must complete the procedure according to the instructions in the mail That is to must visit the confirmation address within 48 hours of the time that the e mail was sent to complete the...

Page 9: ...QUICK INSTALLATION Page 8 Click Add Host Services Click Add Dynamic DNS Host Fill in and choose the desired host name...

Page 10: ...following default DVR settings The DVR default IP address 192 168 1 10 The DVR default account password admin The DVR default port 80 2 Set DVR network setting in SYSTEM CONFIG Network of the supplie...

Page 11: ...ork Please change the IP address of your PC NB into 192 168 1 X X can be the number between 1 255 except 10 and the subnet mask into 255 255 255 0 for communicate with the DVR Install the supplied AP...

Page 12: ...confirm the selection MENU Go to the menu list confirm the change exit the menu list 1 Admin password Password for supervisor allow all the setup of DVR 2 Guest password Only allow viewing the live st...

Page 13: ...ing is scheduled by TIMER function This mode is indicated by the wording TIMER RECORD When the recording function is activated please DO NOT change the date or time on your DVR The recorded data will...

Page 14: ...ing RS 485 serial communication signals DVR can be controlled remotely by the keyboard of PC 13 EXTERNAL ALARM NO Under the normal operation COM disconnects with NO But when any alarm is triggered COM...

Page 15: ...Page 14 6 MENU TREE...

Reviews: